Heat Transfer Vinyl (HTV) is a popular material used to customize clothing, accessories, and more. Whether you’re a DIY enthusiast or a professional crafter, mastering the art of applying HTV can elevate your projects to new heights. This comprehensive guide will walk you through each step of the HTV application process, ensuring flawless results every time.
Heat Transfer Vinyl (HTV) is a popular material used to create custom designs on fabrics using heat. It’s commonly used for custom t-shirts, bags, hats, and more. Here’s a step-by-step guide on how to apply Heat Transfer Vinyl:
Materials Needed
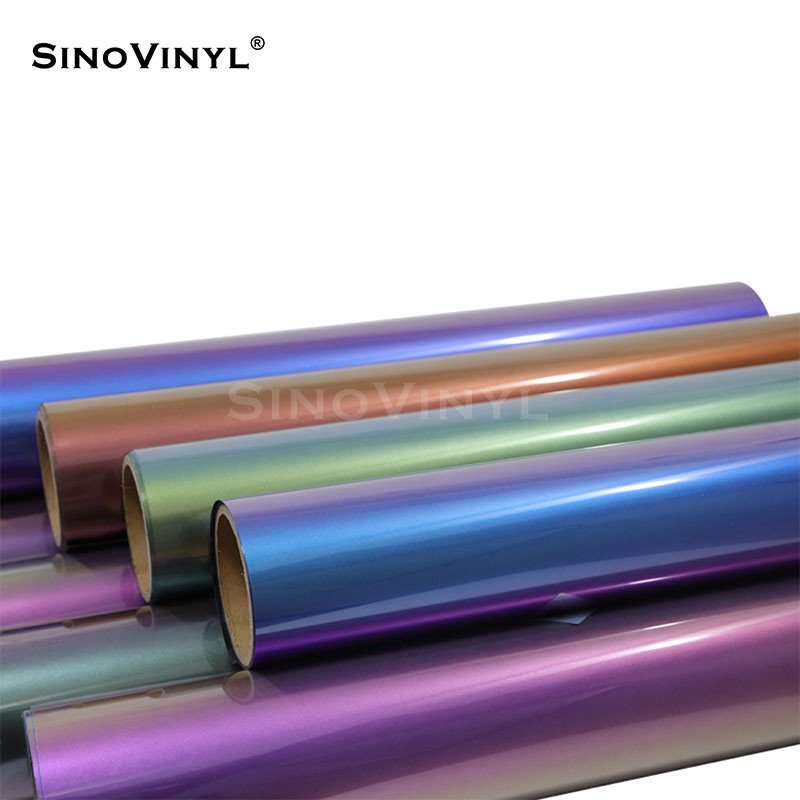
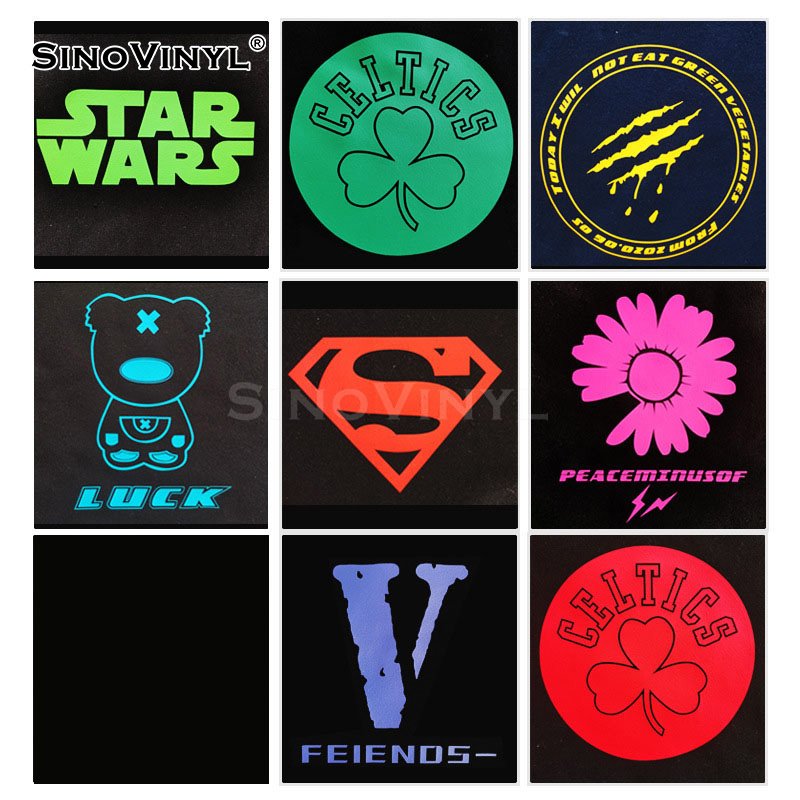
- Heat Transfer Vinyl: Choose the color and type of HTV you want to use.
- Cutting Machine: Such as a Cricut or Silhouette.
- Weeding Tool: To remove the excess vinyl.
- Heat Press or Iron: A heat source to apply the HTV.
- Protective Sheet or Teflon Sheet: To protect the vinyl during heating.
- T-shirt or Fabric: The item you want to customize.
- Scissors: To trim the HTV if necessary.
Steps to Apply Heat Transfer Vinyl
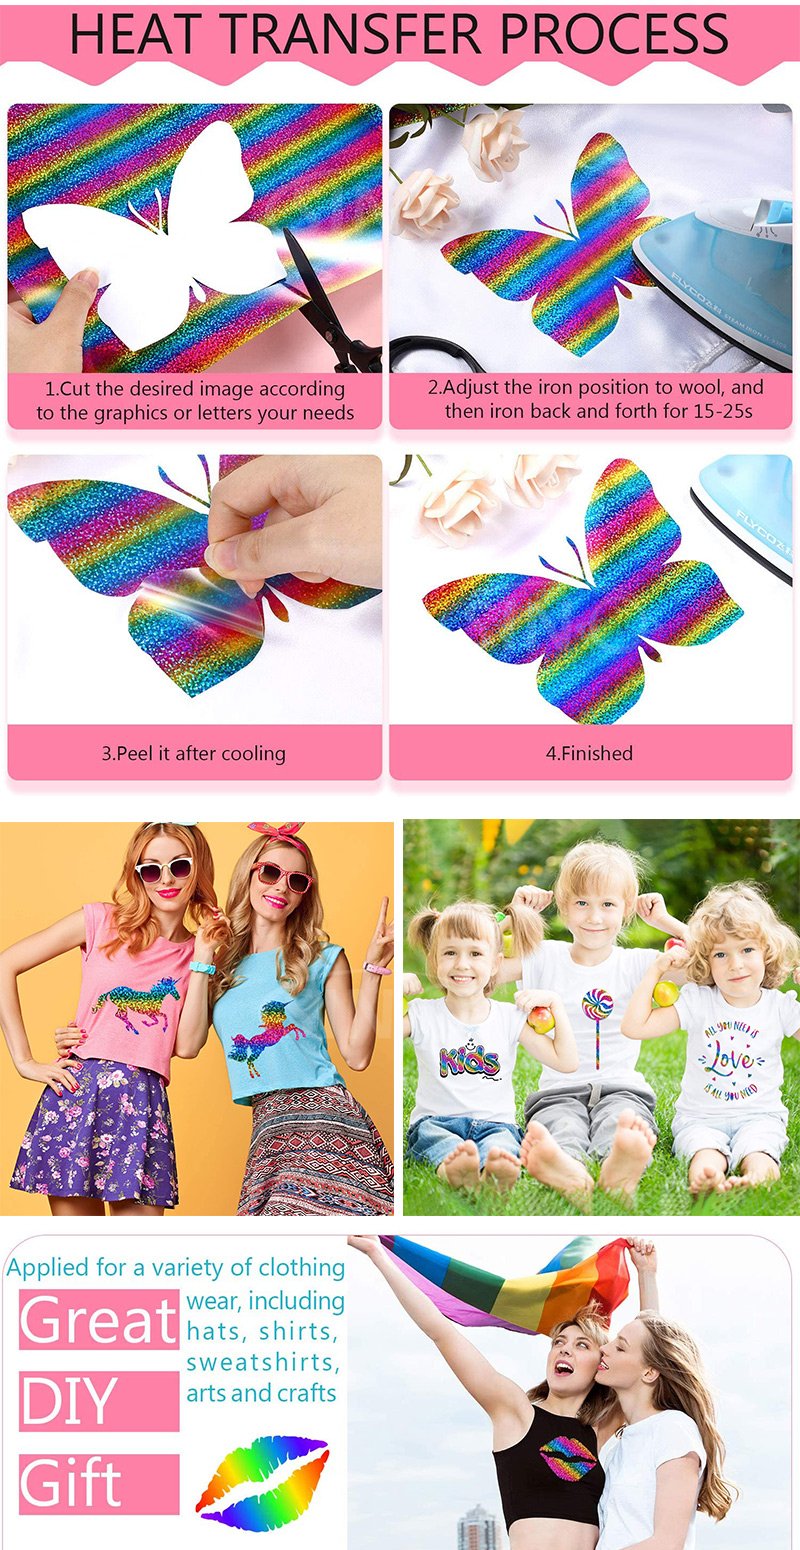
Step 1: Design and Cut
- Design: Create your design using design software compatible with your cutting machine (e.g., Cricut Design Space, Silhouette Studio).
- Mirror the Image: Before cutting, make sure to mirror your design horizontally. This is crucial for HTV because you’ll be cutting the back (adhesive) side of the vinyl, and you want the design to appear correctly when transferred.
- Cut: Load your HTV into the cutting machine and cut out your design.
Step 2: Weeding
- Remove Excess Vinyl: Use the weeding tool to carefully remove the excess vinyl around your design, leaving only the parts you want to transfer onto your fabric.
Step 3: Preparing the Fabric
- Pre-wash: Wash and dry your fabric to remove any residues or wrinkles.
- Pre-heat: Place the fabric on the heat press or ironing board and pre-heat it to remove any moisture and wrinkles. This also helps in ensuring a better adhesion of the HTV.
Step 4: Positioning the HTV
- Place the HTV: Position your weeded HTV design on the fabric, adhesive side down. Make sure it’s centered and aligned correctly.
Step 5: Heat Press or Iron
- Heat Press: Set your heat press to the recommended temperature for the specific type of HTV you’re using (refer to the HTV manufacturer’s instructions).
– Time: Typically, 10-15 seconds is sufficient, but again, follow the manufacturer’s instructions.
– Pressure: Apply medium pressure. - Iron: If you’re using an iron, set it to the cotton setting (no steam).
– Time: Press down firmly and move the iron over the design for about 20-30 seconds.
– Pressure: Apply firm pressure.
Step 6: Cool Down and Peel
- Cool Down: Allow the fabric to cool down for a few seconds after pressing.
- Peel the Carrier Sheet: Carefully peel off the clear carrier sheet from the HTV. If the vinyl starts to lift with the carrier sheet, lay it back down and press again.
Step 7: Final Touches
- Re-press (Optional): If any part of the design lifts with the carrier sheet or if you feel it hasn’t adhered properly, place a protective sheet over the design and press again for a few more seconds.
- Care Instructions: Allow 24 hours before washing to ensure the adhesive has set. Wash inside out in cold water and hang to dry or tumble dry on low heat.
That’s it! You’ve successfully applied Heat Transfer Vinyl to your fabric. Enjoy your custom-designed item!
![]()