Step-by-Step Tutorial: How to Apply Printable Heat Transfer Vinyl to Fabric
Here’s a step-by-step tutorial on how to apply printable heat transfer vinyl to fabric:
Materials Needed
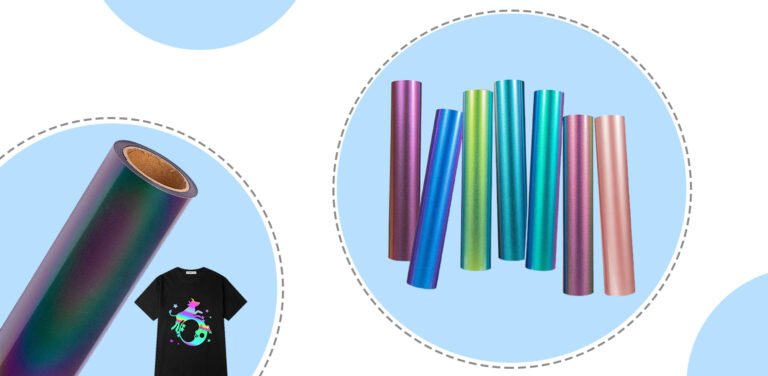
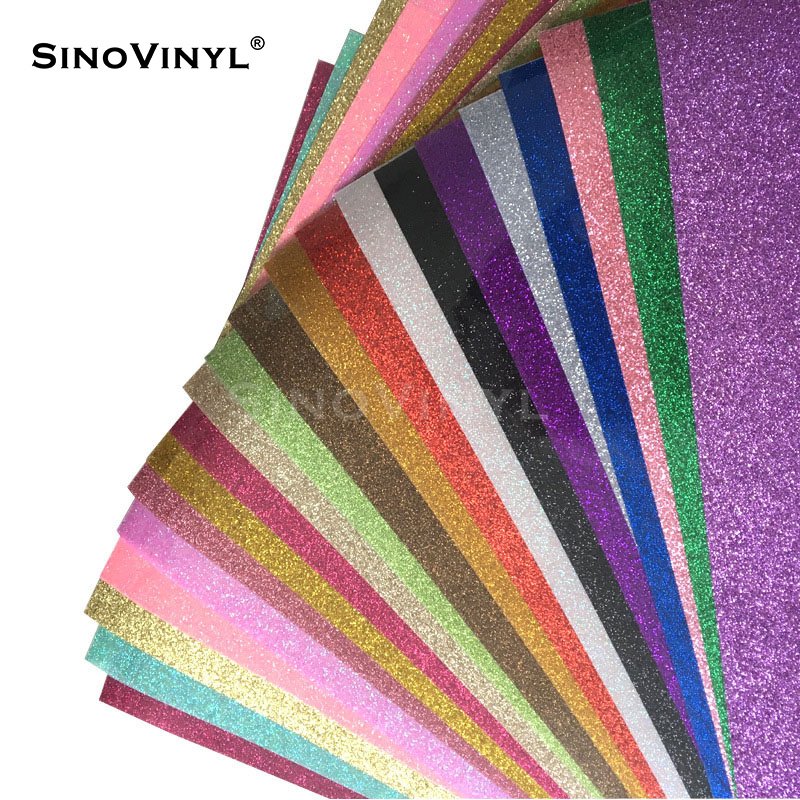
1. Printable heat transfer vinyl sheets
2. Inkjet printer
3. Cutting machine (optional but recommended)
4. Weeding tool
5. Heat press machine or iron
6. Teflon sheet or parchment paper
7. Fabric item (T-shirt, tote bag, pillowcase, etc.)
Step 1: Design and Print
1. Create or select the design you want to transfer using graphic design software. Ensure that the design is sized correctly for your fabric item.
2. Load the printable heat transfer vinyl into your inkjet printer according to the manufacturer’s instructions.
3. Print the design onto the glossy side of the printable heat transfer vinyl sheet. Make sure the design appears on the correct side.
Step 2: Cutting (If using a cutting machine)
1. If you have a cutting machine, load the printed heat transfer vinyl sheet onto the cutting mat.
2. Set up the cutting machine with the appropriate settings for the type of heat transfer vinyl you are using.
3. Allow the machine to cut out your design accurately.
Step 3: Weeding
1. Carefully peel away the excess vinyl surrounding your design using a weeding tool. Take your time to ensure clean edges and to remove any unwanted vinyl pieces.
Step 4: Preparing the Fabric
1. Pre-heat your heat press machine or iron to the recommended temperature for the specific printable heat transfer vinyl you are using. Check the manufacturer’s guidelines for the correct heat setting.
2. Place the fabric item on the heat press or a firm, heat-resistant surface if using an iron.
3. Smooth out any wrinkles or creases in the fabric to ensure an even transfer.
Step 5: Applying the Vinyl
1. Carefully position your weeded vinyl design on the fabric with the image facing up. Make sure it’s centered and aligned as desired.
2. Cover the vinyl design with a Teflon sheet or parchment paper to protect both the design and the heat press or iron.
3. For a heat press machine, close the machine and apply firm, even pressure for the recommended time (usually 15-20 seconds). If using an iron, press down firmly and evenly for the same duration with no steam.
4. Once the time is up, carefully lift the press or iron and let the vinyl and fabric cool down for a few seconds.
Step 6: Peeling the Backing
1. While the vinyl is still warm (not hot), gently peel off the backing paper from the design. Be cautious not to disturb the vinyl on the fabric.
2. If any part of the vinyl starts to lift with the backing, place it back down and re-apply heat with the press or iron for a few more seconds.
Step 7: Finalizing the Transfer
1. After removing the backing entirely, cover the design with the Teflon sheet or parchment paper again.
2. Re-apply pressure with the heat press or iron for an additional 5-10 seconds to ensure a secure transfer.
Step 8: Cooling Down
1. Allow the fabric and vinyl to cool down completely before handling or washing the item.
2. Check the specific printable heat transfer vinyl instructions for any additional post-application guidelines, such as washing instructions or curing time.
Congratulations! You’ve successfully applied printable heat transfer vinyl to fabric, creating a personalized and custom-designed item. Enjoy your newly crafted creation!

![]()
![]()
Tips and Tricks for Designing and Cutting Printable Heat Transfer Vinyl
Here are some useful tips and tricks for designing and cutting printable heat transfer vinyl:
1. Choose High-Quality Printable Heat Transfer Vinyl
Select a reputable brand of printable heat transfer vinyl that offers good adhesion and vibrant color reproduction for the best results.
2. Use the Right Printer
Ensure you have an inkjet printer that is compatible with printable heat transfer vinyl. Pigment-based inkjet printers are often recommended for their long-lasting and wash-resistant prints.
3. Design Software
Utilize design software like Adobe Illustrator or CorelDRAW to create your custom designs. Make sure to set the correct page size to match the vinyl sheets.
4. Mirror your Designs
Before printing, always mirror or flip your designs horizontally. This step is essential since you will apply the vinyl in reverse, and mirroring prevents text or images from being backward on the final product.
5. Test Print on Regular Paper
Before printing on the actual printable heat transfer vinyl, do a test print on regular paper to check alignment, colors, and overall design.
6. Opt for High Resolution
For crisp and clear prints, use high-resolution images (300 DPI or more) to avoid pixelation or blurriness on your designs.
7. Allow Proper Drying Time
Give your printed vinyl enough time to dry completely before cutting or applying it to the fabric. This helps prevent smudging or ink bleeding.
8. Use a Cutting Mat
When cutting the printable heat transfer vinyl with a craft cutter, use a cutting mat to ensure precise and clean cuts without damaging the surface underneath.
9. Select the Right Blade
Adjust the blade depth according to the thickness of the printable heat transfer vinyl material. A sharp blade prevents tearing and ensures clean cuts.
10. Weeding Techniques
Practice proper weeding techniques to remove excess vinyl material around the design accurately. Use a weeding tool to handle intricate designs carefully.
11. Group Multiple Designs
If you’re cutting multiple designs on a single vinyl sheet, group them closely together to minimize material wastage.
12. Test Cut Settings
Before cutting the complete design, perform a small test cut on a corner of the vinyl to ensure the blade settings are correct for the material’s thickness.
13. Peel Slowly and Carefully
When removing the backing from the cut design, peel slowly and carefully to avoid lifting or distorting small details.
14. Positioning and Pressing
Properly position the design on your fabric before pressing. Use a heat press or an iron following the manufacturer’s instructions for temperature and pressing time.
15. Post-Pressing Care
Allow the design to cool down before peeling off the carrier sheet. After pressing, avoid washing the fabric for at least 24 hours to ensure a long-lasting transfer.
By following these tips and tricks, you can ensure a successful and enjoyable experience with designing and cutting printable heat transfer vinyl for your various creative projects.

Final Words
Printable heat transfer vinyl opens up a world of possibilities for unleashing your creative side and adding a personalized touch to your projects. Whether you’re a seasoned crafter or a beginner, this versatile material empowers you to design and create unique custom pieces that truly reflect your style and imagination.