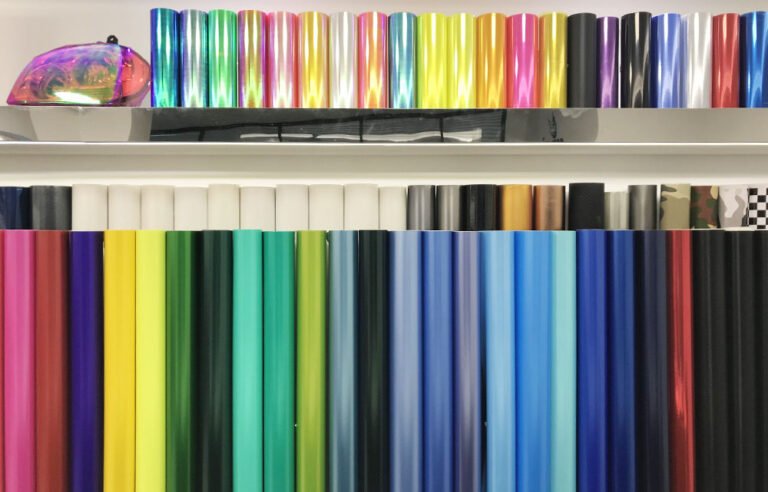
What are some key tips for achieving a successful iron-on heat transfer vinyl application?
Achieving a successful iron-on heat transfer vinyl application requires attention to detail and proper technique. Here are some key tips to ensure your iron-on vinyl projects turn out great:
1. Choose the Right Fabric
Start with a fabric that is suitable for heat transfer vinyl, such as cotton, polyester, or a blend. Avoid fabrics with high nylon or spandex content, as they may not withstand the heat.
2. Pre-Wash the Fabric
Wash and dry the fabric before applying the vinyl to remove any sizing or residues that might interfere with adhesion.
3. Temperature and Pressure
Follow the manufacturer’s recommendations for temperature and pressure settings. If using an iron, ensure it’s set to the correct heat level. If using a heat press, adjust the temperature and pressure accordingly.
4. Protective Layer
Some vinyl may have a protective layer (usually clear plastic). Make sure to remove this layer before applying the vinyl to the fabric.


5. Mirror the Design
If your design includes text or has a specific orientation, make sure to mirror it before cutting and applying. This is especially important for designs with text, as it ensures the final result appears correctly.
6. Cut and Weed Carefully
Use a sharp blade to cut the vinyl, and then weed (remove) the excess vinyl using a weeding tool. Take your time to avoid damaging the design.
7. Positioning and Alignment
Use guides like ruler marks or a T-square to align the vinyl accurately on the fabric. Consider using a washable fabric pen to mark reference points.
8. Use a Heat Press or Iron Properly
– If using an iron, ensure it’s dry and free of water. Use a hard, flat surface (like an ironing board) and avoid using the steam setting.
– If using a heat press, ensure even pressure across the entire design. A heat press provides more consistent heat and pressure than an iron.

9. Pressing Time
Pay attention to the recommended pressing time. Too little time may result in incomplete adhesion, while too much time can cause scorching or melting.
10. Pressing Order
If your design involves multiple layers or colors, press the base layer first, then add additional layers on top. Be sure to follow proper layering instructions.
11. Cooling Time
Allow the vinyl to cool down before peeling off the carrier sheet. This helps to prevent distortion or peeling of the vinyl.
12. Post-Application Press
After peeling off the carrier sheet, place a parchment paper or thin cloth over the vinyl and press again for a few seconds. This helps ensure a secure bond.
13. Washing and Care
Wait at least 24 hours before washing the garment. Turn the garment inside out before washing, and avoid using harsh detergents or high-temperature settings.
14. Storage and Maintenance
Store your iron-on vinyl in a cool, dry place away from direct sunlight. Avoid folding items with iron-on vinyl to prevent creasing.

15. Practice and Patience
Practice on scrap fabric before applying the vinyl to your final project. Achieving perfect results might take a few tries, so be patient and persistent.
By following these tips and mastering the techniques, you’ll be well on your way to creating successful iron-on heat transfer vinyl projects with clean, professional-looking results.


