A Detailed Guide About How to Use Heat Transfer Vinyl
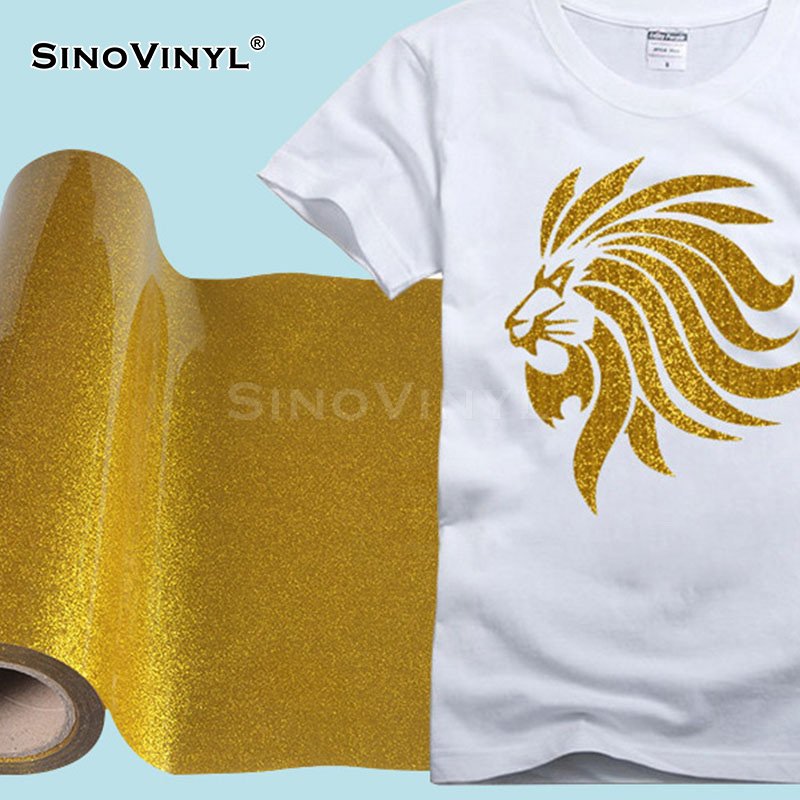
Heat transfer vinyl (HTV) is a versatile material used for creating custom designs on fabrics. It’s popular for creating custom t-shirts, tote bags, hats, and more. Here’s a detailed guide on how to use heat transfer vinyl:
Materials Needed
1. Heat Transfer Vinyl (HTV)
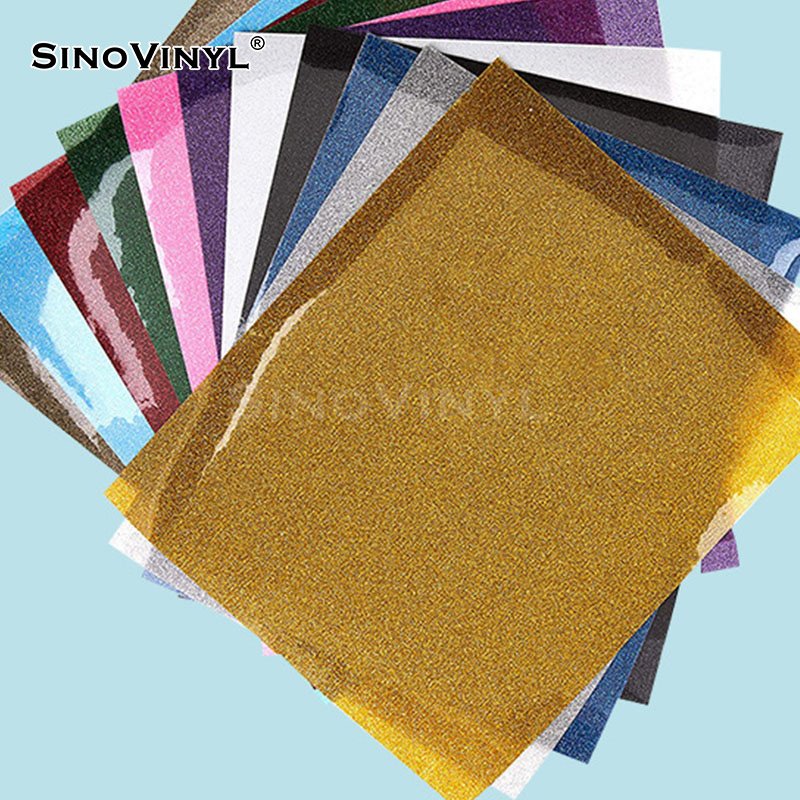
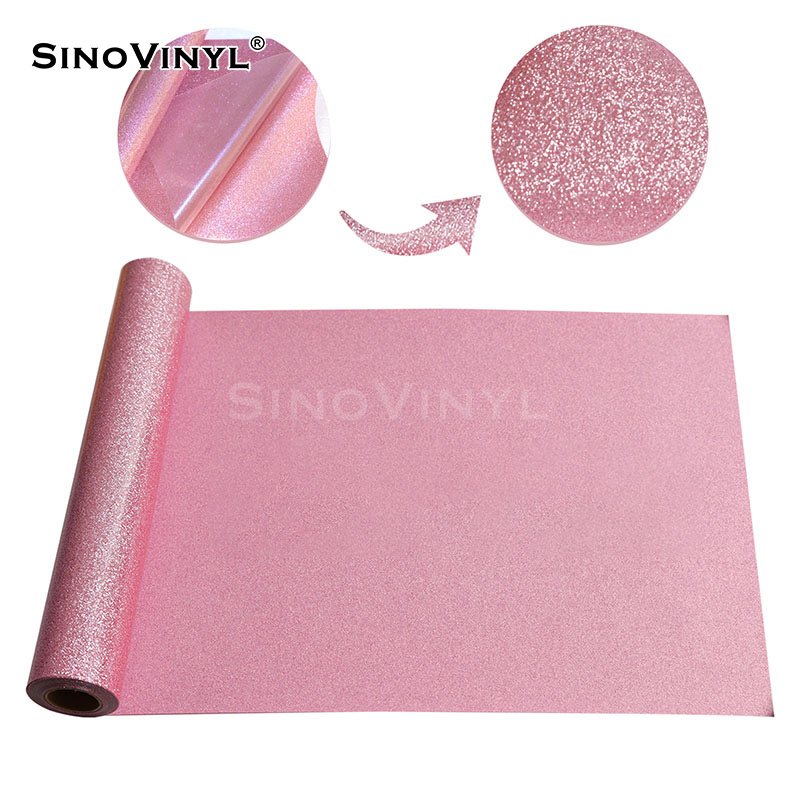
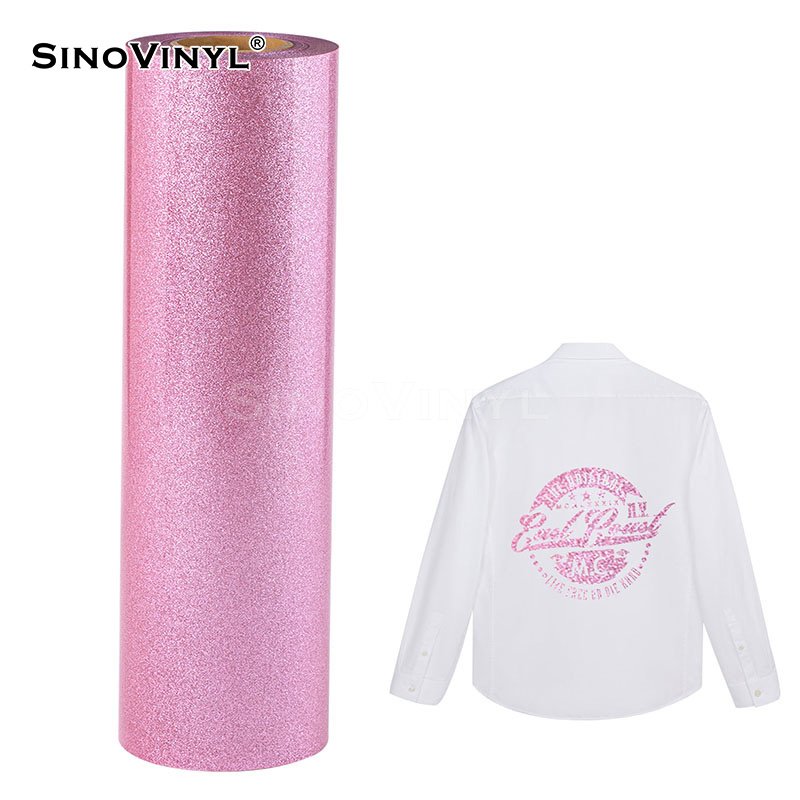
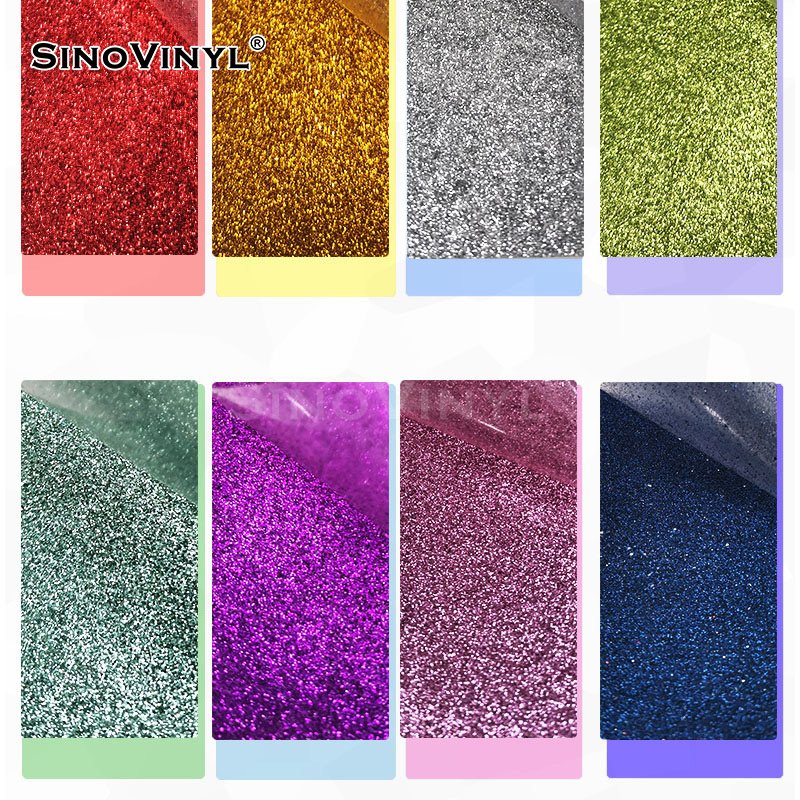
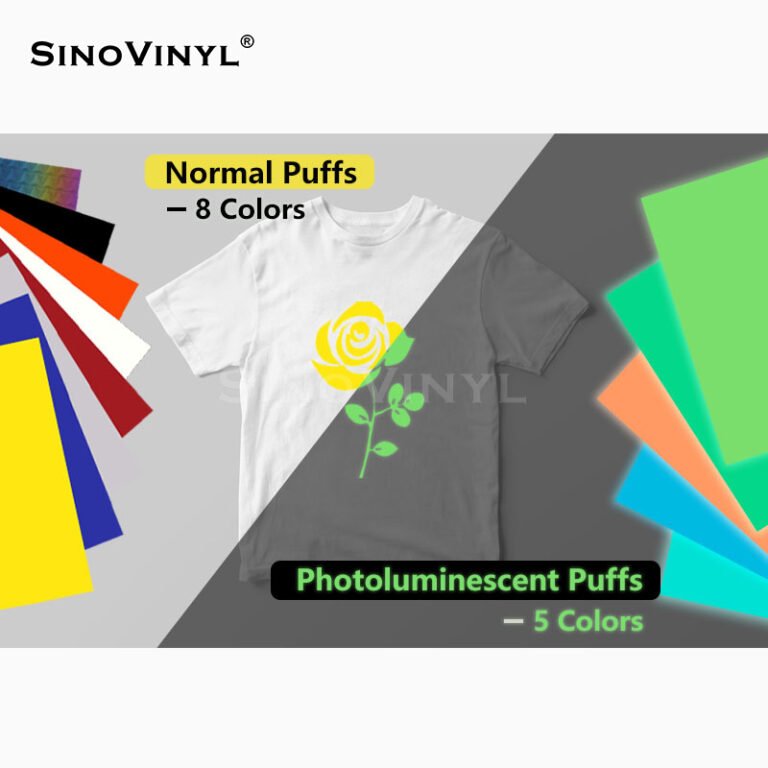
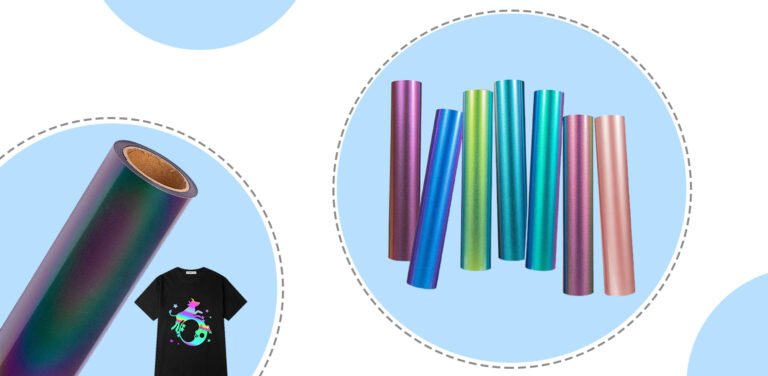
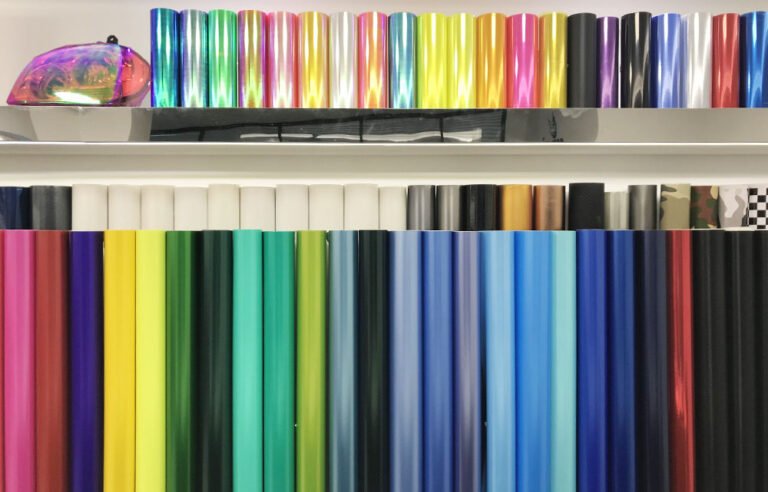
This comes in sheets or rolls. Ensure you have the colors and types you want for your design.
2. Cutting Machine
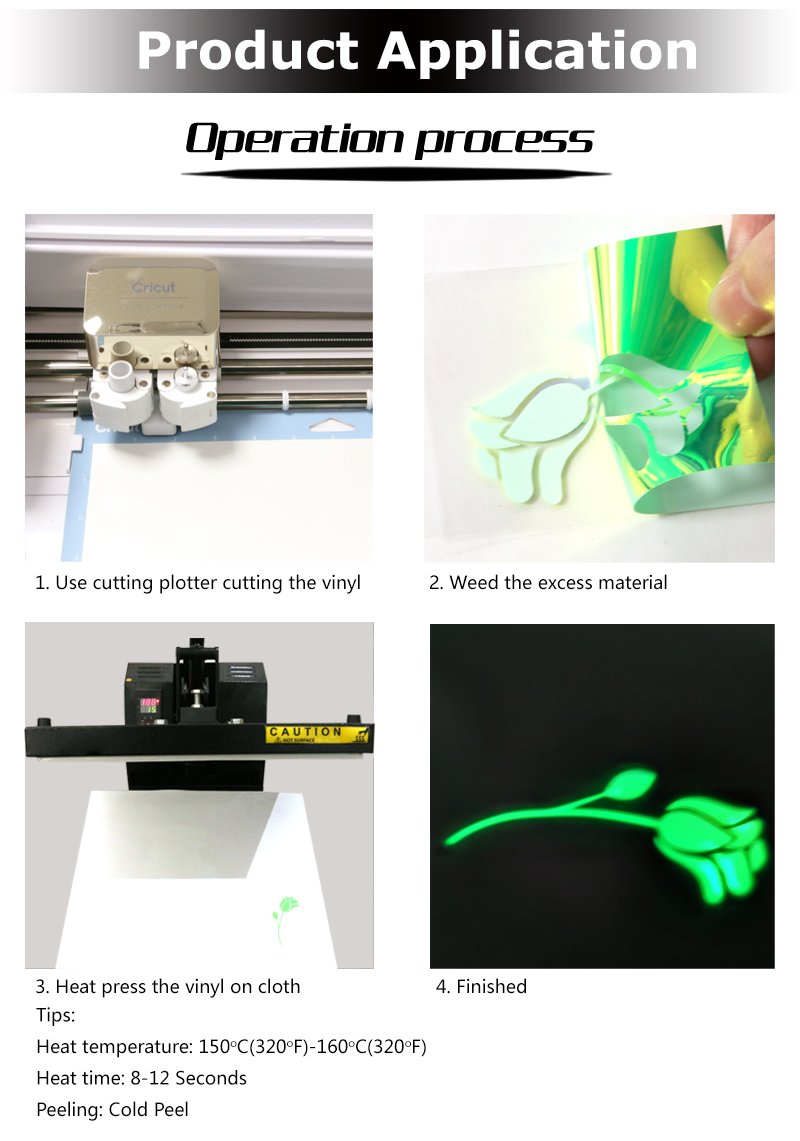
Such as a Cricut, Silhouette, or other vinyl cutting machine. This is used to cut out your design from the HTV.
3. Weeding Tool
This is a small tool with a sharp point used to remove the excess vinyl around your design.
4. Heat Press or Iron
A heat press provides consistent and even heat, but you can also use a household iron if you don’t have a heat press.
5. Teflon or Parchment Paper
Used to protect the vinyl and fabric from direct heat.
6. Blank Item to Apply HTV
This could be a t-shirt, tote bag, hat, etc.
Steps
1. Design and Prepare Your Image
– Use a design software (e.g., Adobe Illustrator, CorelDRAW, or specific software for your cutting machine) to create or import your design.
– Mirror the image: Before cutting, flip your design horizontally. This is crucial, especially if there’s text in your design.
2. Load and Cut HTV
– Place the HTV on the cutting mat with the shiny side (carrier sheet) facing down.
– Load the mat into your cutting machine and set the material settings to match your HTV.
– Send the design to be cut.
3. Weed the Design
– Once the cutting is complete, carefully remove the excess vinyl around your design using a weeding tool. Be precise, especially for intricate designs.
4. Preheat the Fabric
– Preheat the fabric for a few seconds using your heat press or iron. This removes any moisture and preps the surface for the vinyl.
5. Position and Apply HTV
– Place your weeded design on the fabric with the carrier sheet facing up. Position it where you want it to be.
– Cover the design with a Teflon sheet or parchment paper to protect the vinyl from direct heat.


6. Apply Heat
– Heat Press
– Set your heat press to the recommended temperature for your HTV and fabric (usually around 305°F or 150°C).
– Apply firm pressure and hold for about 15-20 seconds.
– Allow it to cool for a few seconds before carefully removing the carrier sheet while it’s still warm.
– Iron
– Set your iron to the cotton setting (no steam).
– Apply firm pressure and move the iron around the design for about 20-30 seconds.
– Allow it to cool for a few seconds before carefully peeling off the carrier sheet.
7. Post-Pressing
– Once you’ve removed the carrier sheet, press the design again for a few seconds with the Teflon sheet to ensure a good bond.
8. Cool and Test
– Allow the fabric to cool completely before testing. Check that the vinyl is securely adhered to the fabric.
9. Care Instructions
– Wait at least 24 hours before washing.
– Hand wash or use the gentle cycle inside out.
– Avoid bleach and high heat when washing and drying.
Remember to always follow the specific instructions provided by the manufacturer of your HTV, as they may vary slightly. With practice, you’ll become more confident in working with heat transfer vinyl and creating fantastic custom designs!
