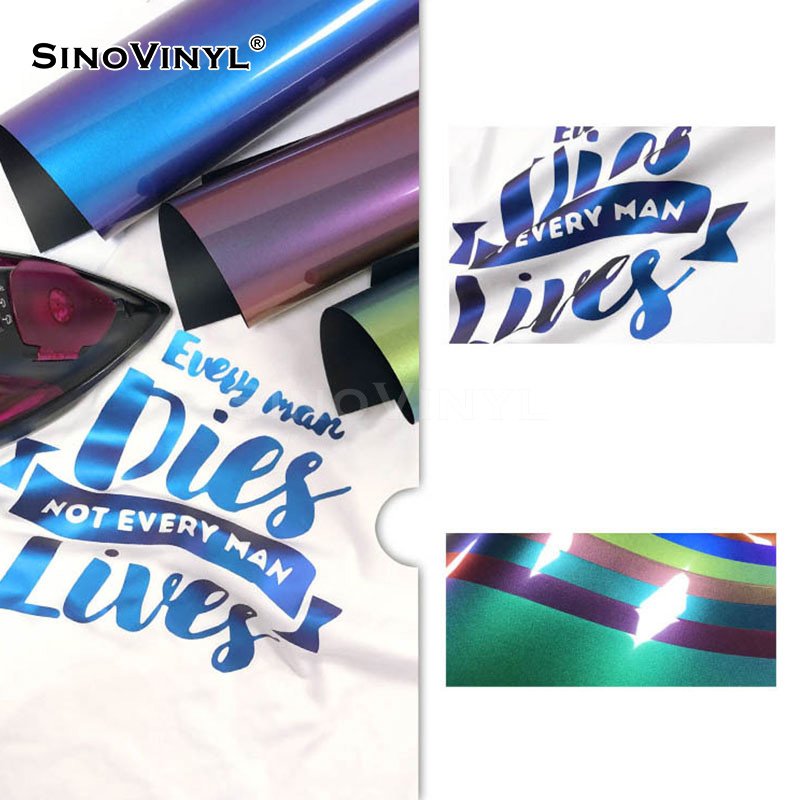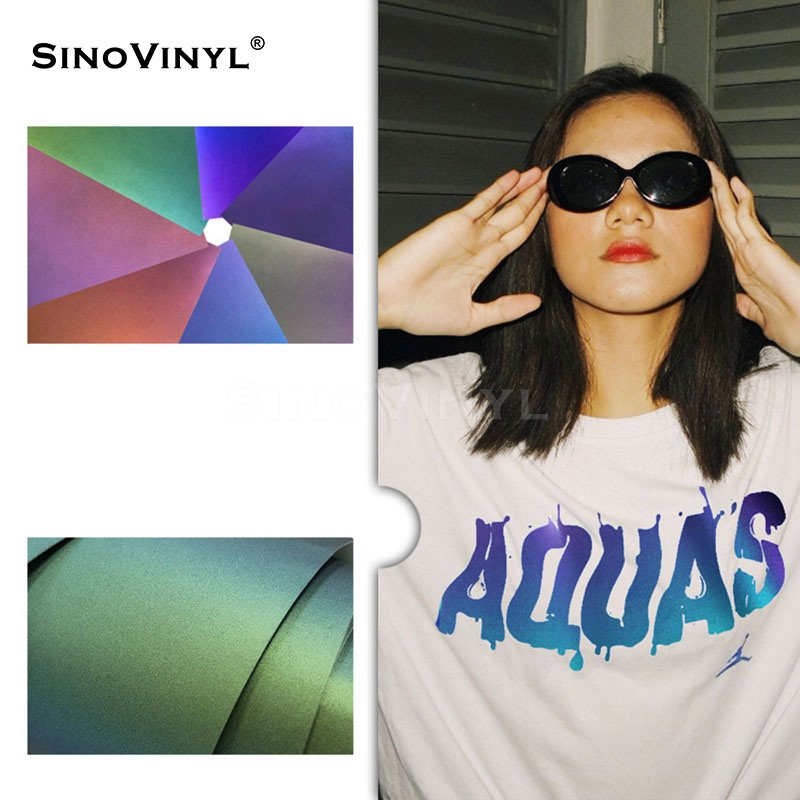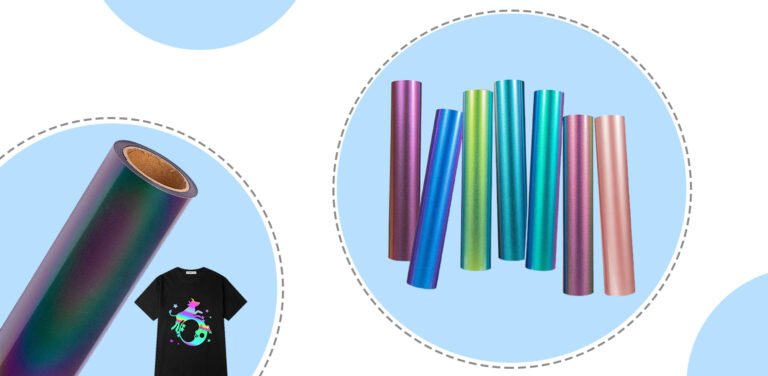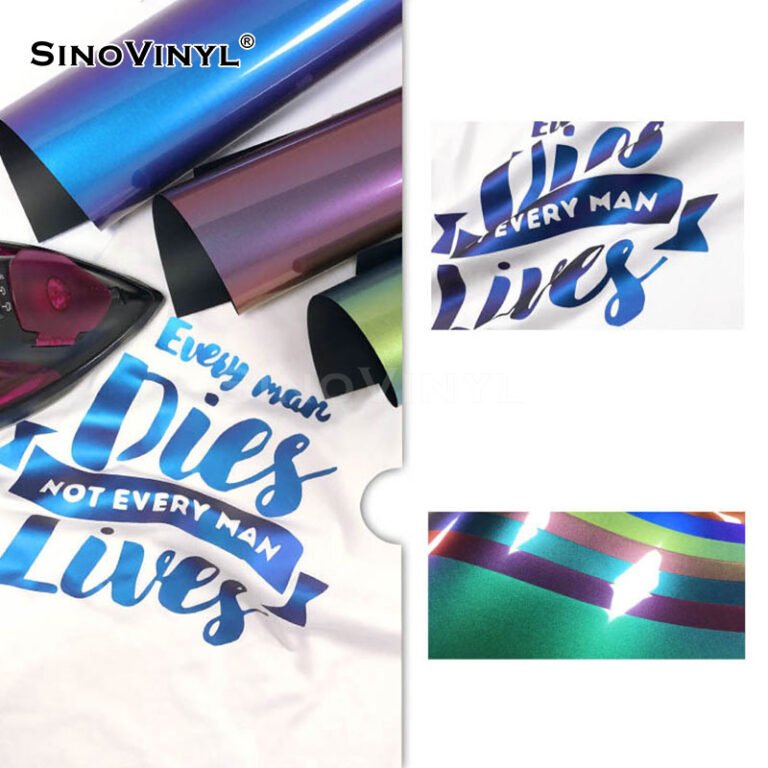
Creating Multi-Colored Designs with Layering
Layering different vinyl colors to create intricate designs is a fun and creative technique in heat transfer vinyl (HTV) crafting. Here’s a step-by-step guide to help you achieve beautiful layered vinyl designs:
Materials You’ll Need
1. Heat Transfer Vinyl sheets in various colors
2. Weeding tools (like a weeding hook or tweezers)
3. Heat source (heat press or household iron)
4. Teflon or parchment paper
5. Blank garment or material
6. Design template or SVG file
Step-by-Step Instructions
1. Design Your Image
Start by creating or selecting the design you want to apply to your garment. If you’re not designing from scratch, you can find SVG files or purchase pre-made designs online.
2. Prepare the Vinyl Sheets
Determine which parts of your design will be different colors and cut each color of vinyl separately using your cutting machine (e.g., Cricut, Silhouette). Make sure to mirror your design for each color if your vinyl has a carrier sheet.
3. Weed the Vinyl
Weed out the excess vinyl from each color using your weeding tools. Be careful to leave only the parts you want to transfer onto the garment.
4. Apply the Base Layer
Start with the bottom layer of your design. This is usually the layer that will be closest to the garment. Place the blank garment on your heat press or ironing surface and pre-press it for a few seconds to remove wrinkles and moisture.
5. Position and Heat Press
Position the first layer of vinyl on the garment where you want it to be. Cover it with a Teflon or parchment paper to protect the vinyl from direct heat. Apply heat with your heat press or household iron according to the recommended temperature and time settings for the specific vinyl material you’re using. Typically, it’s around 300-325°F (150-160°C) for 10-15 seconds.
6. Peel the Carrier Sheet
After pressing, allow the vinyl to cool for a moment, then gently peel off the carrier sheet while it’s still warm. If the carrier sheet doesn’t come off easily, you may need to re-press it for a few more seconds.
7. Layer the Next Color
Repeat the process for each subsequent color layer. Position the next layer of vinyl on top of the previously applied layer. Ensure that the layers are aligned correctly to create the desired design.
8. Heat Press Again
Cover the layered vinyl design with your protective sheet and press it again using the appropriate heat and time settings for the second color. Repeat this step for each additional color layer.
9. Peel and Cool
After pressing all the layers, allow the garment to cool completely. Once it’s cool to the touch, gently peel off the carrier sheets from the top layer(s).
10. Final Press (Optional)
To ensure all layers are securely adhered, you can place a Teflon or parchment paper over the entire design and press it one more time for a few seconds.
11. Enjoy Your Layered Design
Your intricate layered vinyl design is now complete and ready to be showcased on your garment or project.
Remember to follow the specific instructions provided by the vinyl manufacturer as temperature and time settings may vary depending on the type of vinyl you are using. With practice, you can create stunning, multi-colored designs using this layering technique.


Designing for Different Fabrics
When working with heat transfer vinyl (HTV), it’s important to choose the right type of vinyl and adjust your heat settings based on the fabric you’re working with. Here are some tips to help you make the best choices:
1. Consider Fabric Type
– Cotton, polyester, and blends are the most common fabrics used with HTV. Each type requires different settings.
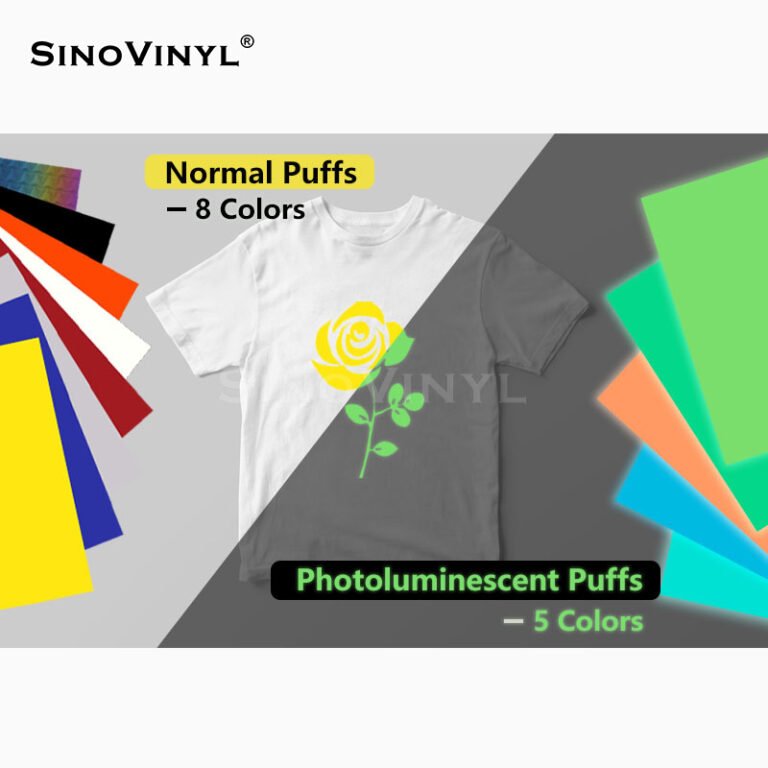
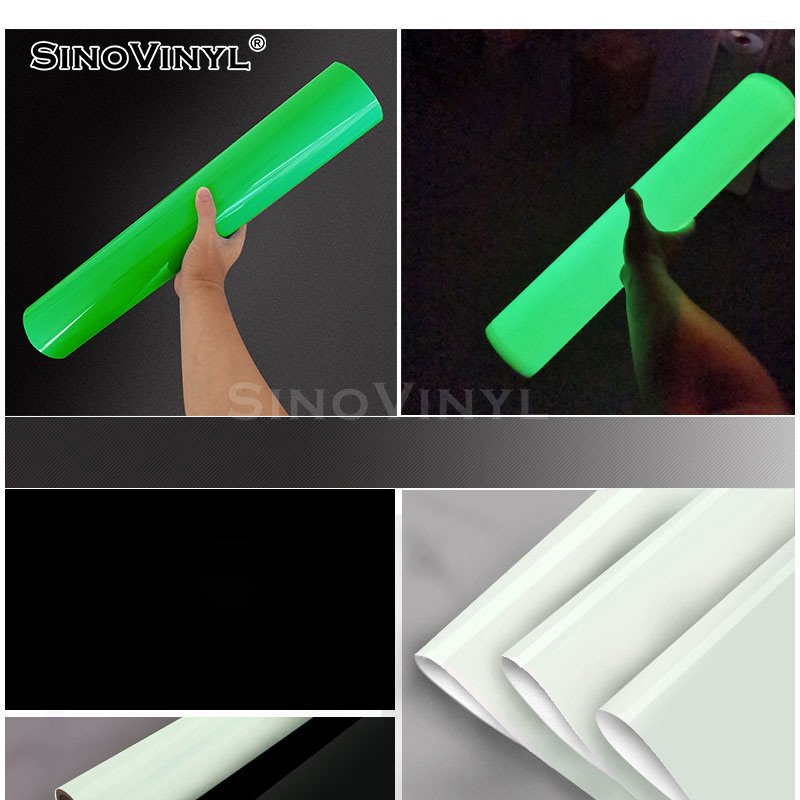
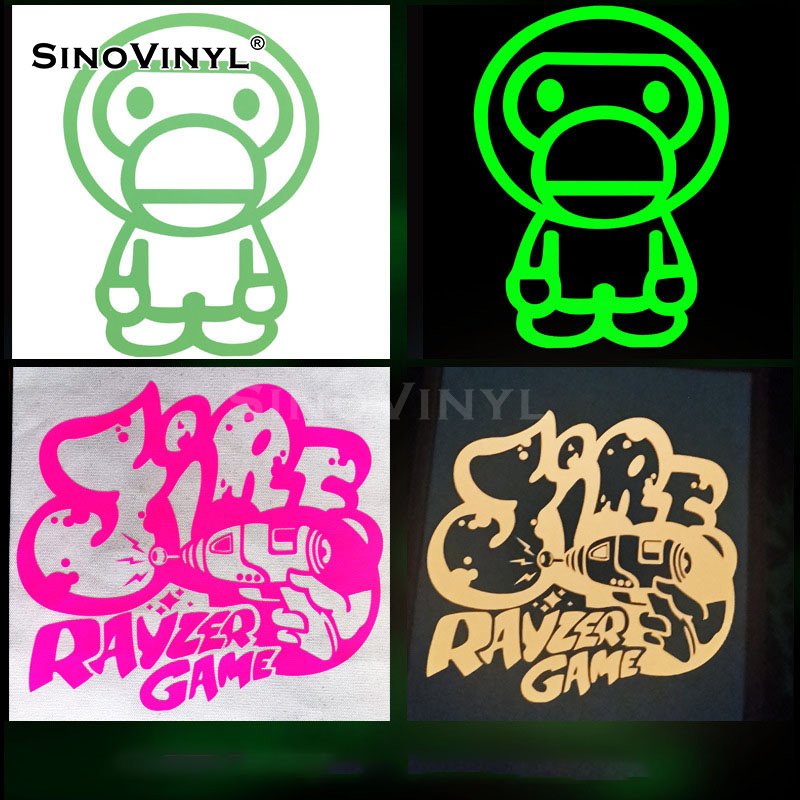
2. Know Your Vinyl Types
– Standard HTV: Suitable for cotton and cotton-blend fabrics.
– Stretch HTV: Ideal for stretchy or athletic fabrics like spandex or Lycra.
– Glitter HTV: Adds sparkle and is suitable for cotton, polyester, and blends.
– Flocked HTV: Has a soft, velvety texture and is great for cotton and polyester.
– Reflective HTV: Provides high visibility and works well on cotton, polyester, and blends.
3. Check the Fabric Care Label
– Look for instructions on the fabric care label regarding washing and ironing. This will guide you on appropriate heat settings.
4. Pre-Test on a Scrap Piece
– Always test a small piece of your chosen fabric with a small section of vinyl to ensure it adheres properly without melting or scorching.
5. Adjust Heat Press Temperature and Pressure
– Use a lower temperature for heat-sensitive fabrics like polyester. Start with a lower temperature and gradually increase if needed.
6. Use a Heat Press Cover Sheet or Teflon Sheet
– This helps protect delicate fabrics from direct heat and prevents scorching.
7. Increase Pressure for Thick or Textured Fabrics
– If working with fabrics that are thick or have textures (like fleece), you may need to increase the pressure on your heat press.
8. Consider Layering and Overlapping
– When layering multiple colors of vinyl, consider the fabric type for each layer. You may need to adjust heat settings accordingly.
9. Be Mindful of Heat Press Dwell Time
– Dwell time is the duration for which you apply heat. Different fabrics may require different dwell times, so pay attention to this setting.
10. Use a Teflon Pillow for Uneven Surfaces
– If working on a garment with seams or uneven areas, a Teflon pillow can help provide a more even surface for the heat press.
11. Allow the Garment to Cool Before Peeling
– Wait until the vinyl is cool before peeling off the carrier sheet. This ensures the adhesive has properly adhered to the fabric.
12. Check Manufacturer Guidelines
– Always refer to the specific guidelines provided by the manufacturer of the HTV you’re using. They may have specific recommendations for different fabric types.
Remember, practice and experimentation are key to finding the perfect settings for each fabric type. Keep a record of your successful settings for future reference.