Essential Tools and Materials for Crafting with Heat Transfer Vinyl Decals
Crafting with heat transfer vinyl decals requires specific tools and materials to ensure successful and professional-looking results. Here are some essential items you’ll need:
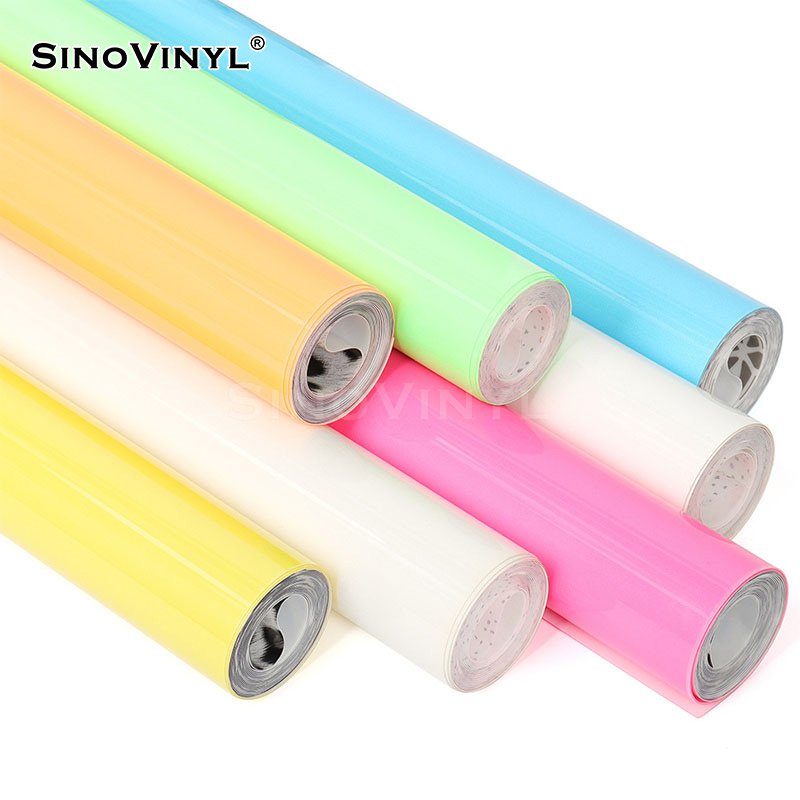
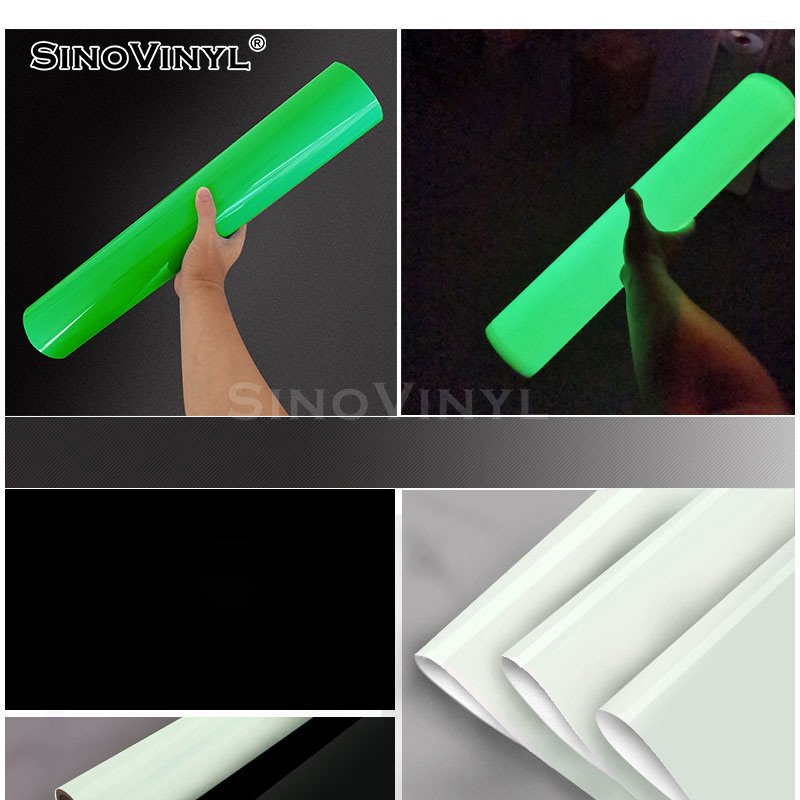
1. Heat Transfer Vinyl (HTV)
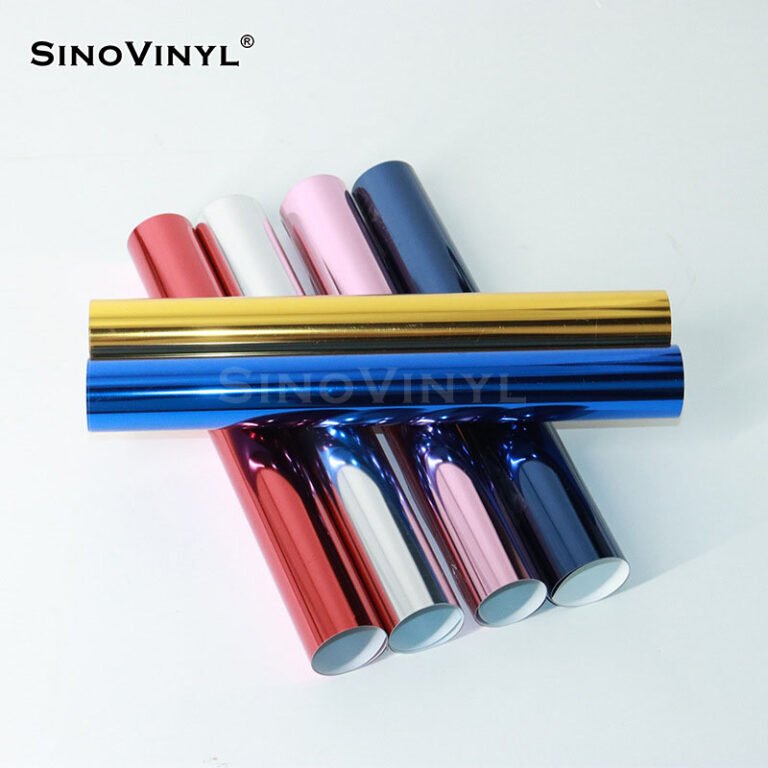
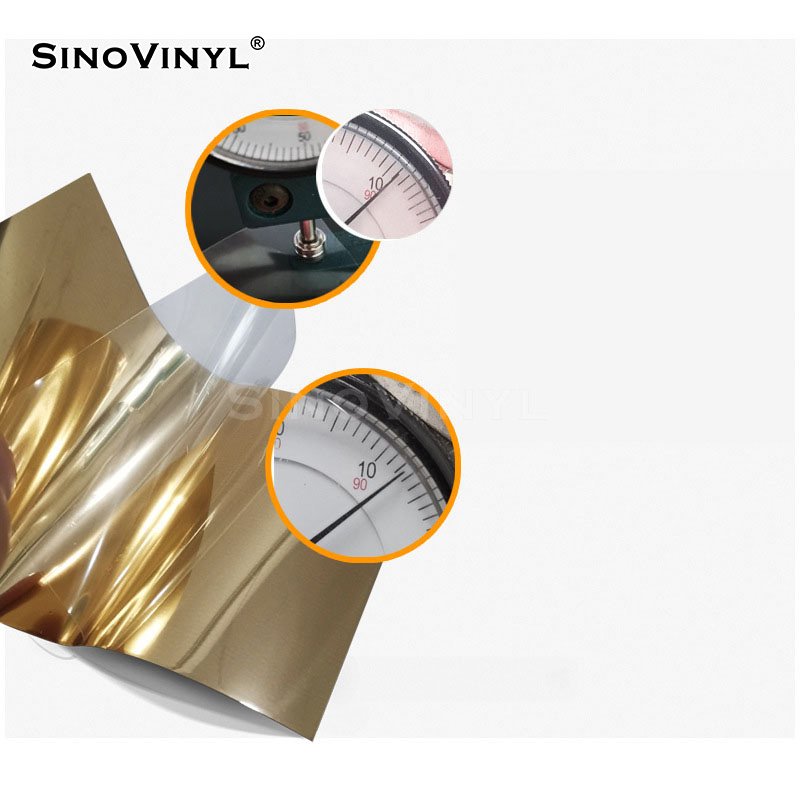
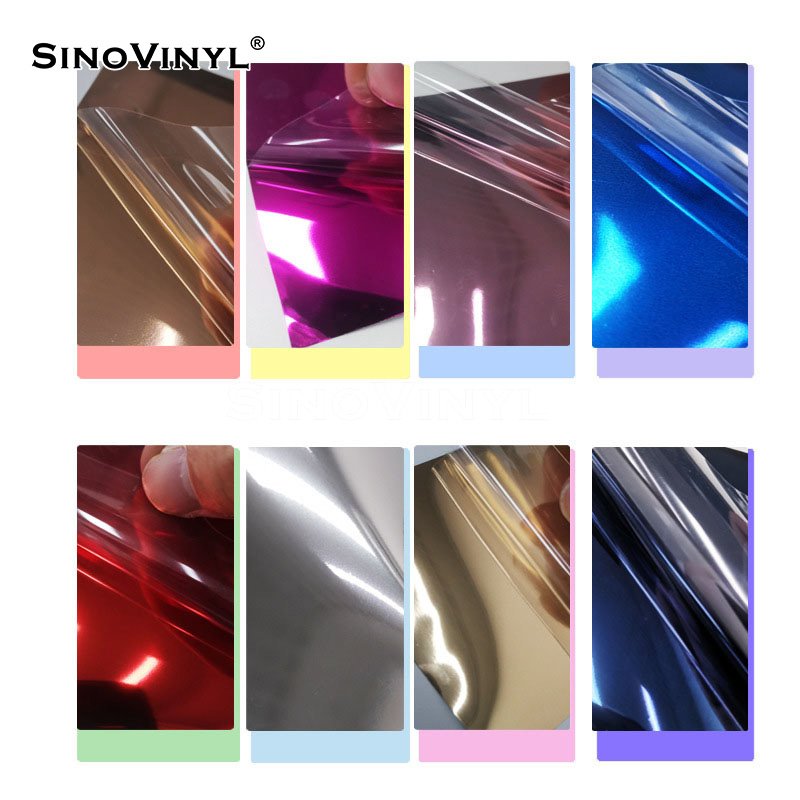
The primary material for creating your decals. HTV comes in various colors, finishes (matte, glossy, glitter, etc.), and can be bought in sheets or rolls.
2. Cutting Machine
A digital cutting machine like Cricut or Silhouette is essential for precision cutting of the heat transfer vinyl. These machines work with design software to cut intricate shapes and patterns.
3. Weeding Tool
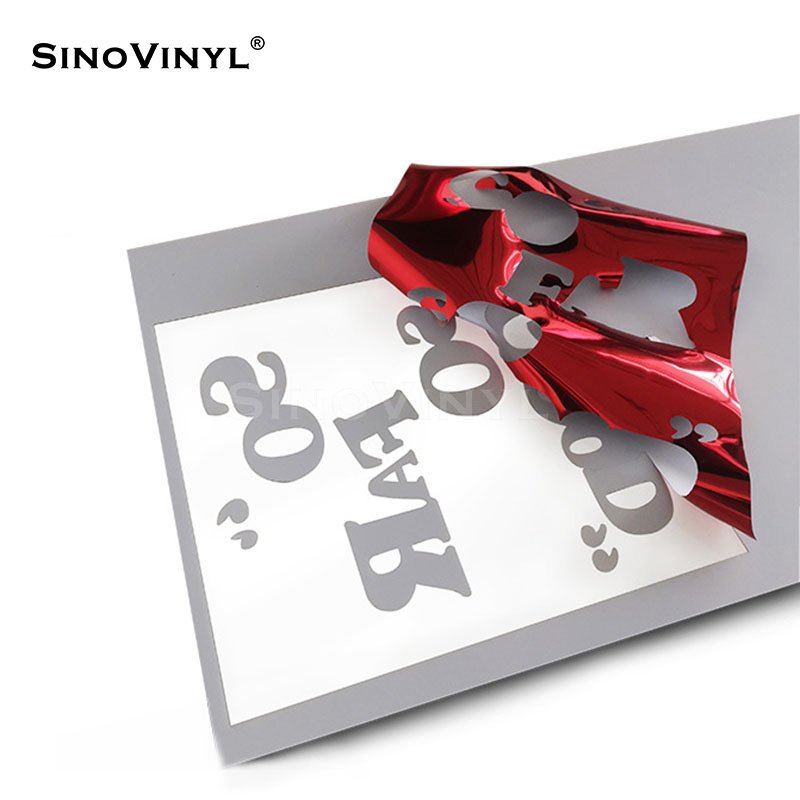
This tool helps you remove excess vinyl material from your design after cutting. It’s essential for intricate designs as it ensures the details remain intact.
4. Heat Press or Iron
You’ll need a heat source to apply the heat transfer vinyl onto your project. A heat press is recommended for more professional and consistent results, but an iron can also work for smaller projects.
5. Heat Transfer Tape
Also known as transfer paper or application tape, it’s used to lift your design from its backing and apply it to your project surface.
6. Teflon Sheet or Parchment Paper
Placing a Teflon sheet or parchment paper between the heat source and the vinyl prevents it from sticking to the press or iron and protects your project from scorching.
7. Weeding Mat or Lightbox
These tools assist in easier weeding by providing better visibility of the cut lines. A lightbox is especially useful for weeding lighter-colored vinyl.
8. Ruler or Measuring Tape
Ensures precise placement and alignment of your vinyl on the project surface.
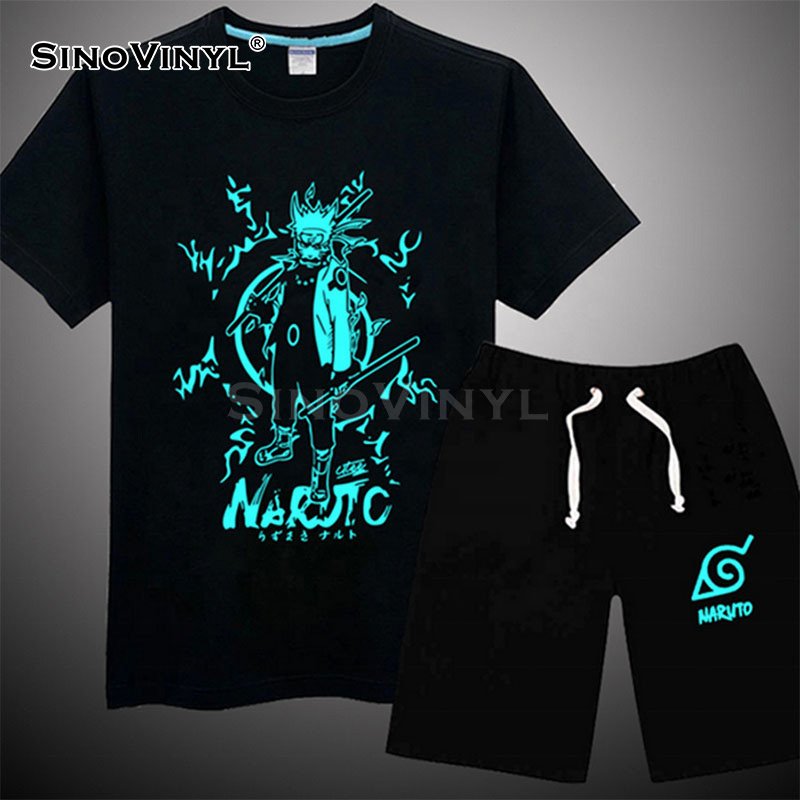
9. Fabric or Surfaces
Depending on your project, you’ll need suitable fabrics (T-shirts, tote bags) or other surfaces (wood, glass, metal) to apply your heat transfer vinyl decals.
10. Lint Roller or Cleaning Cloth
Helps in preparing your fabric surface by removing any dust, lint, or debris that could affect the vinyl’s adhesion.
11. Scissors
For trimming the heat transfer vinyl sheet to the desired size before cutting with the machine.
12. Crafting Mat or Protective Surface
To safeguard your work area from scratches or potential damage during cutting and weeding.
13. Heat Resistant Gloves
Useful when handling the heated press or iron, protecting your hands from accidental burns.
14. Design Software
If your cutting machine requires it, design software is necessary to create or customize your designs before cutting.
15. Spray Bottle with Water
In some cases, a light misting of water can aid in the process of removing the heat transfer tape after pressing.
Having these essential tools and materials at your disposal will set you up for success in your heat transfer vinyl decal projects.

Prepping Your Design: Tips for Successful Heat Transfer Vinyl Projects
Absolutely! Here are some valuable tips to ensure successful heat transfer vinyl projects:
1. Quality Materials
Invest in high-quality heat transfer vinyl (HTV) from reputable brands. The quality of the vinyl significantly affects the final result and durability of your project.
2. Clean and Smooth Surface
Ensure that the surface you’re applying the vinyl to is clean and smooth. Any dirt, dust, or imperfections may affect the adherence of the vinyl.
3. Proper Cutting Settings
Adjust your cutting machine’s settings (blade depth, pressure, and speed) according to the type of vinyl and machine you’re using. A test cut is always a good idea to ensure accuracy.
4. Weeding with Care
Take your time when weeding (removing excess vinyl). Use a weeding tool to be precise and avoid damaging the design.
5. Use Heat-Resistant Tape
Secure your design in place using heat-resistant tape before pressing. This prevents any movement during the heat application.
6. Heat Press Temperature and Pressure
Follow the recommended heat settings for the specific type of HTV you’re using. Make sure to apply even pressure during pressing.
7. Protection Sheet
Place a Teflon or non-stick sheet over the vinyl design before pressing. This protects the vinyl from direct heat and prevents any accidental scorching.
8. Peel Hot or Cold
Some vinyl requires peeling the carrier sheet either immediately after pressing (hot peel) or after it cools down (cold peel). Follow the manufacturer’s instructions for the best results.
9. Test on Scrap Fabric
Always perform a test on a scrap piece of fabric or material similar to your project before applying the vinyl to the final product.
10. Layering Order
If you’re working with layered vinyl designs, consider the order in which the layers should be pressed. Start with the bottom layer and work your way up.
11. Allow Cooling Time
If you’re layering multiple colors, allow the vinyl to cool down completely before applying the next layer to avoid unwanted melting.
12. Avoid Direct Ironing
If using an iron instead of a heat press, avoid direct steam and use the dry setting to prevent moisture from affecting the vinyl’s adhesive properties.
13. Washing Instructions
Carefully follow the washing instructions for garments or items with HTV to ensure the vinyl lasts longer.
14. Storage
Store your unused HTV in a cool, dry place, away from direct sunlight, to maintain its quality.
15. Experiment and Have Fun
Don’t be afraid to experiment with different techniques and materials. Crafting with HTV can be enjoyable, so have fun and let your creativity flow!
By following these tips, you’ll increase the likelihood of achieving successful and long-lasting heat transfer vinyl projects. Happy crafting!


Heat Transfer Vinyl Decals for Beginners: Step-by-Step Tutorial
Materials Needed
1. Heat transfer vinyl sheets in desired colors
2. Cutting machine (e.g., Cricut, Silhouette, or other vinyl cutters)
3. Weeding tool or tweezers
4. T-shirt or fabric surface for application
5. Heat press machine or household iron
6. Heat-resistant tape or adhesive spray (optional)
7. Scissors or cutting mat (if hand-cutting the design)
Step 1: Design and Prepare Your Decal
1.1 Start by creating or selecting a design for your heat transfer vinyl decal on your computer. You can use design software like Adobe Illustrator or free online platforms like Canva.
1.2 Make sure your design fits within the dimensions of your cutting machine’s cutting area.
Step 2: Load the Vinyl Sheet
2.1 Open your cutting machine’s software and set the material to “heat transfer vinyl.”
2.2 Load the heat transfer vinyl sheet into your cutting machine, ensuring it’s secured properly.
Step 3: Cut the Design
3.1 In your cutting machine’s software, click “Cut” to begin cutting your design.
3.2 Once the machine finishes cutting, unload the vinyl sheet, and carefully weed (remove) the excess vinyl around the design using a weeding tool or tweezers.
Step 4: Preparing the Surface
4.1 Preheat your heat press machine to the appropriate temperature for the type of vinyl and fabric you are using. If using an iron, set it to the cotton setting without steam.
4.2 Place the fabric or T-shirt on the heat press machine or an ironing board.
Step 5: Positioning the Decal
5.1 Carefully position your heat transfer vinyl decal on the fabric surface, ensuring it’s centered and in the desired location.
5.2 If you’re working with multiple layers, use heat-resistant tape or adhesive spray to temporarily secure each layer in place.
Step 6: Applying the Decal
6.1 For a heat press machine, carefully lower the heat press platen onto the vinyl decal and fabric, applying even pressure. Refer to the recommended time and temperature settings for your specific heat transfer vinyl.
6.2 If using an iron, place a clean cotton cloth over the vinyl and press down firmly with the iron for the recommended time.
Step 7: Removing the Backing
7.1 Once the vinyl decal has been heat pressed or ironed, allow it to cool for a few seconds.
7.2 Gently peel off the clear backing material from the heat transfer vinyl. If you have multiple layers, remove the tape or adhesive securing each layer before peeling.
Step 8: Finalizing the Decal
8.1 If you have multiple layers, repeat steps 5 to 7 for each layer, ensuring proper alignment.
8.2 Check the edges and corners of the decal to ensure it adheres properly to the fabric.
8.3 If there are any loose areas, reapply heat and pressure as needed.
Step 9: Completing the Project
9.1 Once the vinyl decal is fully applied and cooled, your project is complete!
9.2 If you used a T-shirt, wait at least 24 hours before washing it, and make sure to follow the care instructions for the specific vinyl used.
Congratulations! You’ve successfully created your heat transfer vinyl decal. With practice, you’ll be able to craft even more intricate and eye-catching designs for various fabric surfaces. Happy crafting!

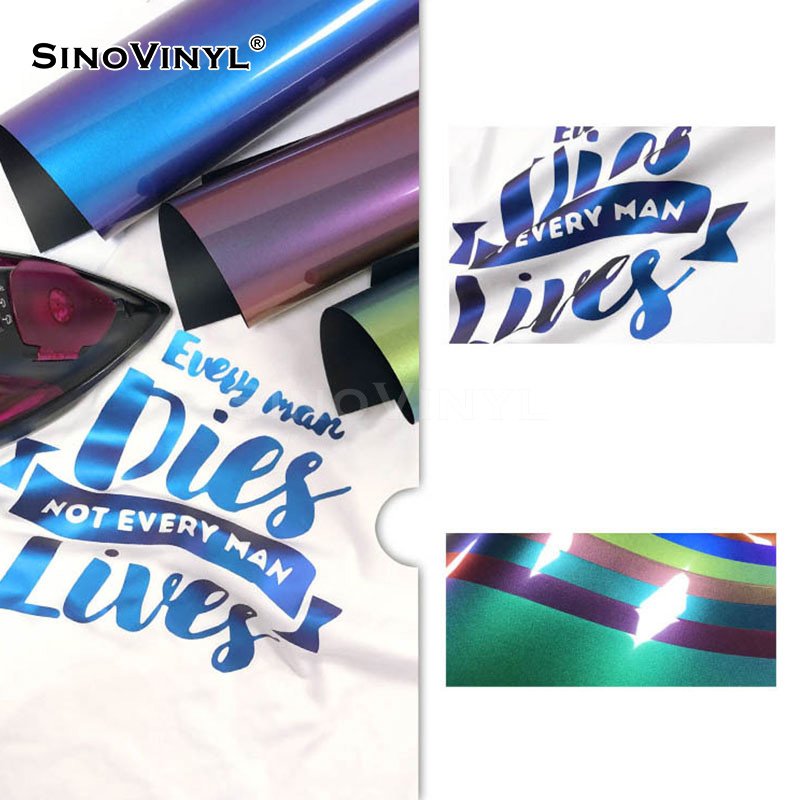
Advanced Techniques: Layering and Multi-Color Vinyl Decals
Layering and multi-color vinyl decals open up a whole new world of creative possibilities for your crafting projects. By combining different colors and designs, you can achieve intricate and eye-catching designs that truly stand out. However, these techniques require a bit of planning and precision to ensure a flawless result. Here’s a step-by-step guide to mastering layering and multi-color vinyl decals:
1. Design Planning
– Start with a clear vision of your final design. Consider how different elements will interact and overlap.
– Sketch out your design on paper or use design software to visualize the layering order.
2. Material Selection
– Choose high-quality heat transfer vinyl in various colors that complement each other.
– Ensure that the vinyl is compatible with layering, as some types may not adhere properly when layered.
3. Cutting the Vinyl
– Use a cutting machine and design software to cut each layer of the design separately.
– Be mindful of the cutting settings and blade depth to achieve clean and precise cuts.
4. Layering Order
– Identify the bottom-most layer of your design—the background layer. Cut and apply this layer first.
– Work your way up, layer by layer, adhering one color or element at a time.
5. Alignment and Registration
– Achieving perfect alignment is crucial for a seamless result. Use registration marks or alignment guides to help you position each layer accurately.
– Tack down each layer lightly before pressing with heat to allow for adjustments if needed.
6. Heat Pressing
– Follow the manufacturer’s instructions for heat press temperature, time, and pressure settings for each type of vinyl used.
– Be mindful not to overheat the previously applied layers to avoid damaging or shifting them during the pressing process.
7. Peeling and Curing
– Allow the vinyl to cool before carefully peeling off the carrier sheets. Take your time to avoid lifting other layers accidentally.
– For multi-color designs, check if the vinyl requires a warm or cold peel process.
8. Finishing Touches
– If any small gaps or misalignments are present, use a weeding tool to adjust or remove excess vinyl carefully.
– Apply a final heat press to ensure all layers are securely bonded to the substrate.
9. Experiment and Practice
– Layering and multi-color vinyl projects might take some practice to perfect. Don’t be discouraged by initial attempts—experiment with different designs and color combinations to enhance your skills.
By mastering the art of layering and multi-color vinyl decals, you can create stunning and intricate designs that showcase your artistic flair and crafting expertise. Whether you’re making personalized apparel, home decor, or gifts, these advanced techniques will elevate your heat transfer vinyl projects to a whole new level.


Final Words
In conclusion, heat transfer vinyl decals have become a crafting sensation, unleashing boundless opportunities for artistic expression and personalized creations. With a kaleidoscope of colors and an array of design options, this versatile medium empowers crafters of all levels to bring their imaginative visions to life. From eye-catching apparel to stylish home decor and heartfelt gifts, the possibilities are truly endless. So, embrace the magic of heat transfer vinyl decals and embark on a crafting journey that will not only unleash your artistry but also ignite a passion for creating something uniquely yours. Let your creativity flow, and may your heat transfer vinyl projects be a testament to the beauty and ingenuity of handmade art. Happy crafting!