Step-by-step guide to applying heat transfer vinyl for Sale
Here’s a step-by-step guide to applying heat transfer vinyl (HTV):
Step 1: Design and Prepare Your Artwork
Design your artwork using graphic design software. Ensure it’s properly sized and mirrored (flipped) horizontally, especially if it contains text or intricate details.
Step 2: Gather Materials
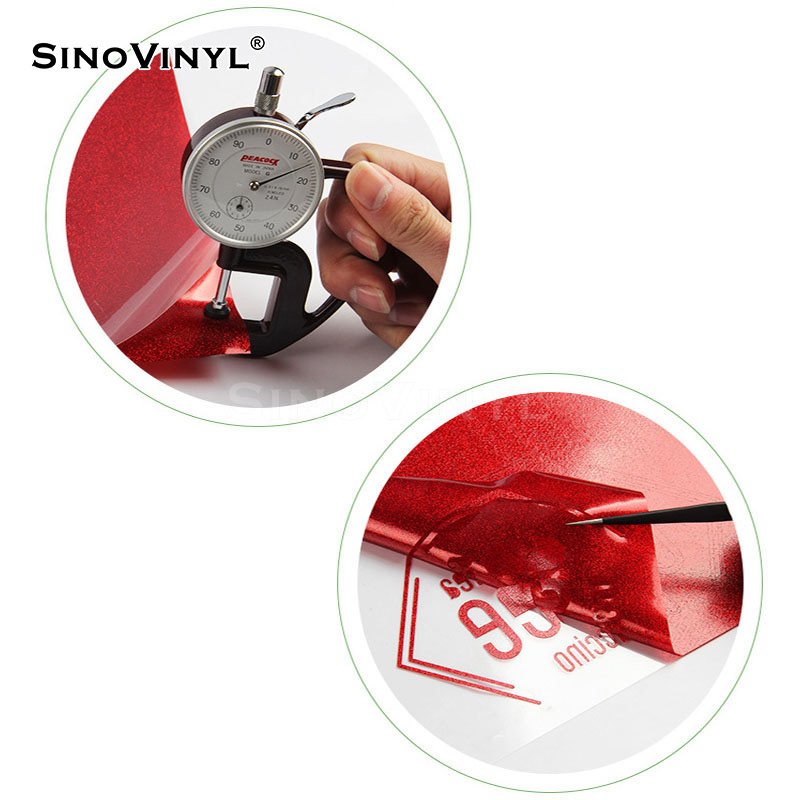
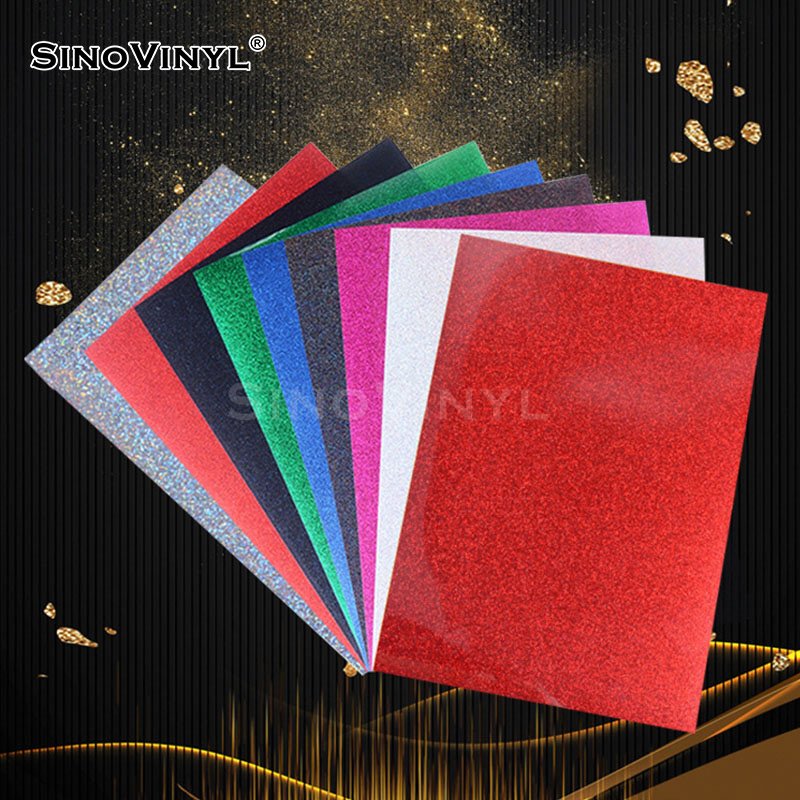
1. Heat transfer vinyl (SINO VINYL’s wholesale vinyl).
2. Garment or fabric to apply the design on.
3. Heat press machine or home iron.
4. Teflon sheet or parchment paper.
5. Weeding tools (to remove excess vinyl).
6. Heat-resistant tape (optional but helpful).
Step 3: Cut and Weed the Vinyl
1. Load the chosen HTV into your cutting machine with the carrier sheet facing down.
2. Set the appropriate cut settings for the vinyl type and thickness.
3. Once cut, carefully remove the excess vinyl around the design, leaving only the desired design on the carrier sheet. This process is called weeding.
Step 4: Preparing the Garment
1. Place the garment on a clean, flat surface.
2. Pre-heat the area where you’ll be applying the vinyl using a heat press or iron. This helps remove wrinkles and moisture and ensures a smooth application.
Step 5: Positioning the HTV
1. Position the weeded HTV design on the garment, with the carrier sheet facing up. Ensure it’s centered and aligned as desired.
2. You can use heat-resistant tape to secure the design in place, but avoid taping over the vinyl itself.
Step 6: Applying the Vinyl
1. If using a heat press
– Set the appropriate temperature and time settings according to the vinyl and garment specifications.
– Close the heat press and apply even pressure.
– Once the timer goes off, open the press and carefully remove the carrier sheet while it’s hot.
2. If using a home iron
– Set the iron to the appropriate temperature for the vinyl type (no steam).
– Place a Teflon sheet or parchment paper over the design to protect it.
– Apply firm pressure with the iron for the recommended time, making sure to cover the entire design area.
Step 7: Cooling and Peeling
1. Allow the vinyl and garment to cool down for a few seconds to a minute.
2. For warm peel vinyl, carefully peel off the carrier sheet while it’s still warm (not hot).
3. For cold peel vinyl, wait until the design is completely cool before removing the carrier sheet.
Step 8: Final Touches
1. If using a heat press, you can do a final press without the carrier sheet for a few seconds to ensure a strong bond.
2. Inspect the design to make sure all edges are adhered properly. If needed, reapply heat and pressure to any areas that might not have adhered completely.
Step 9: Finished Product
Your garment with the applied HTV design is now ready to wear or share!
Always follow the specific instructions provided by SINO VINYL for their wholesale heat transfer vinyl to ensure optimal results.


Tips for achieving professional-looking results
Achieving professional-looking results with heat transfer vinyl (HTV) requires attention to detail and a good understanding of the application process. Here are some tips to help you achieve outstanding results:
1. Start with Quality Materials
– Begin with high-quality heat transfer vinyl from a reputable supplier like SINO VINYL. Quality vinyl will adhere better and provide vibrant, long-lasting results.
2. Choose the Right Fabric
– Select fabrics that are compatible with heat transfer vinyl. Cotton, polyester, and blends are generally good options. Avoid fabrics that can’t withstand heat or may melt.
3. Prepare Your Design
– Ensure your design is clean, well-organized, and appropriately sized for the garment. Use design software to mirror the image before cutting if necessary.
4. Test Before Applying
– Always perform a test application on a scrap piece of fabric or the same type of garment to ensure proper settings and techniques before working on the final piece.
5. Proper Cutting and Weeding
– Use the correct cut settings on your vinyl cutter to ensure clean, precise cuts. After cutting, weed the excess vinyl carefully, ensuring that the design elements remain intact.
6. Temperature and Pressure
– Follow the manufacturer’s instructions for heat settings and pressure. Using an appropriate heat press or iron is crucial to achieving proper adhesion.
7. Protective Layer
– Some HTV types come with a protective layer (a carrier sheet). Ensure it’s properly positioned before applying heat. It not only protects the vinyl but also aids in even application.
8. Positioning and Alignment
– Use alignment guides, rulers, or even a teflon sheet to help position your design accurately on the garment. Take time to measure and ensure symmetry.
9. Consistent Pressure
– Apply even and consistent pressure with your heat press or iron. Pay extra attention to edges and corners where adhesion can be weaker.
10. Peeling Process
– Allow the vinyl to cool slightly before peeling off the carrier sheet. Peel at a 45-degree angle and check if the vinyl has adhered completely. If not, reapply heat and pressure.
11. Post-Application Press
– After peeling, place a Teflon sheet or parchment paper over the applied vinyl and press for an additional 3-5 seconds. This helps ensure a strong bond.
12. Wash and Care Instructions
– Provide your customers with proper care instructions to maintain the longevity of the HTV. Recommend washing inside out and avoiding harsh detergents or fabric softeners.
13. Practice and Patience
– Achieving professional results takes practice. Don’t be discouraged by initial failures. Each application is a learning opportunity.
14. Attention to Detail
– Inspect the final result for any areas that might not have adhered properly. Use a heat-safe tool to fix any lifting edges.
15. Document Your Process
– Keep a record of successful settings, techniques, and challenges faced during the application process. This will help you replicate successful outcomes in the future.
By following these tips and taking your time, you can consistently achieve professional-looking results when using SINO VINYL’s wholesale heat transfer vinyl.