What temperature, pressure, and time settings are recommended for different types of HTV and materials?
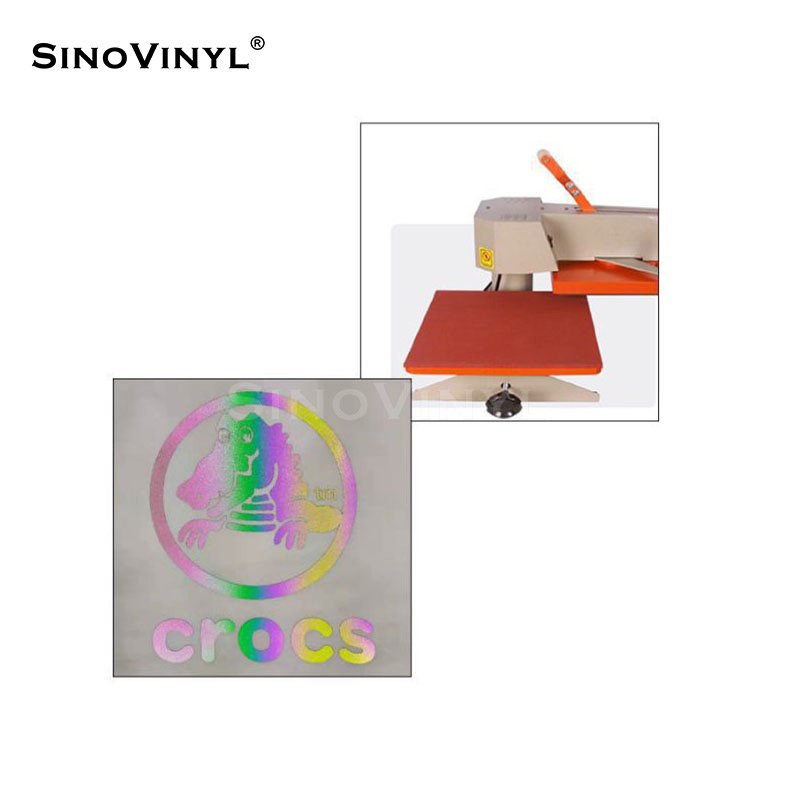
The recommended temperature, pressure, and time settings for heat transfer vinyl (HTV) applications can vary depending on the type of HTV material, the substrate (material you’re applying HTV to), and the specific heat press for heat transfer vinylyou’re using. It’s important to follow the manufacturer’s instructions for the HTV and consult your heat press manual for guidance. However, here are some general guidelines for common types of HTV materials:
1. Standard HTV (Polyurethane)
– Temperature: Usually around 305°F to 320°F (150°C to 160°C).
– Pressure: Medium to firm pressure.
– Time: Typically around 10 to 15 seconds.
2. Glitter HTV
– Temperature: Similar to standard HTV, around 305°F to 320°F (150°C to 160°C).
– Pressure: Medium to firm pressure.
– Time: Slightly longer than standard HTV, around 15 to 20 seconds.
3. Stretch HTV
– Temperature: Lower temperature range, around 300°F (149°C) to 310°F (154°C).
– Pressure: Medium pressure.
– Time: Similar to standard HTV, around 10 to 15 seconds.
4. Foil HTV
– Temperature: Varies by brand, but typically around 300°F to 320°F (149°C to 160°C).
– Pressure: Medium pressure.
– Time: Around 10 to 15 seconds.
5. Sublimation HTV
– Temperature: Usually around 375°F to 400°F (190°C to 204°C).
– Pressure: Medium pressure.
– Time: Typically around 15 to 20 seconds.
6. Printable HTV (Inkjet or Laser)
– Temperature: Varies based on the printable material and the printer used. Refer to manufacturer instructions.
– Pressure: Medium pressure.
– Time: Refer to manufacturer instructions, but typically around 10 to 20 seconds.
It’s important to note that these are general guidelines, and you should always check the specific instructions provided by the HTV manufacturer for the best results. Additionally, some HTV materials might have specific recommendations for warm peel (peeling the carrier sheet off after cooling slightly) or cold peel (peeling the carrier sheet off after cooling completely). Always conduct a test application on a scrap piece of fabric before applying HTV to your final project to ensure the settings are appropriate for the specific combination of HTV and substrate you’re using.

How do you prevent common issues like scorching or incomplete transfers during pressing?
Preventing common issues like scorching or incomplete transfers during heat press applications requires careful attention to the settings, materials, and techniques you use. Here’s a guide on how to avoid these problems:
1. Scorching
Scorching occurs when the heat press temperature is too high or the pressing time is too long, causing the vinyl to burn or discolor. To prevent scorching:
– Use the Right Temperature
Refer to the manufacturer’s guidelines for recommended temperature settings for the specific type of heat transfer vinyl you are using. Start with a lower temperature and gradually increase if needed.
– Adjust Pressure
Excessive pressure can also contribute to scorching. Make sure you’re using the appropriate pressure for the material and vinyl type.
– Protective Sheets
Place a non-stick or Teflon sheet between the vinyl and the heating element. This can help distribute heat evenly and prevent direct contact between the vinyl and the heat platen.
– Test First
Always test a small piece of the vinyl and material before applying a full design. This will help you determine the correct settings without risking the entire project.
2. Incomplete Transfers
Incomplete transfers occur when the vinyl doesn’t adhere fully to the material or leaves parts of the design behind. To avoid incomplete transfers:
– Clean and Prepare the Material
Ensure that the fabric or surface is clean and free of dust, oils, or residues that could interfere with adhesion.
– Proper Pressure
Make sure you’re applying sufficient pressure to the heat press. Inadequate pressure can prevent proper bonding between the vinyl and the material.
– Temperature and Time
Use the recommended temperature and time settings for the vinyl and material. If the time is too short, the vinyl may not fully adhere.
– Peeling Technique
Follow the correct peeling technique recommended for the specific vinyl type. Some vinyl should be peeled while hot, while others should be peeled after cooling.
– Layering and Design Elements
If you’re layering vinyl or using intricate designs, ensure that each layer is properly adhered before adding the next one.
3. Other Tips
– Even Pressure Distribution
Make sure the pressure is evenly distributed across the entire design. Uneven pressure can lead to uneven adhesion.
– Cooling Time
Allow the material to cool before peeling off the carrier sheet. This can help ensure that the vinyl adheres properly.
– Proper Alignment
Accurate placement and alignment of the design are crucial. Use alignment tools, rulers, or templates to ensure precise positioning.
– Use a Heat Press Pillow
When pressing on seams, buttons, or other uneven surfaces, use a heat press pillow to ensure even pressure and prevent uneven transfers.
– Practice and Patience
Heat press vinyl application can take some practice. Be patient and experiment with small test pieces before tackling larger projects.
By following these tips and guidelines, you can minimize the risk of scorching or incomplete transfers and achieve successful heat press applications with heat transfer vinyl.