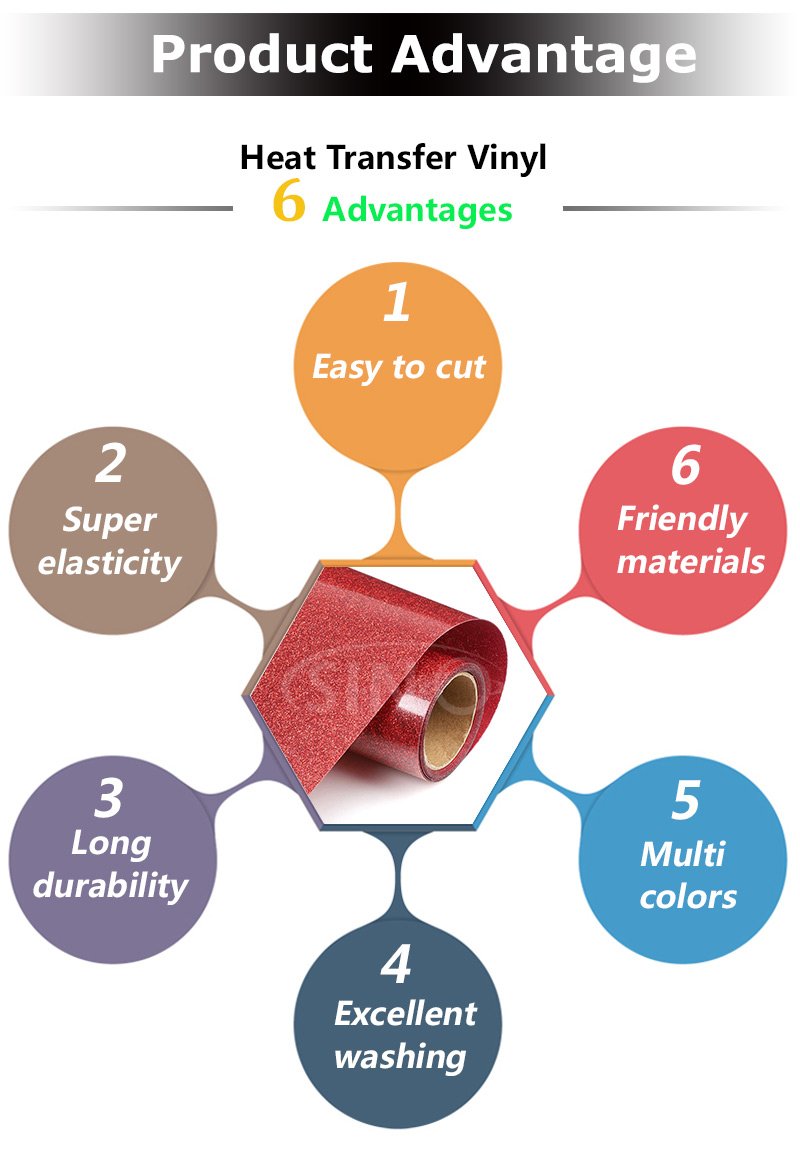
In the realm of garment customization, a star-studded contender has emerged – Glitter Heat Transfer Vinyl (HTV). This dazzling material has sparked the curiosity of crafters and creators alike, igniting a desire to add a touch of shimmer and shine to their designs. From addressing common questions to providing step-by-step instructions and insider tips, this comprehensive guide will unveil the enchanting world of Glitter HTV.
The Basics – But Make Them Sparkle:
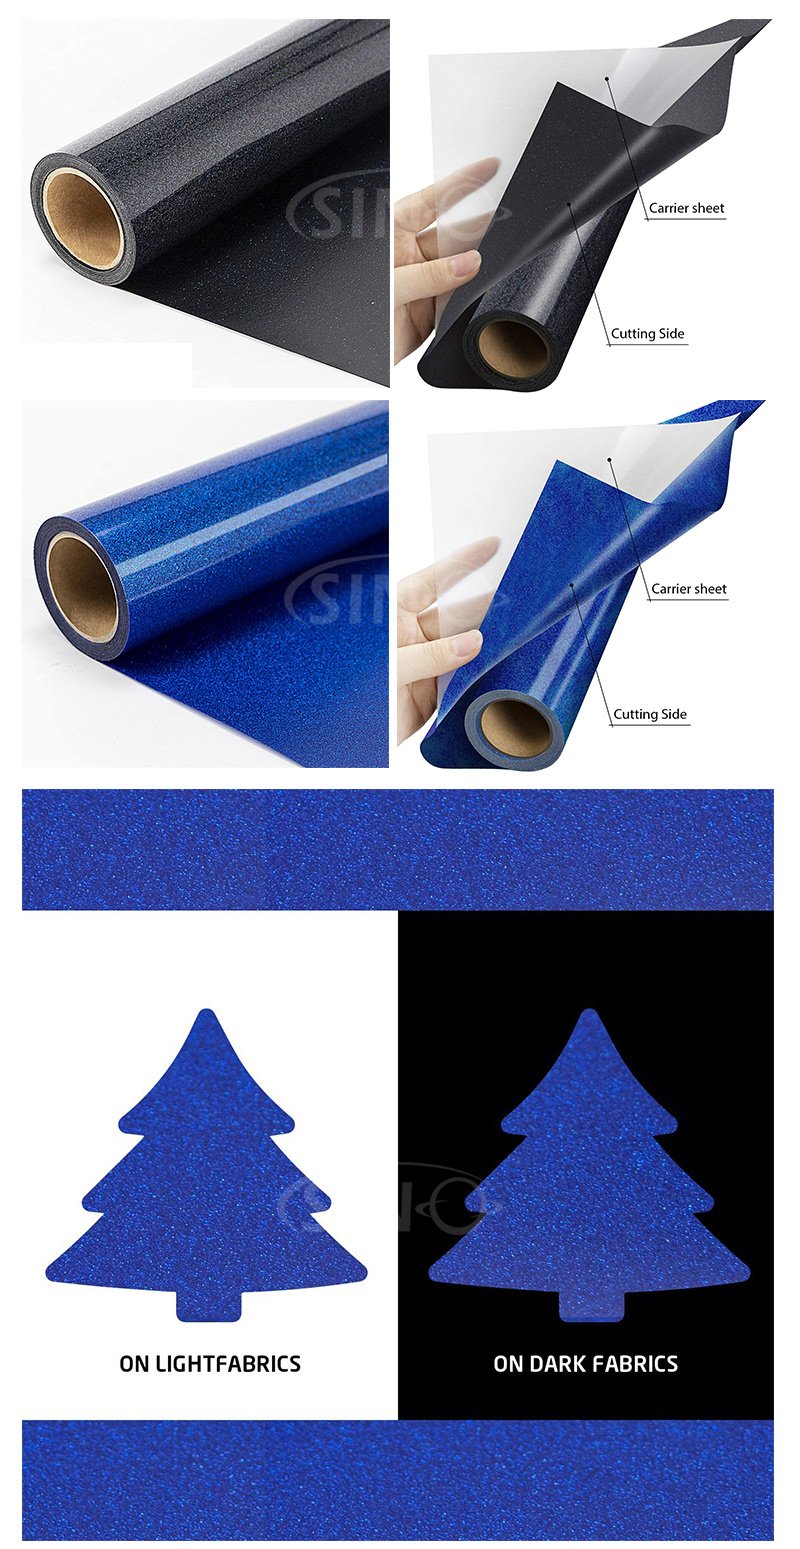
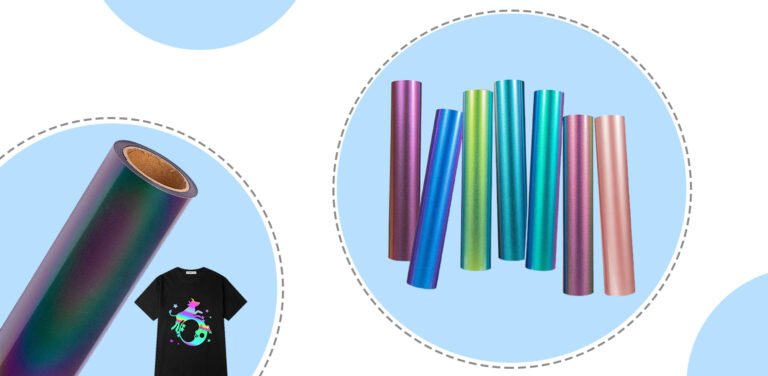
At its core, Glitter HTV is no different from standard HTV in terms of application and versatility. However, what sets it apart is the infusion of fine glitter particles that bring a mesmerizing sparkle to your creations. Whether you’re crafting for personal enjoyment or business ventures, Glitter HTV offers an unparalleled way to add glamour and pizzazz to clothing, accessories, and more.
How to Make Your Projects Shine:
1. Choosing the Right Design:
The key to making the most of Glitter HTV lies in selecting the right design. Bold and simple designs tend to showcase the glitter effect most effectively. Intricate designs with fine lines may not capture the glitter’s brilliance as well, so opt for elements that allow the sparkle to take center stage.
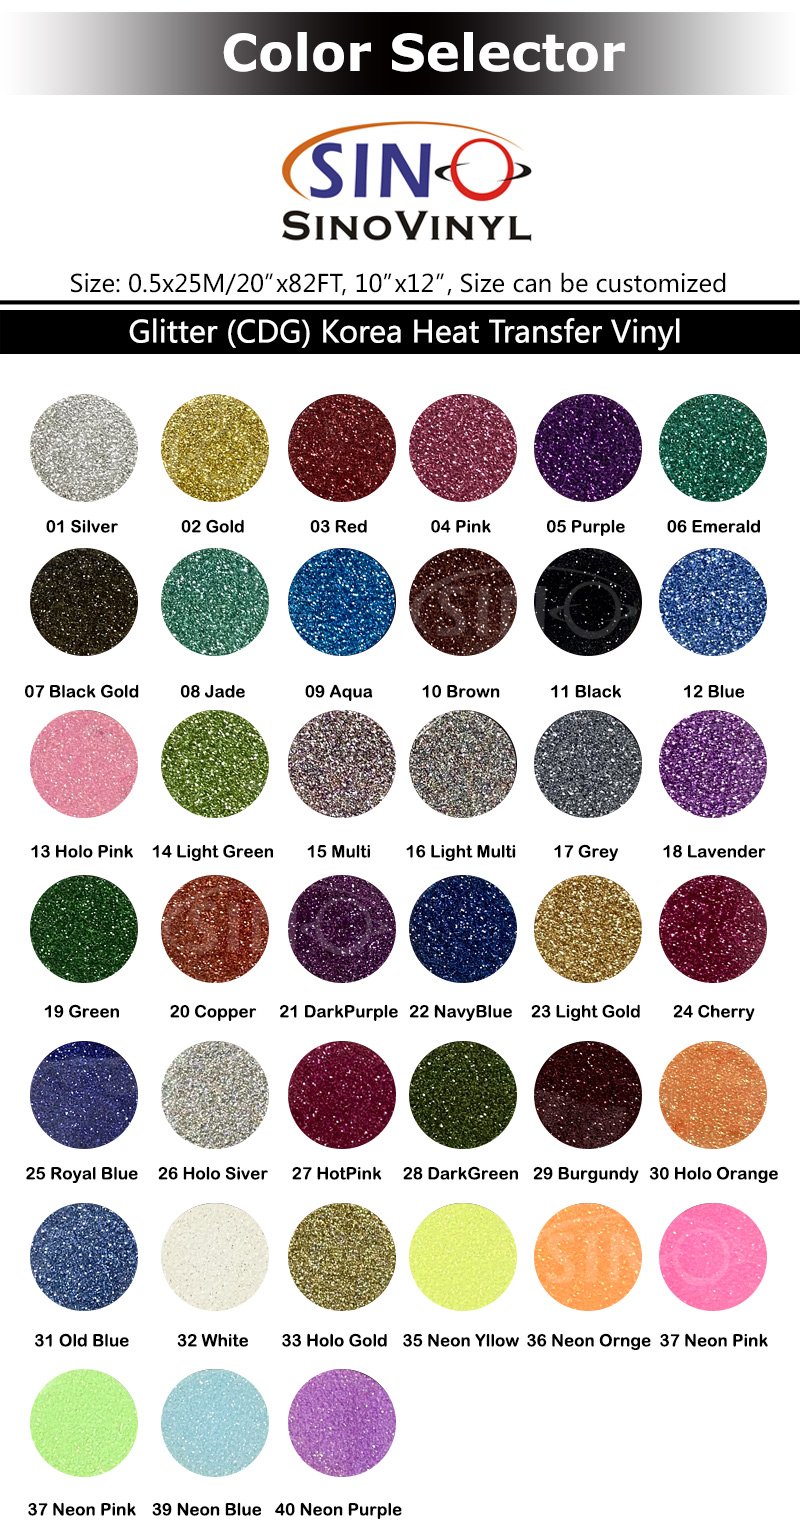
2. Contrasting Colors:
Pairing Glitter HTV with contrasting fabric colors can enhance the overall impact of your design. The interplay between the shimmering glitter and the base fabric color creates an eye-catching contrast that grabs attention.
3. Layering and Mixing Materials:
Experimenting with layering different HTV materials can lead to stunning results. Combining Glitter HTV with standard matte or glossy HTV can create dynamic designs that blend textures for added visual interest.
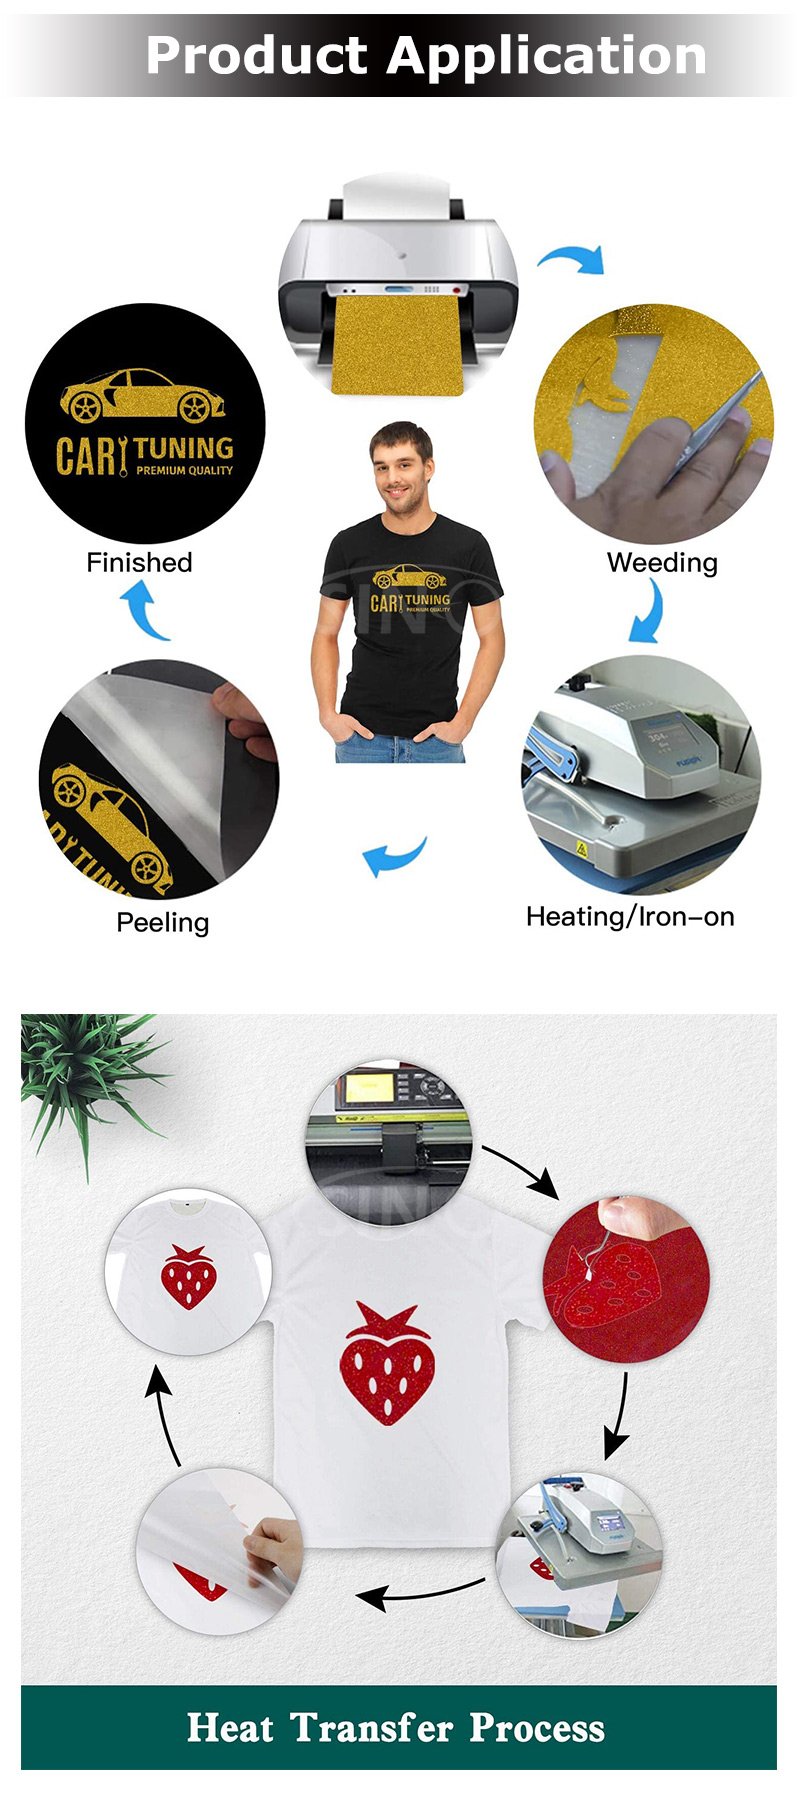
Glitter HTV Instructions for Heat Press Users:
1. Preheat Your Press:
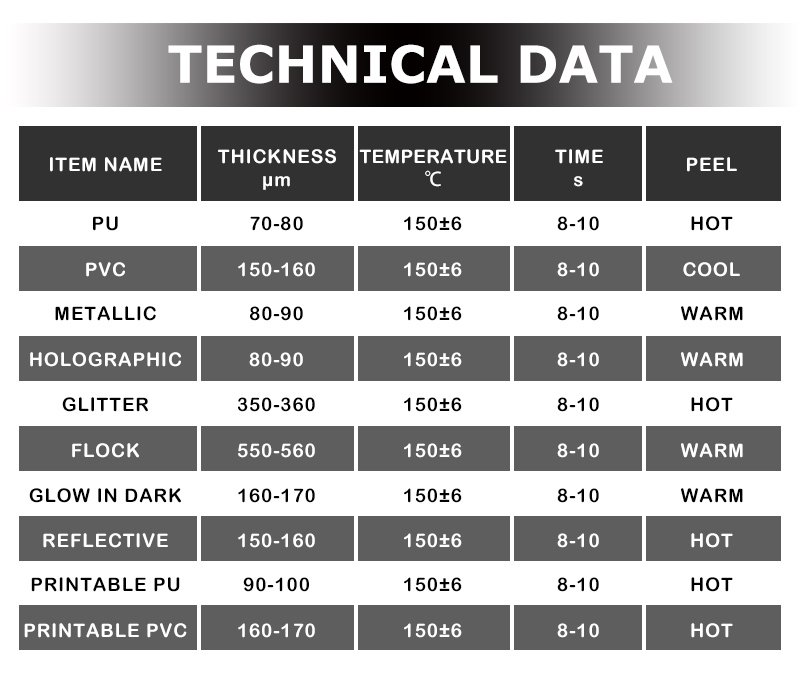
Set your heat press to the recommended temperature for Glitter HTV. Typically, this ranges from 300 to 325°F (149 to 163°C).
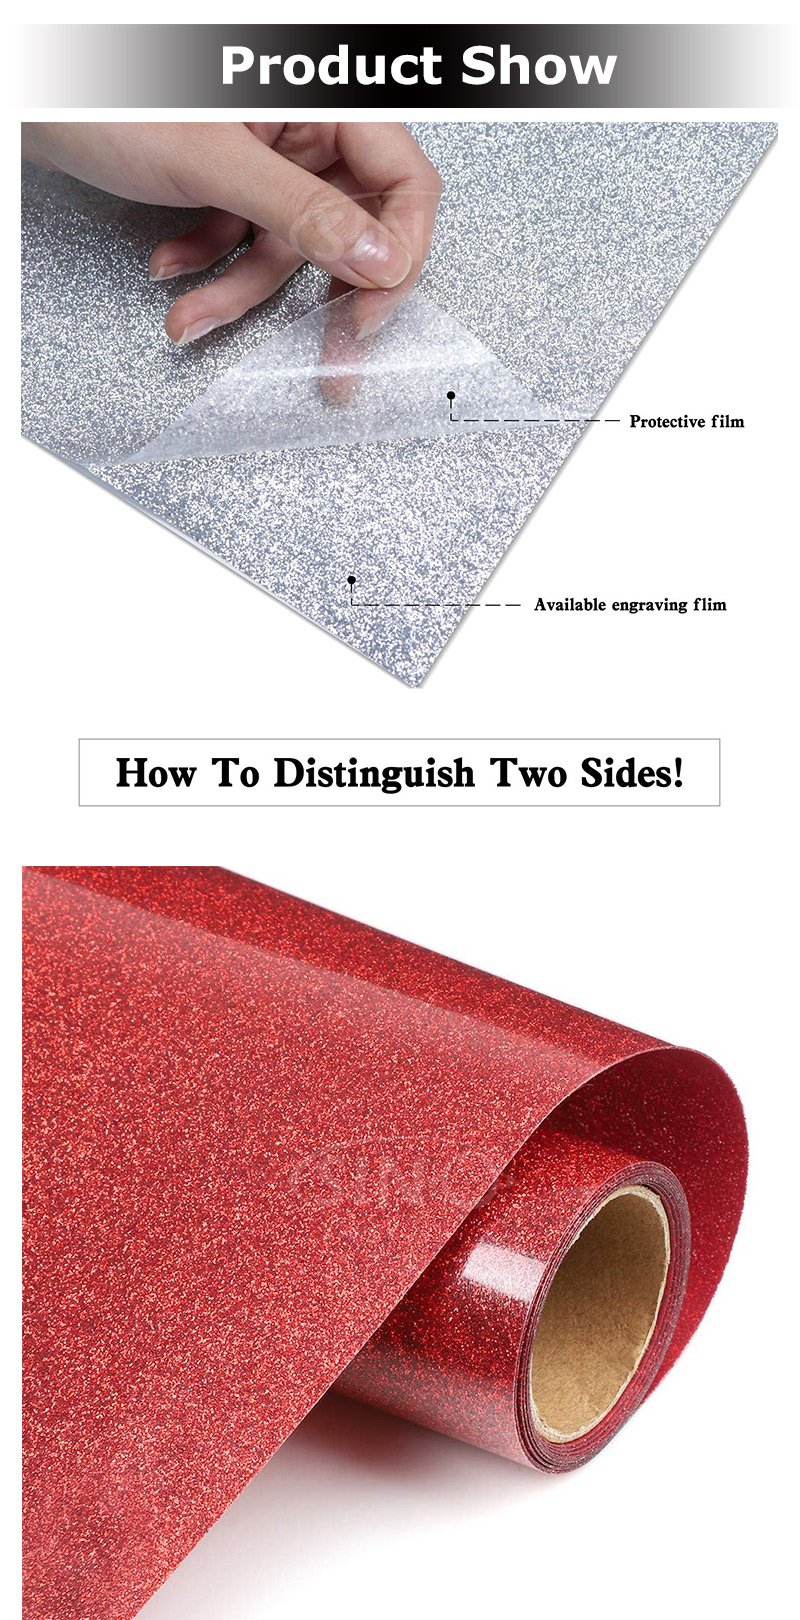
2. Positioning and Pressing:
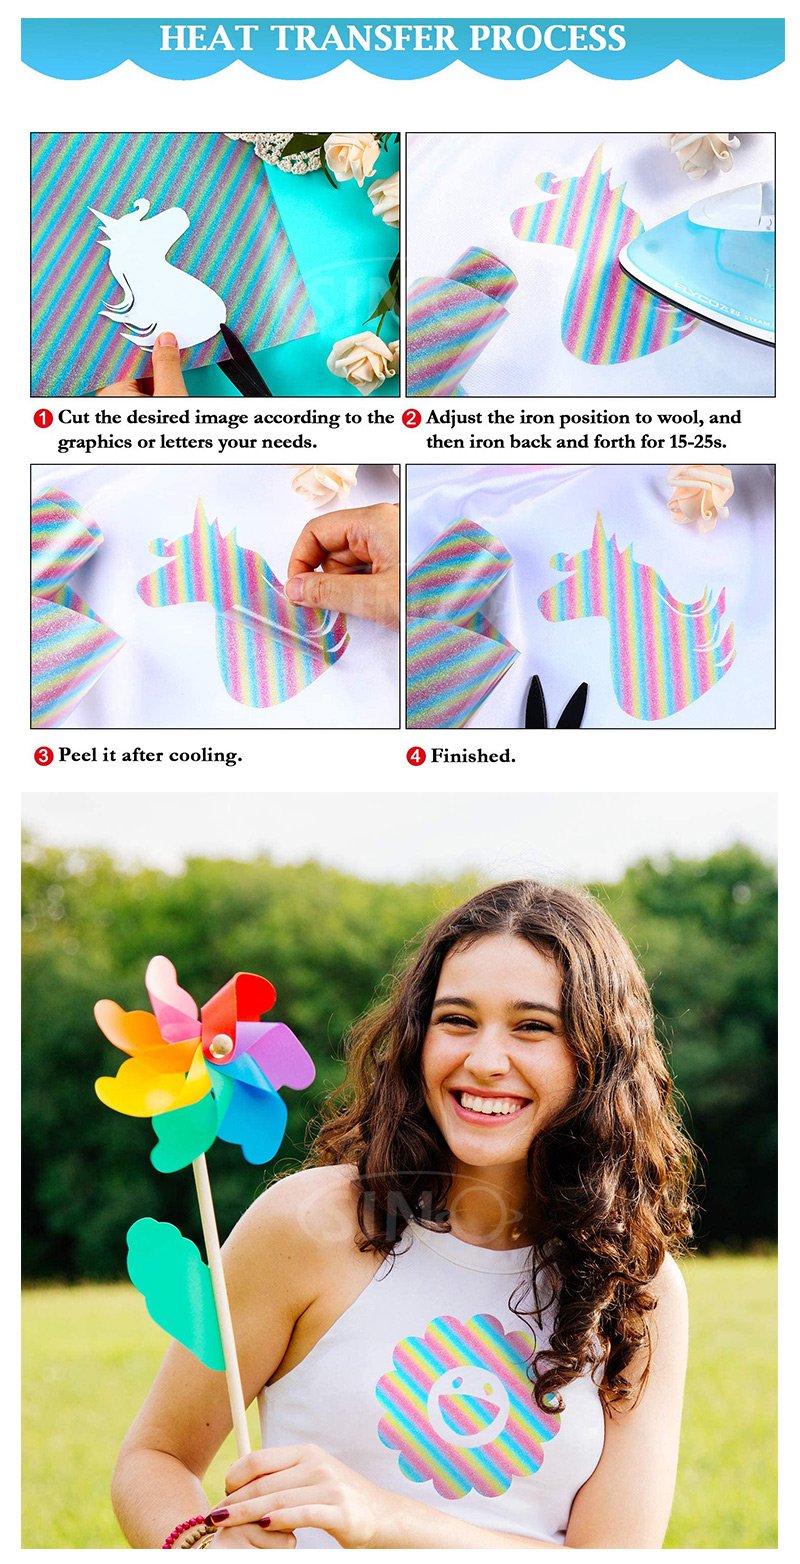
Place your garment on the heat press and ensure it’s smooth and wrinkle-free. Position your Glitter HTV design with the carrier sheet facing upwards. Apply firm pressure for around 15-20 seconds. Allow the HTV to cool for a few seconds before gently peeling off the carrier sheet.
Glitter HTV Instructions for Home Iron Users:
1. Preheat Your Iron:
Adjust your home iron to the cotton setting without steam, and let it preheat for a few minutes.
2. Applying Even Pressure:
Position your Glitter HTV design onto the garment with the carrier sheet facing upwards. Apply consistent pressure and move the iron in a circular motion. Iron each section for about 20-30 seconds to ensure proper adhesion.
3. Peeling with Precision:
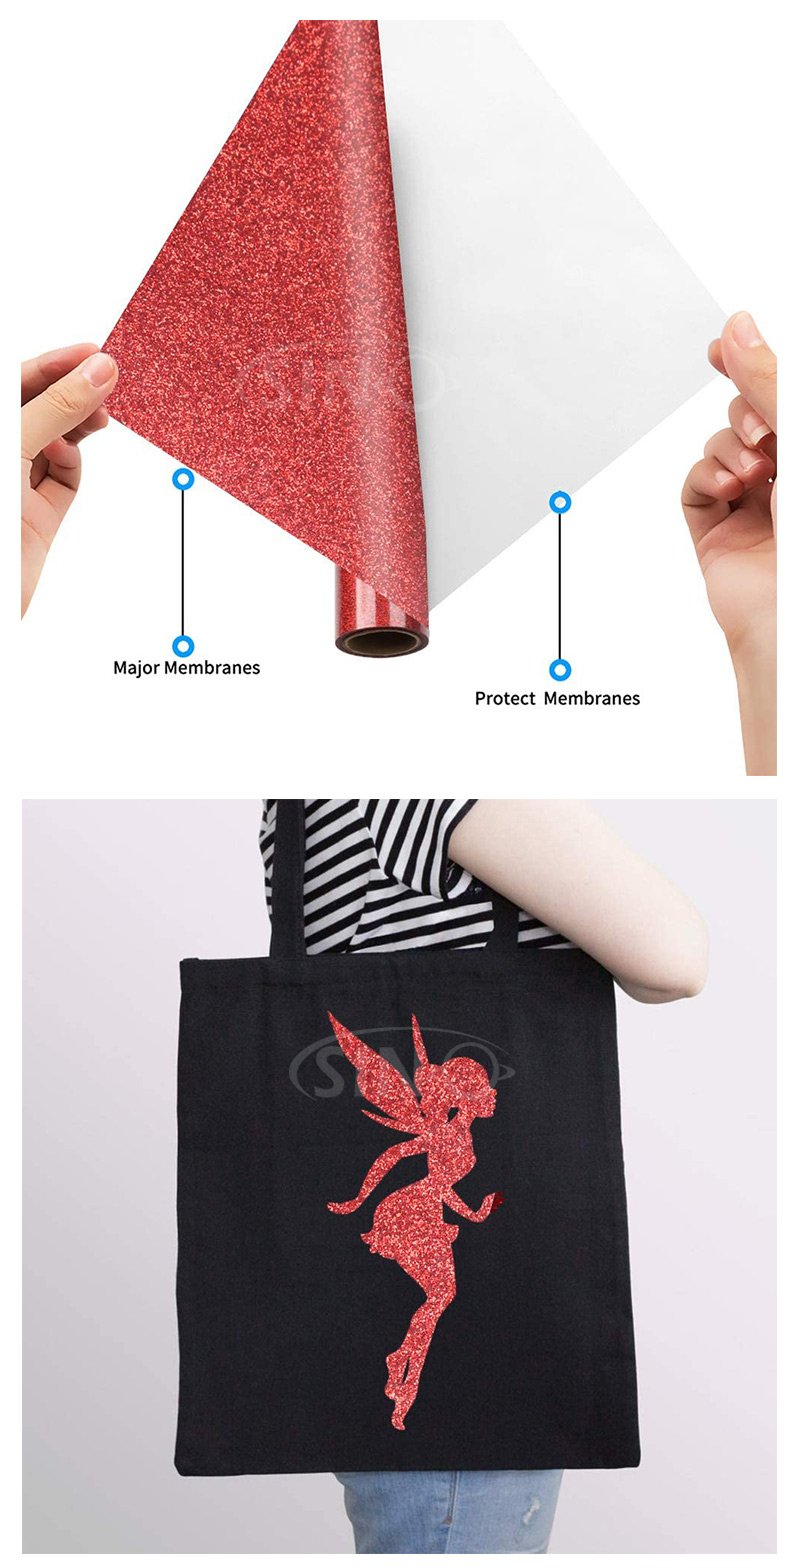
After ironing, give the HTV a moment to cool down slightly before carefully peeling off the carrier sheet, revealing the sparkling brilliance underneath.
Glitter HTV in Action:
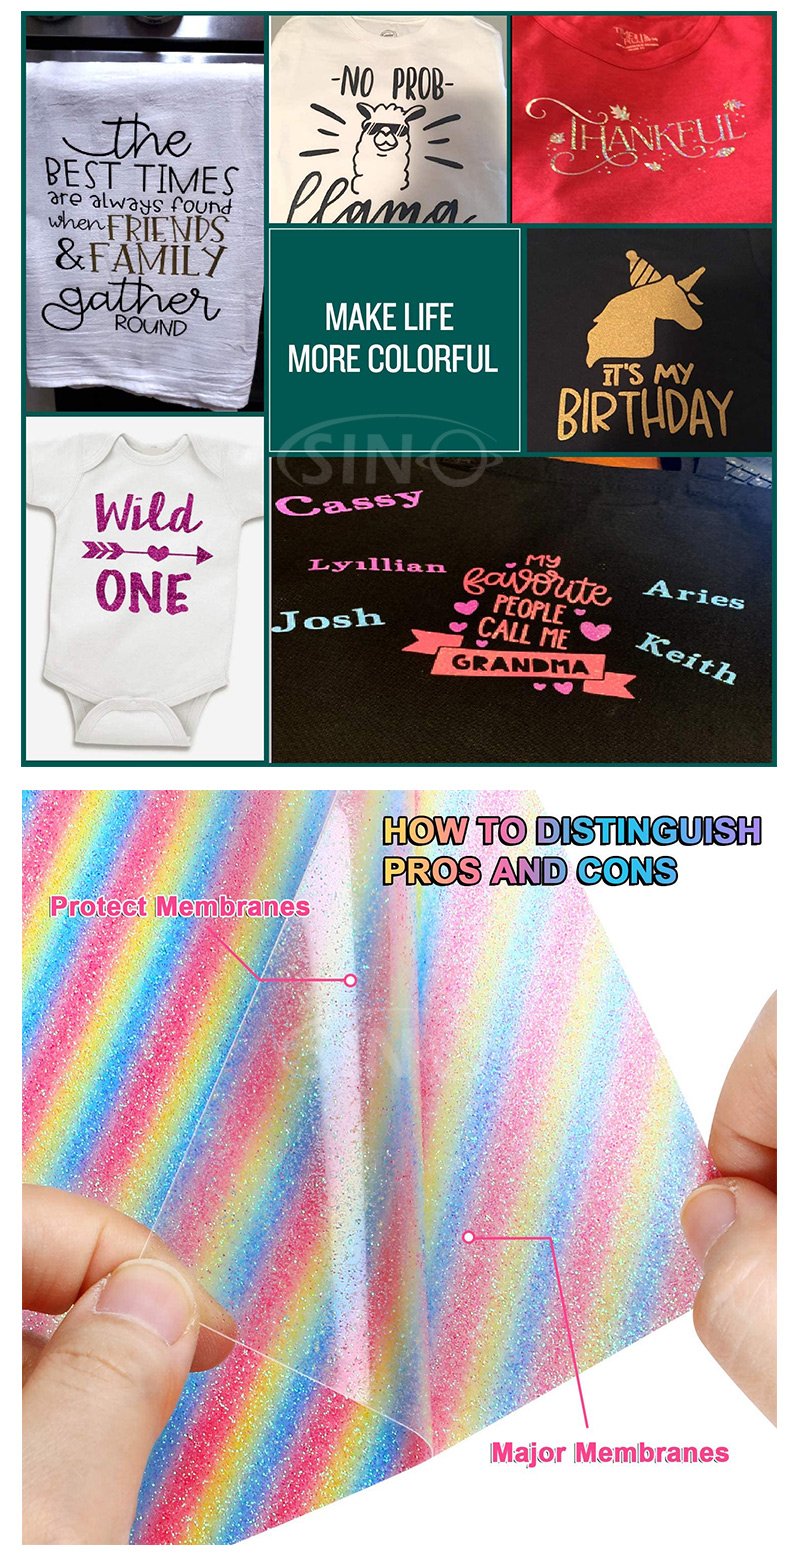
Witnessing Glitter HTV in action is an awe-inspiring experience. Whether you’re customizing apparel, tote bags, or accessories, the added sparkle elevates your creations to a new level of glam. From birthday outfits that demand attention to statement accessories that catch the light, Glitter HTV transforms everyday items into sparkling works of wearable art.
Conclusion:
Glitter HTV isn’t just a material; it’s a way to infuse your creations with a touch of magic and glamour. By understanding the basics, following proper instructions, and applying creative strategies, you can master the art of working with Glitter HTV and unlock a realm of possibilities that shimmer and shine with every glance. So, embrace the sparkle, let your imagination run wild, and watch your projects come to life with the mesmerizing allure of Glitter HTV.