Step-by-Step Tutorial: Applying Black HTV to T-Shirts
Heat transfer vinyl (HTV) is a popular and versatile material used to personalize and customize clothing items, such as T-shirts. Applying black HTV to T-shirts is a fun and creative way to express your style or create custom designs for events and occasions. Follow this step-by-step tutorial to learn how to apply black HTV to T-shirts with ease:
Materials Needed
1. Black heat transfer vinyl
2. T-shirt (prewashed and dried)
3. Cutting machine (e.g., Cricut, Silhouette)
4. Weeding tool
5. Heat press or iron
6. Teflon sheet or thin cotton cloth
Step 1: Design Your Artwork
Using design software compatible with your cutting machine, create or import your desired artwork. Keep in mind that you’ll be working with black HTV, so consider the contrast and visibility of your design on the T-shirt. Once you’re satisfied with the design, flip it horizontally (mirror image) before cutting.
Step 2: Cut the Black HTV
Load the black HTV onto your cutting machine’s mat with the shiny side facing down. Set the appropriate material settings for HTV in your cutting machine software. Then, send the design to be cut. Make sure you double-check the mirror setting before cutting, as it’s essential for heat transfer projects.
Step 3: Weed the HTV
Carefully remove the excess vinyl from around your design using a weeding tool. Take your time during this step to ensure you don’t accidentally remove any parts of the design that should remain.
Step 4: Preheat the T-shirt
Preheat your heat press or iron to the recommended temperature for black HTV. Place the T-shirt on the heat press or a heat-resistant surface if using an iron. Preheat the T-shirt for a few seconds to remove any moisture and wrinkles.
Step 5: Position the Black HTV
Lay your weeded HTV design on the preheated T-shirt, ensuring it is centered and aligned correctly. If you’re using multiple layers of HTV, apply them one at a time, starting with the bottom layer.
Step 6: Apply Heat and Pressure
Cover the HTV design with a Teflon sheet or thin cotton cloth to protect it during the application. Close the heat press or use the iron with firm, even pressure. Refer to the specific heat and pressing time recommendations for the type of black HTV you’re using.
Step 7: Peel the Backing
After the pressing time is complete, carefully peel off the clear plastic backing from the HTV while it’s still warm. If any parts of the design begin to lift, stop peeling and apply heat again for a few more seconds.
Step 8: Final Press (Optional)
For added durability and to ensure a secure bond, place a Teflon sheet or cloth over the applied HTV and press it again for a few seconds.
Step 9: Let it Cool
Allow the T-shirt to cool completely before wearing or handling. This step ensures the adhesive fully sets and provides a longer-lasting design.
Congratulations! You’ve successfully applied black heat transfer vinyl to your T-shirt, creating a personalized and stylish garment. Whether you’re making custom apparel for yourself or as gifts for others, black HTV opens up a world of possibilities for expressing your creativity.


Tips for Choosing the Right Fabrics for Black HTV Projects
When working with Black Heat Transfer Vinyl (HTV) projects, choosing the right fabrics is crucial to achieve successful and long-lasting results. Here are some essential tips to help you select the appropriate fabrics for your projects:
1. Cotton and Cotton Blends
Cotton is one of the best fabrics for heat transfer vinyl projects. It has a smooth surface that adheres well to HTV, ensuring a vibrant and durable design. Cotton blends with a high percentage of cotton also work well.
2. Polyester and Polyester Blends
Polyester fabrics are heat-resistant and can withstand the application temperature needed for HTV. They provide excellent results, but it’s essential to check the specific heat settings for the polyester fabric you’re using.
3. Avoid Heat-Sensitive Fabrics
Fabrics like silk, nylon, or spandex can be damaged by the high heat required for HTV application. These fabrics may melt, warp, or discolor, so it’s best to avoid using them with HTV.
4. Test Before Application
Before applying HTV to a large project, always perform a test on a small, inconspicuous area of the fabric. This will help you ensure that the fabric can handle the heat and adhere properly to the vinyl.
5. Pre-Wash Fabric
For natural fabrics like cotton, it’s a good idea to pre-wash them to remove any sizing or chemicals that could interfere with the HTV adhesion. Avoid using fabric softeners or dryer sheets as they can create a barrier on the fabric.
6. Consider Fabric Texture
HTV adheres best to smooth surfaces. Fabrics with a lot of texture, such as corduroy or terry cloth, may not provide an ideal surface for the vinyl to adhere properly.
7. Stretchy Fabrics and Layering
If working with stretchy fabrics like jersey or spandex, consider using a stretch HTV or a suitable transfer vinyl that can withstand the fabric’s flexibility. Additionally, for multilayer designs, choose fabrics that won’t stretch too much during the application process.
8. Color of the Fabric
When using black HTV, consider the color of the fabric you’re applying it to. Some lighter-colored fabrics may allow the black HTV to stand out more prominently, while darker fabrics might require additional consideration for color visibility.
9. Temperature and Pressure Settings
Different fabrics require specific heat and pressure settings for proper HTV application. Always refer to the vinyl manufacturer’s guidelines and test the settings on a small piece of fabric before applying to the main project.
10. Care Instructions
Keep in mind that the care instructions for the fabric and HTV should align. If the fabric requires gentle washing and low-temperature drying, make sure the applied HTV can withstand those conditions.
By following these tips, you can ensure that you choose fabrics that are compatible with black heat transfer vinyl, leading to successful and professional-looking custom apparel projects.


Troubleshooting Common Issues When Working with Black HTV
Certainly! Here are some common troubleshooting issues you may encounter when working with black heat transfer vinyl (HTV) and suggestions on how to address them:
1. Peeling or Lifting
If your black HTV is peeling or lifting after application, ensure that you have applied enough heat and pressure during the transfer process. Increase the temperature and pressing time slightly, and make sure to press firmly.
2. Poor Adhesion
If the black HTV doesn’t stick well to the fabric or starts to peel after washing, check if you’re using the correct temperature and pressure settings for the specific type of HTV. Also, verify that the fabric is suitable for heat transfer and is prepped properly (clean and dry).
3. Bubbling or Wrinkling
Bubbles or wrinkles can occur if the black HTV is not applied smoothly. Ensure that you are using a heat-resistant transfer sheet and that there are no wrinkles or debris on the surface before pressing. Apply even pressure and use a heat-resistant tool to smooth out any bubbles or wrinkles during application.
4. Burn Marks
Burn marks may appear if the heat or pressure is too high or if the HTV is pressed for too long. Lower the temperature and reduce the pressing time, making sure to follow the manufacturer’s recommendations. Protect the vinyl with a Teflon sheet or a thin fabric to prevent direct contact with the heat source.
5. Fading or Discoloration
If your black HTV appears faded or discolored after washing or exposure to heat, double-check that you are using HTV specifically designed for high-temperature applications. Some low-quality HTV may not withstand washing or heat exposure as well as higher-quality options.
6. Difficult Weedability
Weeding refers to removing the excess vinyl from the design. If you’re having trouble weeding the black HTV, check that you’re using a sharp weeding tool and applying enough pressure while removing the excess material. Consider adjusting the cut settings to ensure proper cut-through without cutting into the carrier sheet.
7. Layering Alignment
When layering multiple colors of HTV, achieving precise alignment can be challenging. Use registration marks or alignment tools to help position the layers accurately. Take your time and carefully align each layer before pressing.
Remember, troubleshooting can vary depending on the specific brand and type of black HTV you’re using. Always consult the manufacturer’s instructions and recommendations for best results.
Layering Techniques: Creating Stunning Designs with Black HTV
Layering techniques with black heat transfer vinyl (HTV) can add depth and complexity to your designs, making them stand out and look stunning. Here are some layering techniques to create eye-catching designs using black HTV:
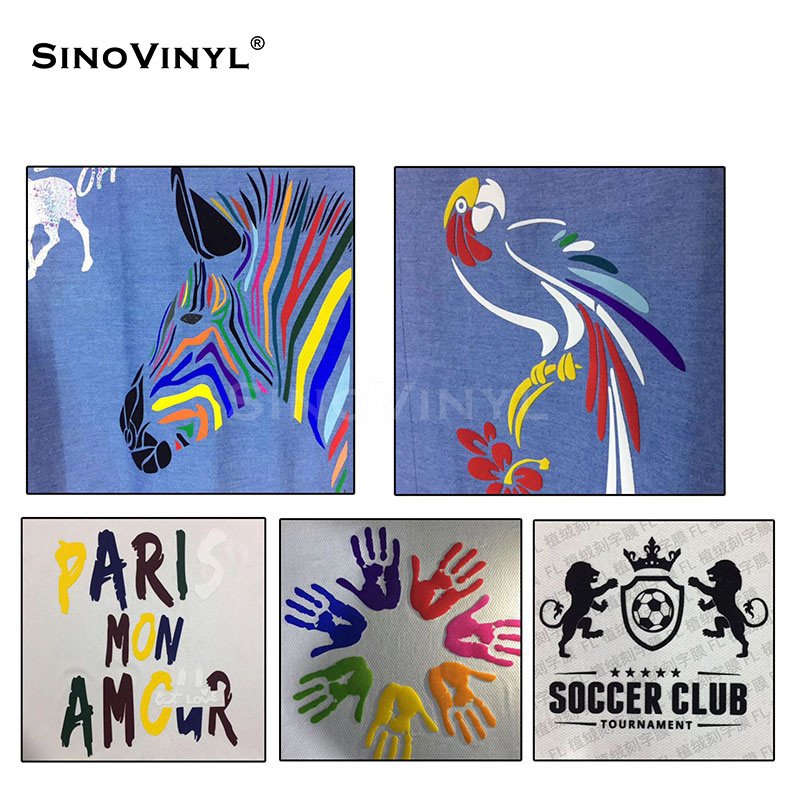
1. Multi-Color Layers
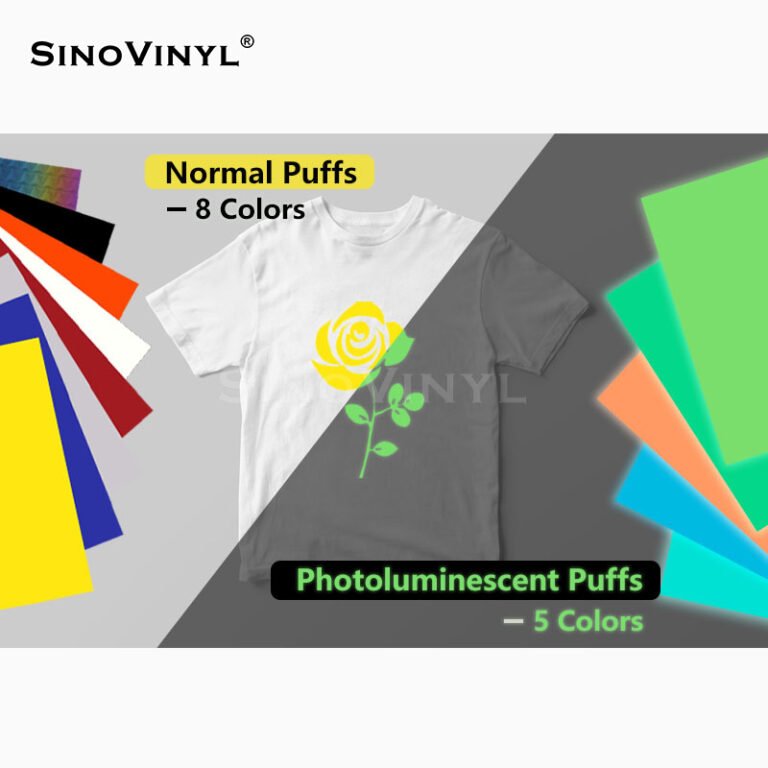
Combine black HTV with other colors to create visually striking designs. Experiment with different color combinations to achieve the desired effect.
2. Shadowing
Use multiple layers of black HTV to create a shadow effect behind a main design element. This technique adds dimension and depth to your design.
3. Textured Background
Apply a base layer of black HTV with a textured pattern (e.g., a distressed or patterned design) before adding other design elements on top. This adds interest and complexity to your overall design.
4. Negative Space Design
Cut out parts of your black HTV to reveal the fabric underneath, creating negative space within your design. This technique works particularly well on dark-colored fabrics.
5. Gradient Layering
Combine different shades of black HTV to create a gradient effect. This technique can add a sense of movement and elegance to your designs.
6. Outlining
Add an outline using black HTV around main design elements to make them pop and stand out from the background.
7. Overlapping Elements
Overlap different design elements cut from black HTV to create intricate and detailed designs. This technique works well for complex shapes and patterns.
8. Reverse Layering
Apply black HTV as the top layer and other colors as the base layers to achieve a unique and visually appealing design.
9. Peek-Through Designs
Use strategic cutouts in the black HTV to allow other colored layers or the fabric’s color to peek through, creating a dynamic and artistic effect.
10. Mixing Materials
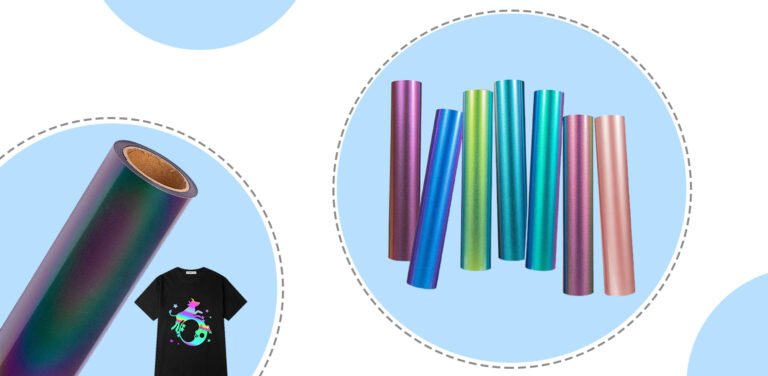
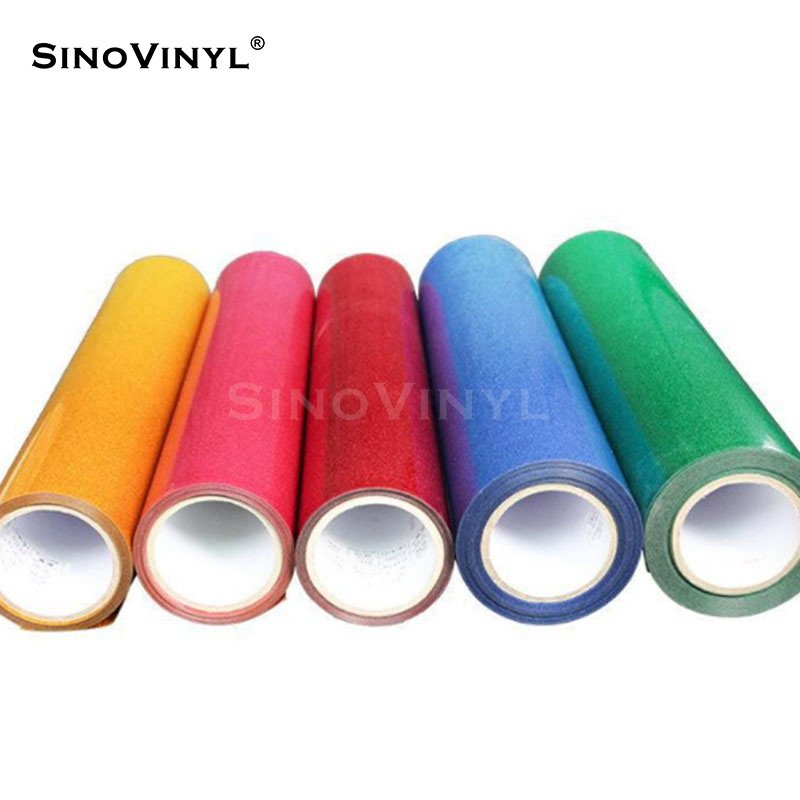
Combine black HTV with other materials like glitter HTV, holographic HTV, or patterned vinyl to add texture and visual interest to your designs.
11. Incorporate Fonts
Experiment with different fonts and lettering styles using black HTV to create beautiful text-based designs.
12. Photorealistic Designs
Layer black HTV to create photorealistic images or portraits. This technique requires precise cutting and layering skills but can result in stunning designs.
Remember to take your time and practice these layering techniques on scrap materials before applying them to your final project. With some experimentation and creativity, you can achieve truly stunning designs using black heat transfer vinyl.

(Click the picture to learn more)
Final Words
In conclusion, black heat transfer vinyl truly unlocks the gateway to custom apparel magic. With its versatility, ease of use, and endless creative possibilities, this remarkable material empowers DIY enthusiasts, crafters, and entrepreneurs alike to bring their visions to life. Whether you’re embellishing t-shirts, hoodies, or accessories, the sleek and sophisticated appeal of black HTV adds an element of timeless style to any design. From personalizing your wardrobe to launching a custom apparel business, the journey with black heat transfer vinyl is one of boundless inspiration and enchantment. So, embrace your imagination, explore the layering techniques, and embark on a crafting adventure that will leave an indelible mark on your creations and the hearts of those who wear them. Step into the realm of custom apparel magic with black heat transfer vinyl today!