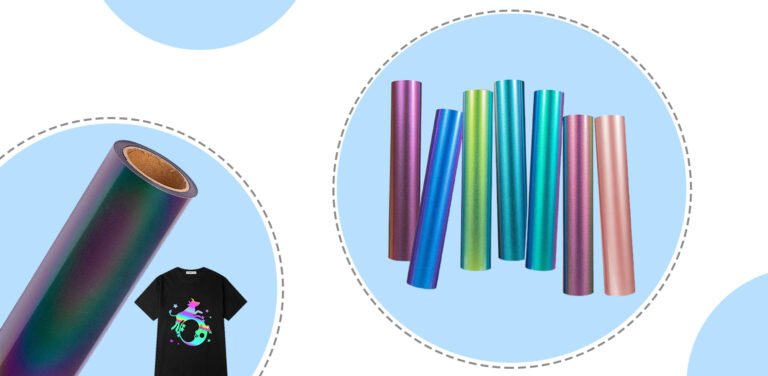
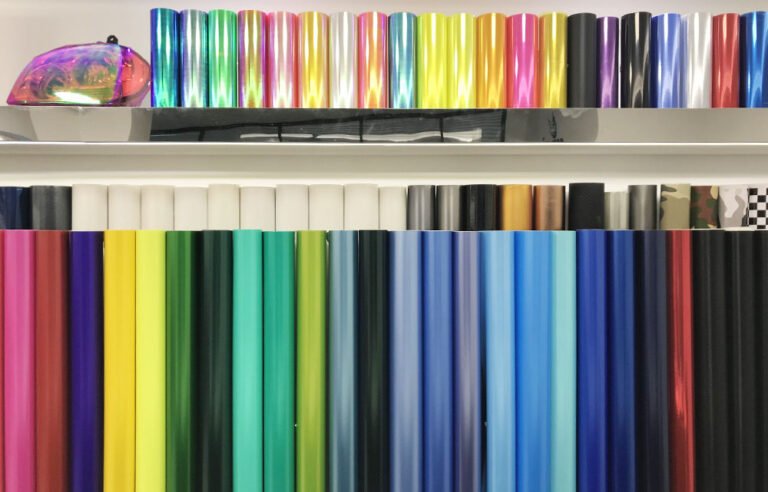
What is the process of applying printable heat transfer vinyl onto fabric, and what tools are needed for successful application?
Applying printable heat transfer vinyl onto fabric involves a series of steps to ensure a successful and long-lasting transfer. Here’s a general overview of the process along with the tools needed:
Tools Needed
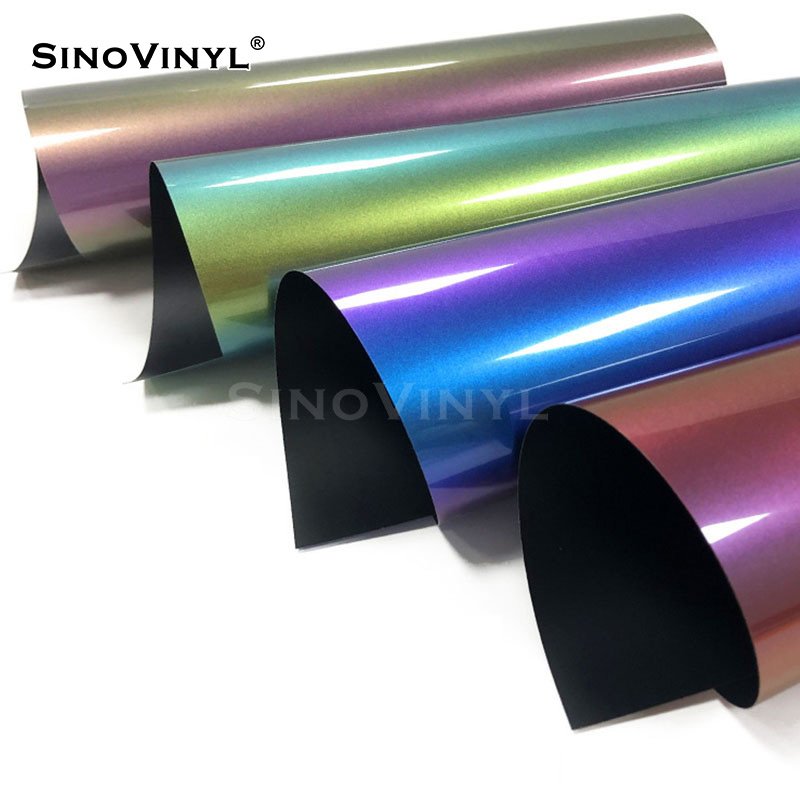
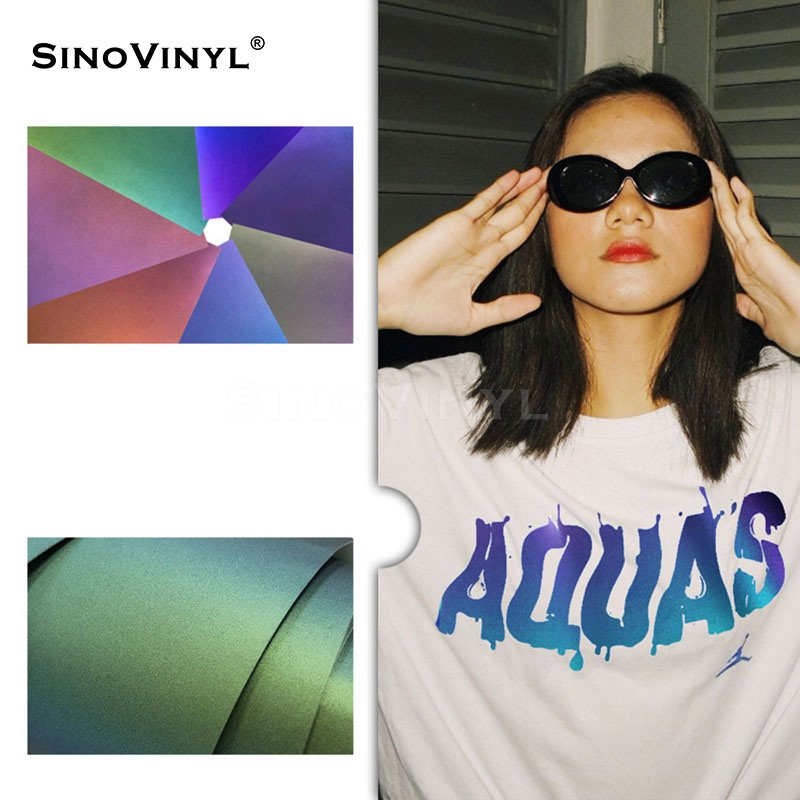
1. Printable Heat Transfer Vinyl: This is the vinyl material that has a printable surface for transferring designs.
2. Design Software: Use graphic design software to create or edit your design before printing.
3. Printer: A compatible inkjet or laser printer that can handle heat transfer vinyl.
4. Cutting Machine: A cutting machine, such as a vinyl cutter, to precisely cut out your designs.
5. Weeding Tools: Tools for removing excess vinyl from around the design (weeding).
6. Heat Press: A heat press machine for applying heat and pressure to transfer the design onto fabric.
7. Teflon Sheet or Parchment Paper: To protect the heat press and design during the transfer process.
8. Protective Cloth: To place over the fabric to prevent any ink or adhesive from getting on the upper platen of the heat press.

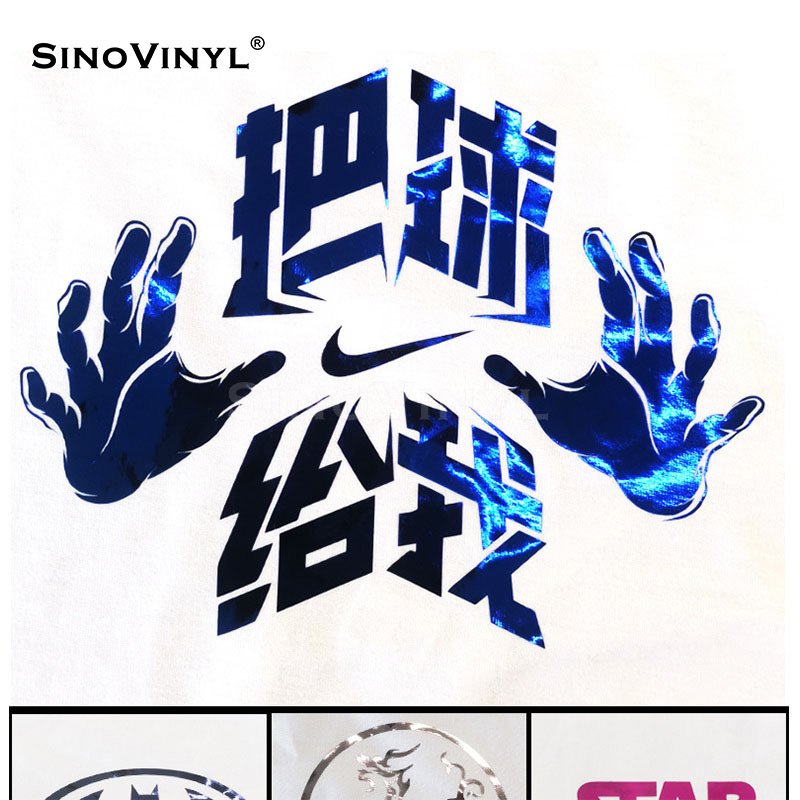
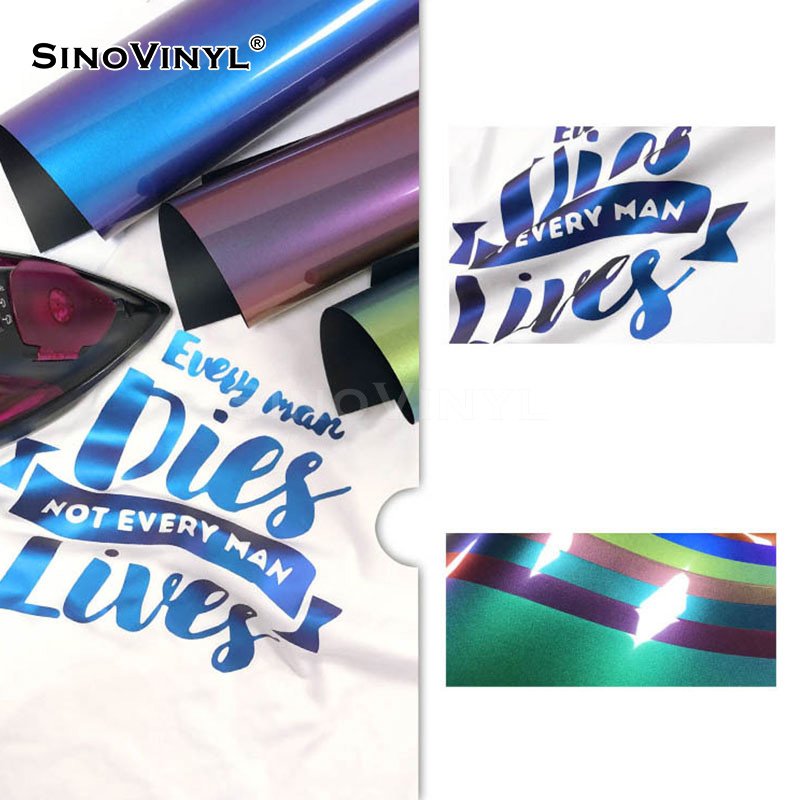
Process
1. Design and Print
– Create or modify your design using graphic design software.
– Mirror or flip your design horizontally before printing, as heat transfer vinyl is applied face-down.
– Print the design onto the printable side of the heat transfer vinyl using a compatible printer and ink. Ensure the ink is completely dry before proceeding.
2. Cutting
– Load the printed heat transfer vinyl onto your cutting machine.
– Adjust the settings on your cutting machine according to the manufacturer’s recommendations for the specific type of heat transfer vinyl you’re using.
– Cut around the design, ensuring the cutting blade only cuts through the vinyl layer and not the backing paper.
3. Weeding
– Carefully remove the excess vinyl from around and inside the design using weeding tools. This leaves only the parts of the design that you want to transfer onto the fabric.
4. Preparing the Heat Press
– Preheat the heat press to the appropriate temperature and pressure settings recommended by the heat transfer vinyl manufacturer. This information can usually be found on the packaging or in accompanying instructions.
5. Positioning the Design
– Place the fabric item on the heat press platen and ensure it’s smooth and wrinkle-free.
– Position the weeded design on the fabric with the printed side down. Make sure it’s centered and aligned correctly.
6. Applying the Transfer
– Cover the design with a Teflon sheet or parchment paper to protect both the design and the heat press.
– Close the heat press and apply the recommended temperature and pressure for the specified duration. The heat and pressure activate the adhesive on the heat transfer vinyl, causing it to adhere to the fabric.
7. Cooling and Peeling
– After the transfer time is complete, open the heat press and carefully remove the Teflon sheet or parchment paper.
– Allow the design to cool down for a few seconds to avoid damaging the transfer.
– Peel off the backing paper from the design, leaving the vinyl adhered to the fabric. Depending on the vinyl type, you may need to peel it while it’s still warm (hot peel) or after it has cooled (cold peel).
8. Final Steps
– Inspect the design to ensure proper adhesion and vibrant colors.
– Follow any care instructions provided by the heat transfer vinyl manufacturer for washing and maintaining the garment.
Remember that specific instructions can vary based on the type and brand of heat transfer vinyl you’re using, as well as the type of fabric. Always refer to the manufacturer’s guidelines for the best results.

