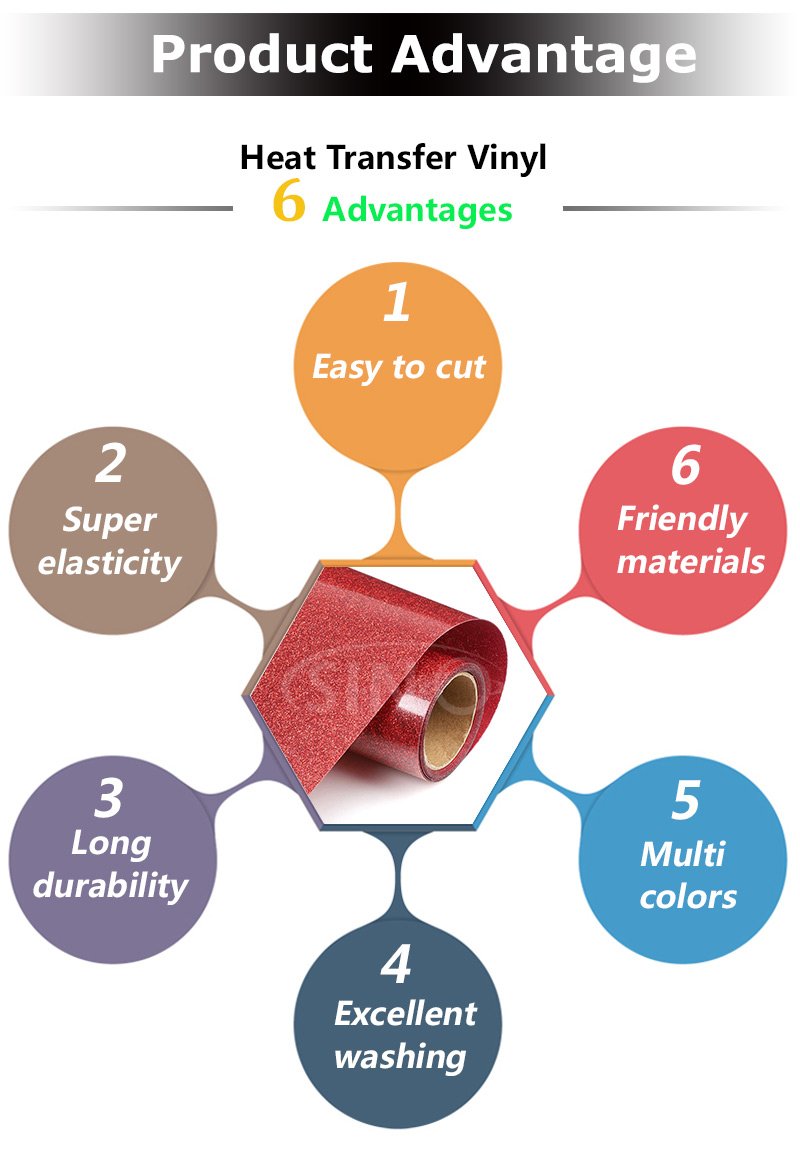
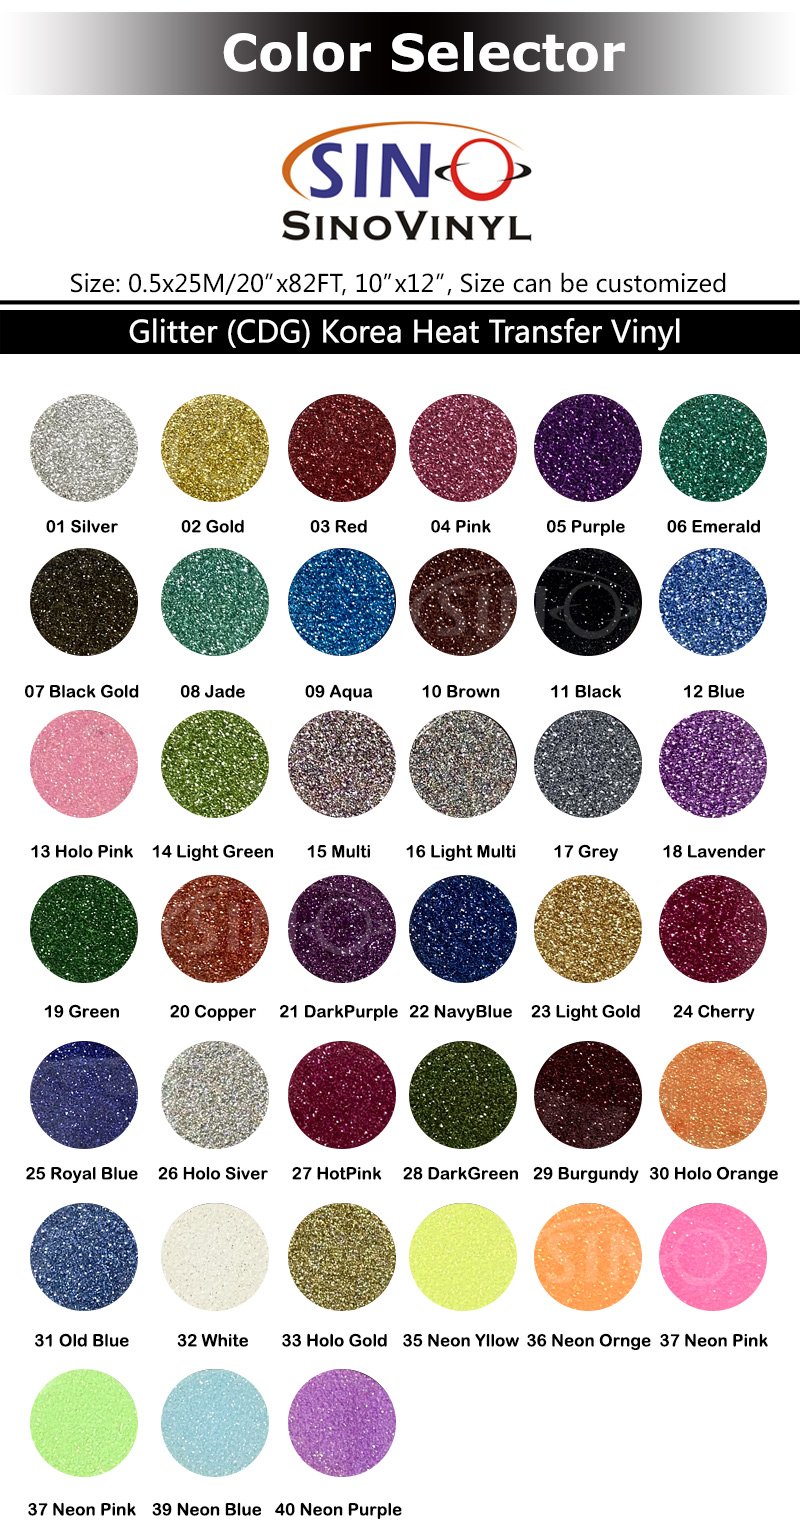
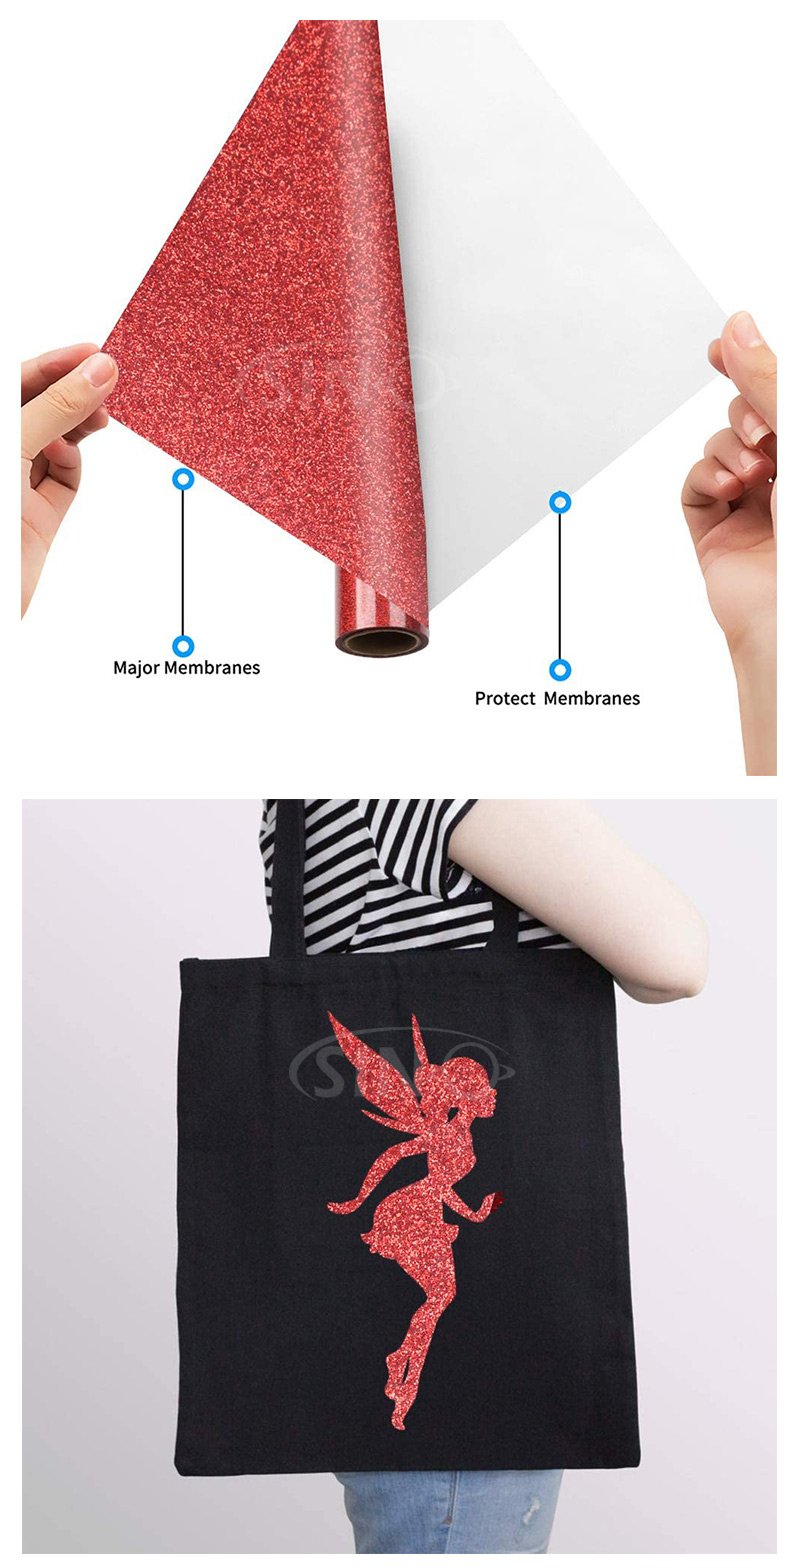
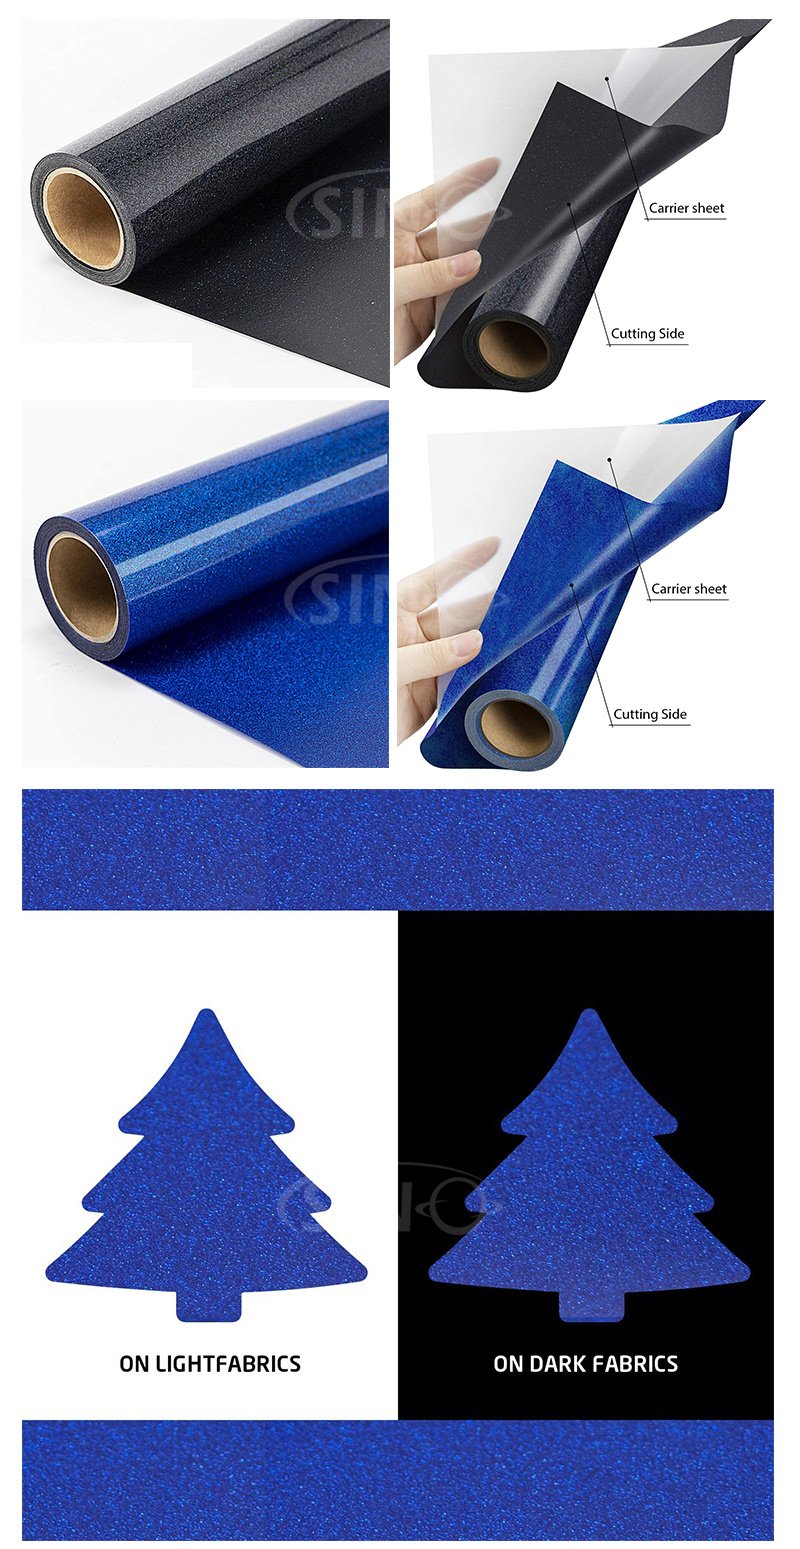
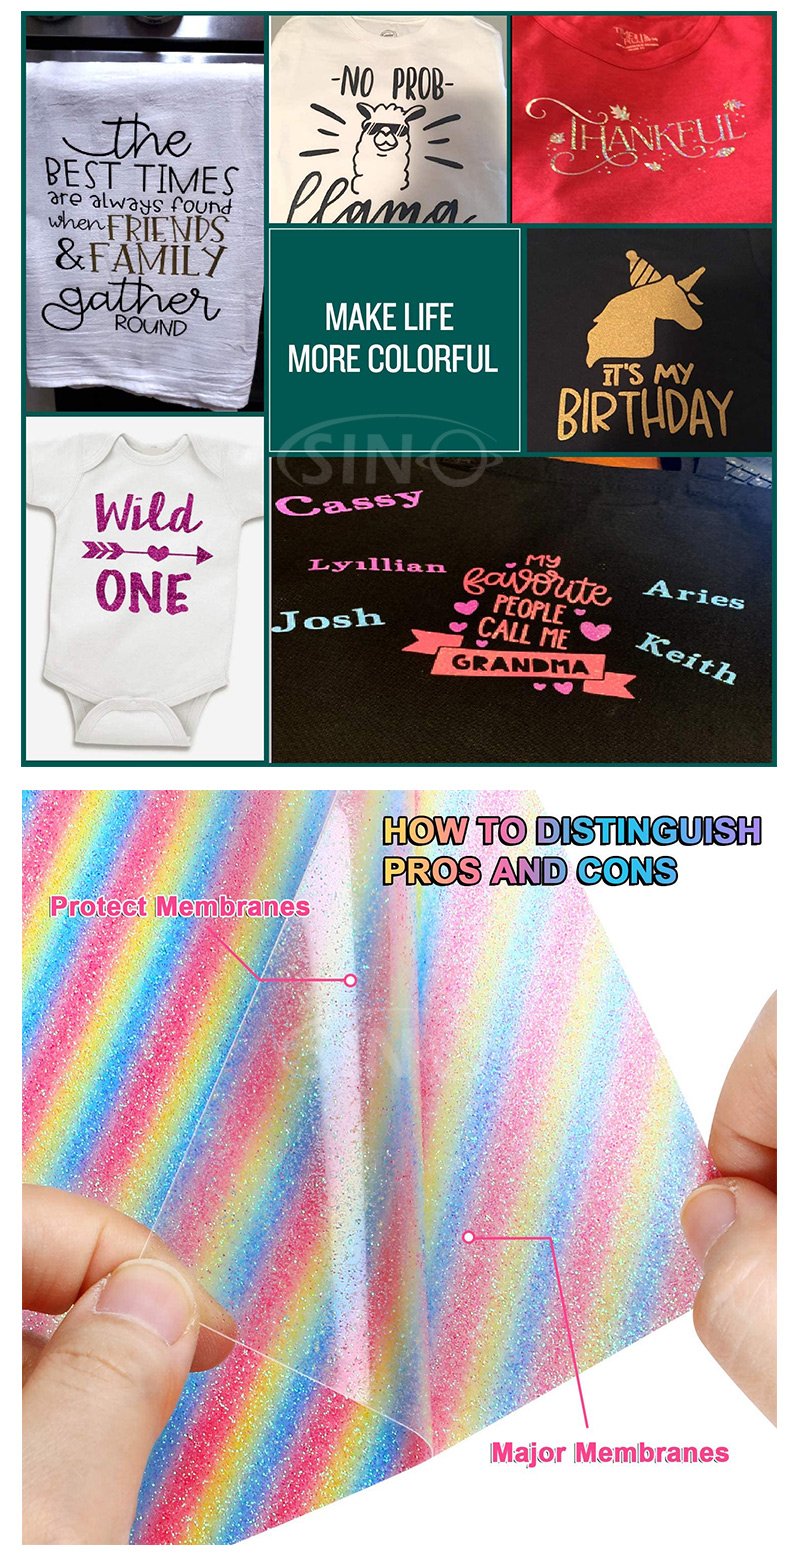
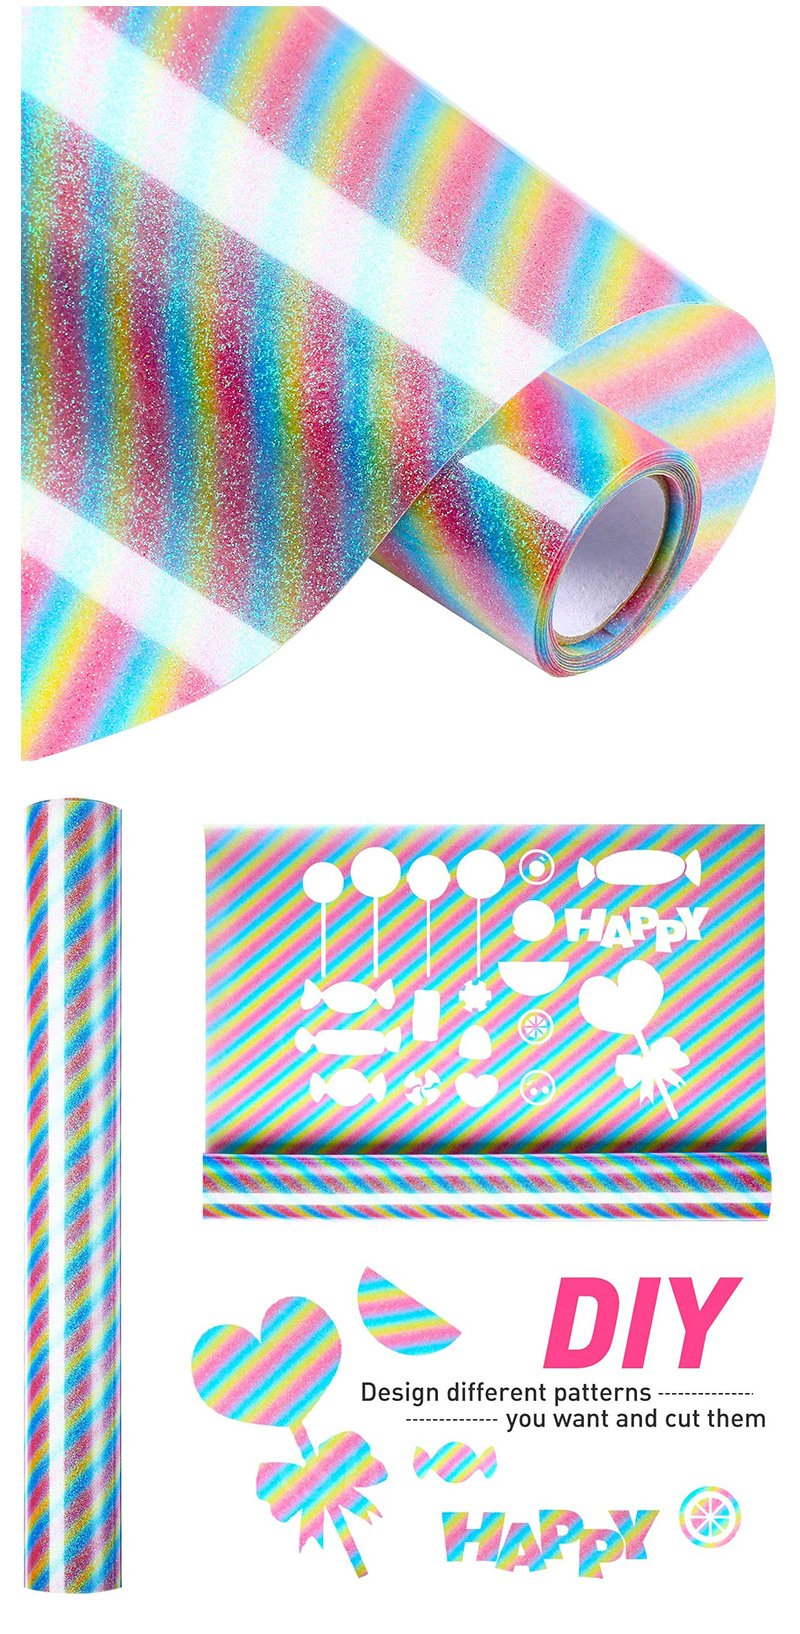
If you’re a proud owner of a Cricut machine and looking to add a touch of sparkle and glam to your custom apparel and fabric projects, then glitter heat transfer vinyl is your go-to material. SINOVINYL, a trusted brand in the industry, offers a dazzling range of glitter color heat transfer vinyl that’s perfect for use with your Cricut machine. In this comprehensive guide, we’ll walk you through the steps of using SINOVINYL’s glitter heat transfer vinyl with your Cricut machine to create stunning, eye-catching designs on T-shirts, clothing, textiles, cotton, and various fabric items.
Getting Started: What You’ll Need
Before we dive into the step-by-step process, let’s ensure you have everything you need for your glitter heat transfer vinyl project:
- SINOVINYL Glitter Heat Transfer Vinyl: Choose the glitter color that suits your project from SINOVINYL’s wide range of options.
- Cricut Machine: Make sure your Cricut machine is set up and in working order. Ensure that you have the appropriate cutting mat for vinyl.
- Design Software: Use design software compatible with your Cricut machine to create or import the design you want to cut.
- Weeding Tools: Gather weeding tools, such as a weeding hook or tweezers, to remove excess vinyl from your design.
- Heat Press or Household Iron: You’ll need a heat press or a household iron to apply the glitter heat transfer vinyl to your fabric.
Step-by-Step Guide: Using Glitter Heat Transfer Vinyl with Your Cricut Machine
Follow these steps to achieve the best results with SINOVINYL’s glitter heat transfer vinyl and your Cricut machine:
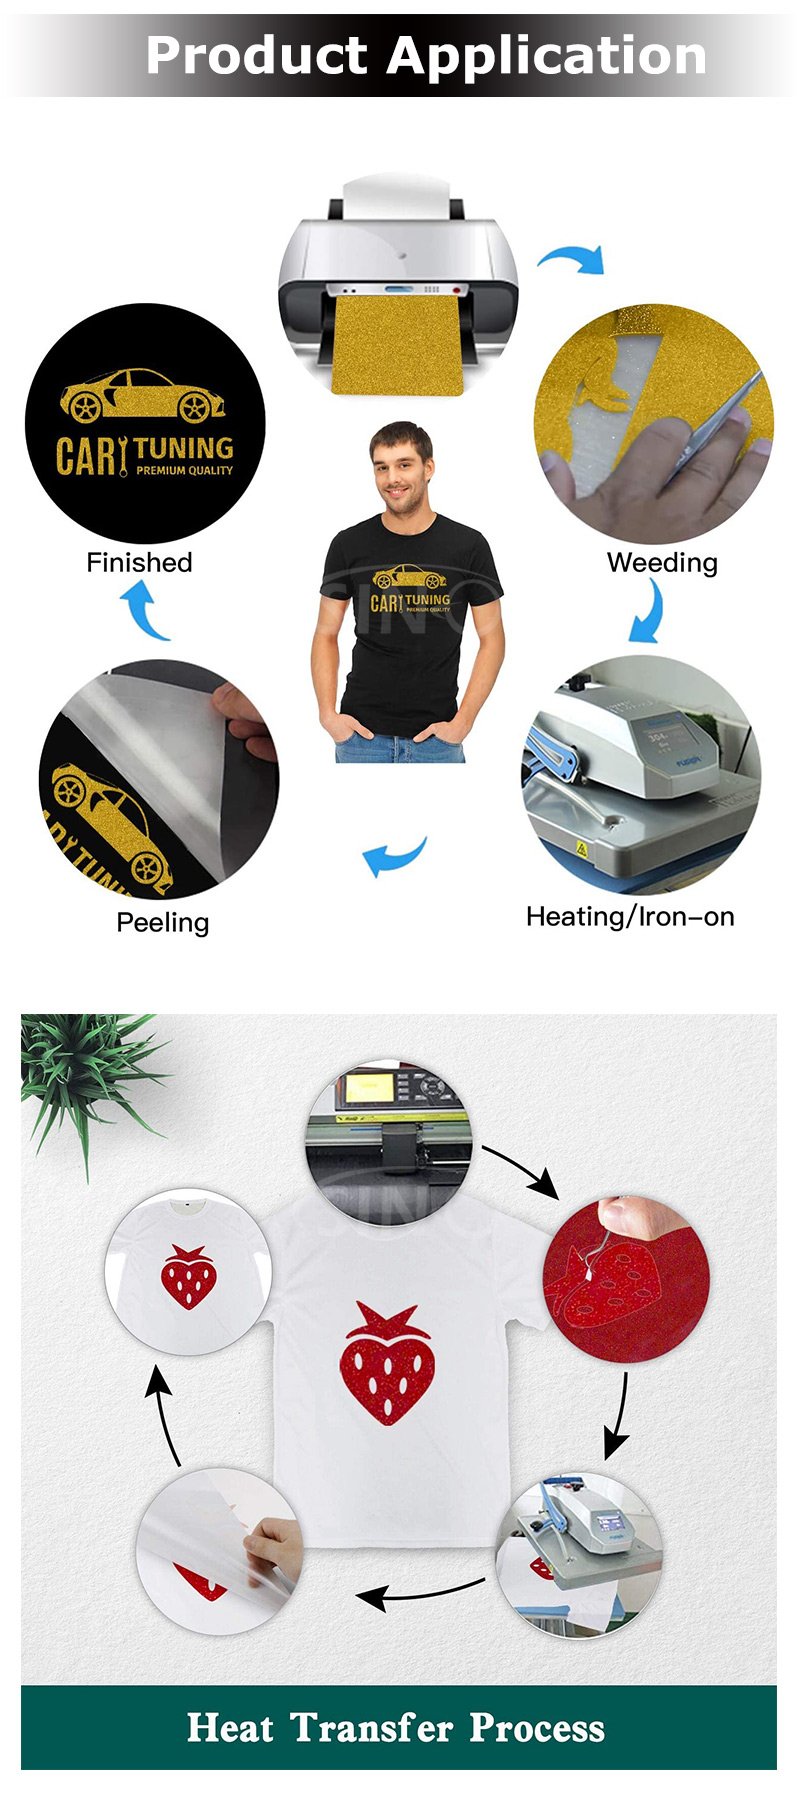
Step 1: Prepare Your Design
- Use your preferred design software to create or import the design you want to cut. Ensure that the design is appropriately sized for your project.
Step 2: Load the Vinyl
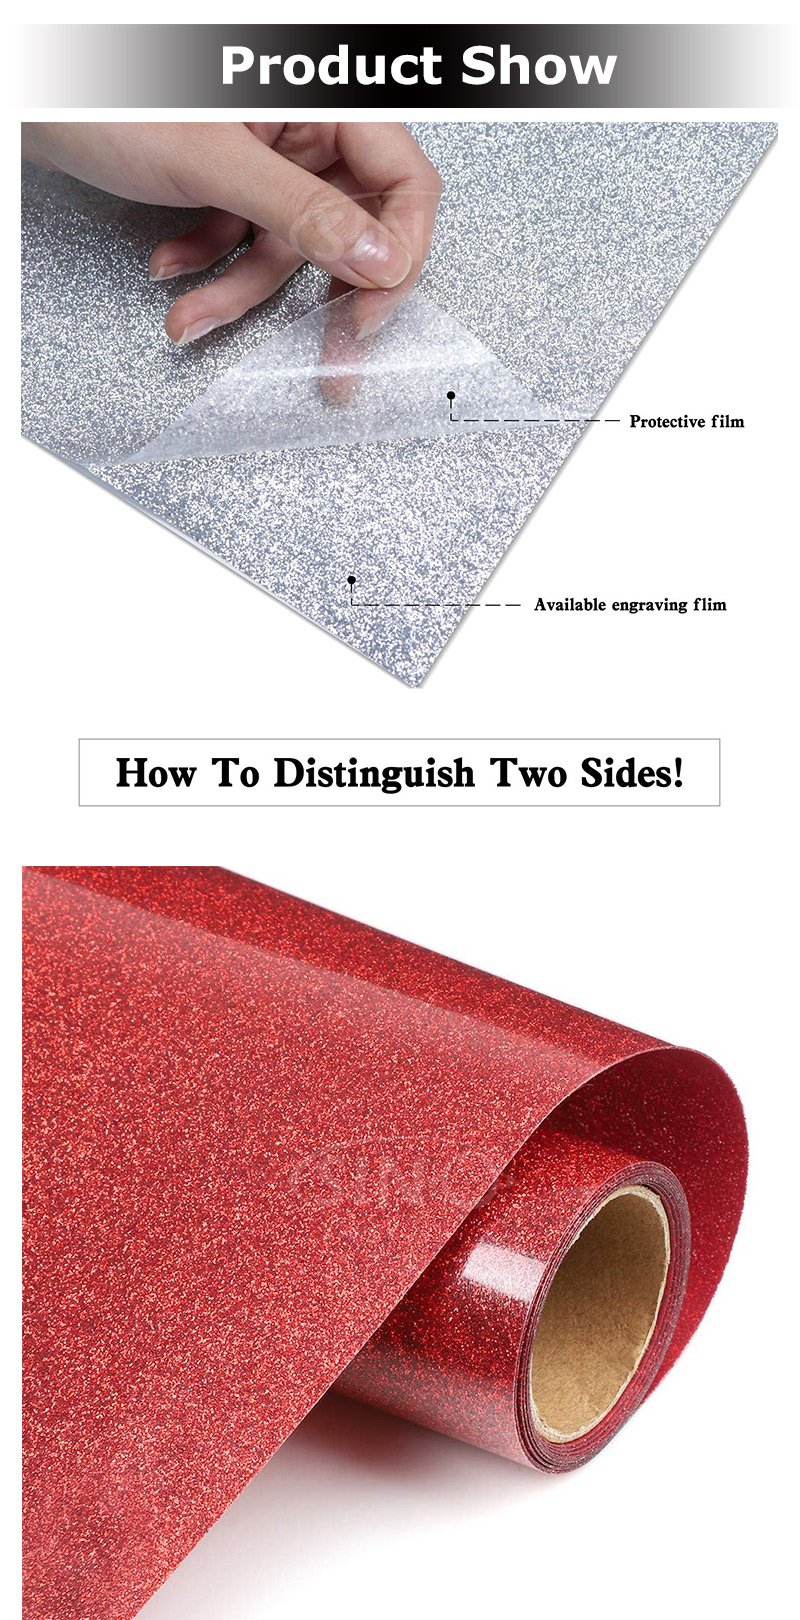
- Place the glitter heat transfer vinyl on the cutting mat with the shiny side (the carrier sheet) facing down. Load the mat into your Cricut machine.
Step 3: Set Cutting Parameters
- In Cricut Design Space or your Cricut machine’s software, select the appropriate material setting for heat transfer vinyl. Adjust the blade depth if necessary.
Step 4: Cut Your Design
- Start the cutting process, and your Cricut machine will precisely cut your design from the glitter heat transfer vinyl.
Step 5: Weed the Design
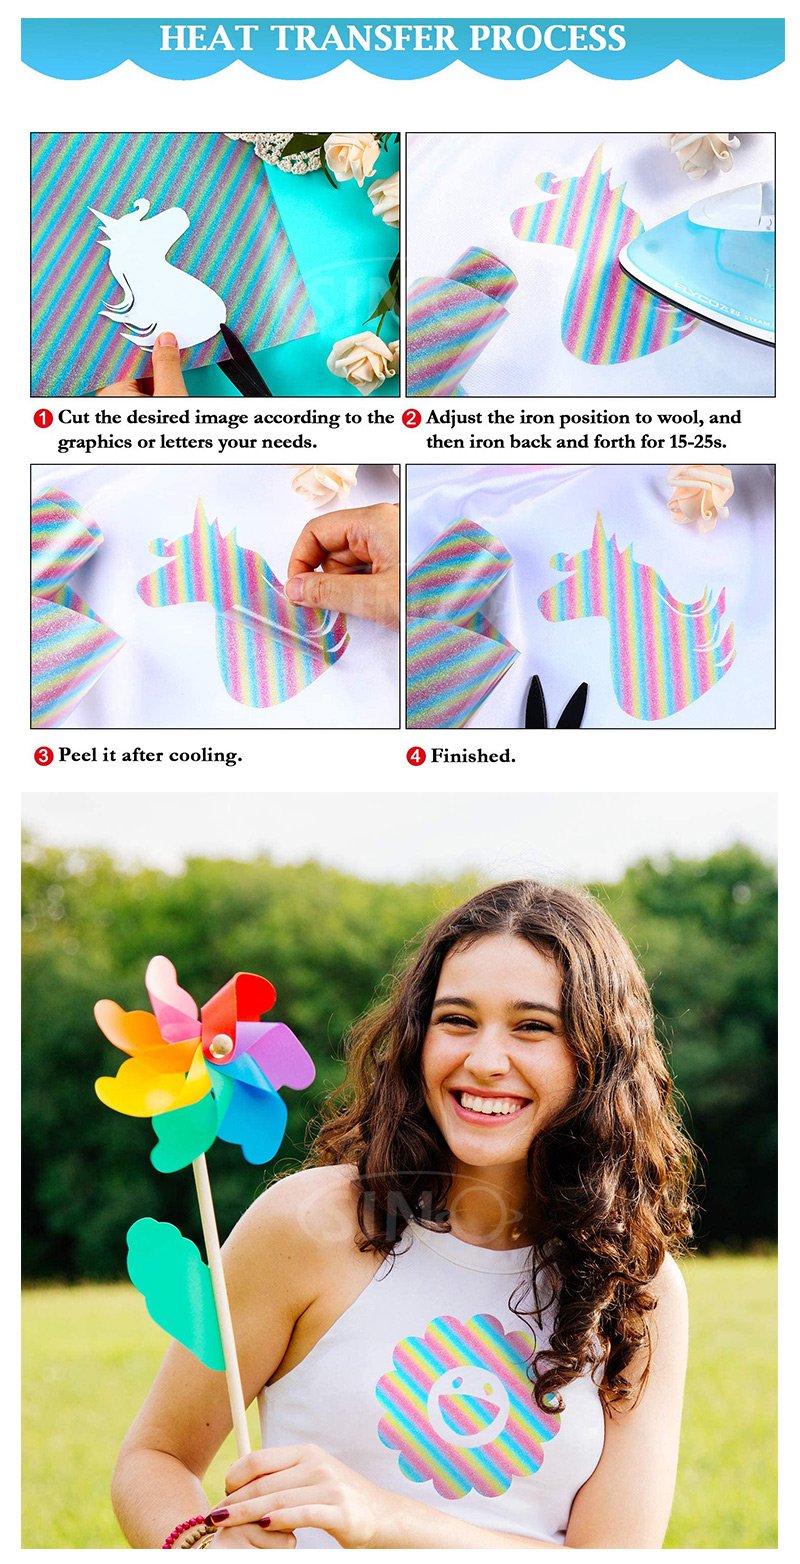
- Use weeding tools to carefully remove the excess vinyl, leaving only your design on the carrier sheet.
Step 6: Prepare Your Fabric
- Place your fabric on a flat, heat-resistant surface and pre-press it to remove any wrinkles or moisture.
Step 7: Apply the Glitter Vinyl
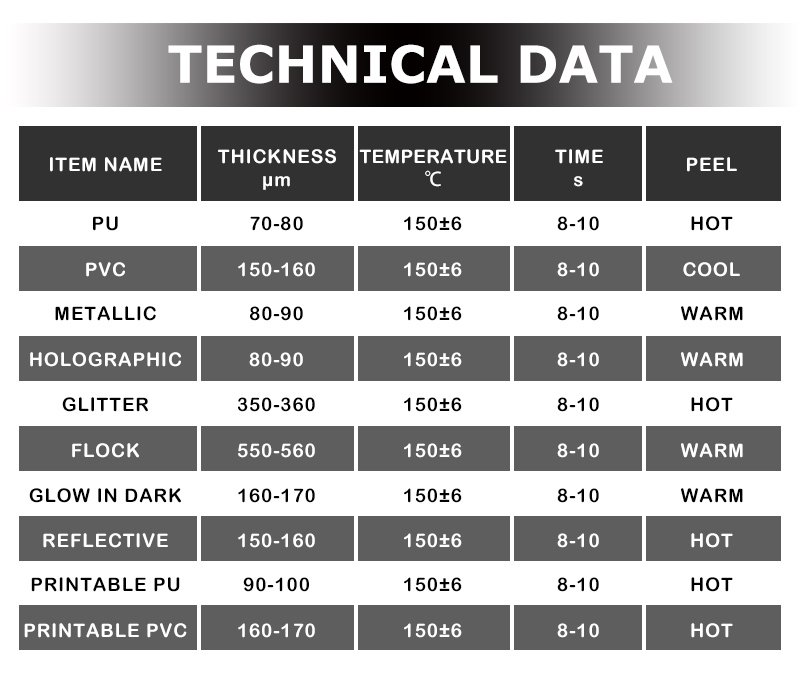
- Position your glitter vinyl design on the fabric with the carrier sheet facing up. Use a heat press or a household iron set to the recommended temperature (150-160°C or 302-320°F) and press your design for the specified time (8-12 seconds).
Step 8: Cold Peel
- After the pressing is complete, allow it to cool for a moment, then gently peel off the carrier sheet using the cold peel method. Your customized fabric is now ready to dazzle!
Conclusion
With SINOVINYL’s glitter heat transfer vinyl and your Cricut machine, you can transform plain fabric into glamorous, eye-catching creations. Whether you’re crafting personalized T-shirts, clothing, textiles, or cotton items, the process is straightforward, and the results are stunning. Follow this guide to master the art of using glitter heat transfer vinyl with your Cricut machine and let your creativity shine!

