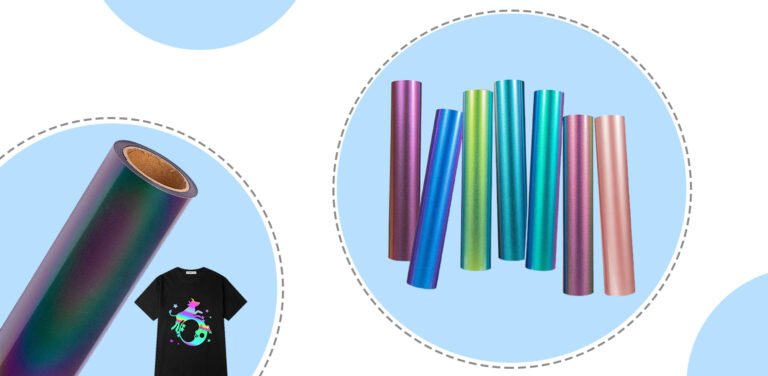
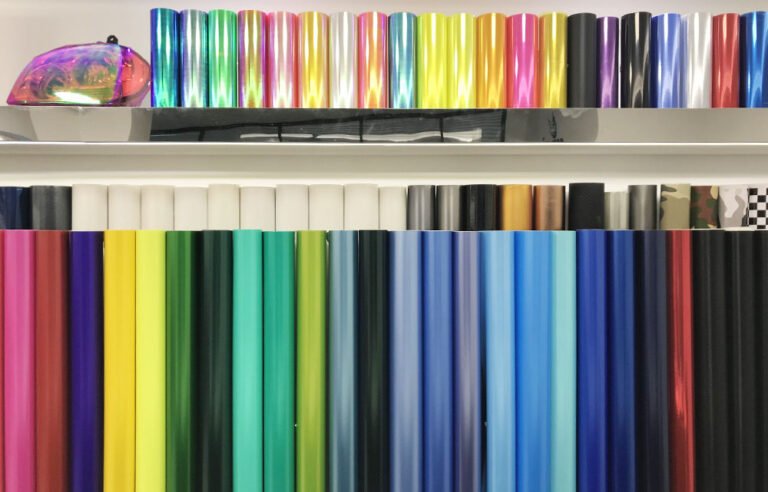
Choosing the Right Heat Transfer Vinyl Printer
When it comes to choosing the right heat transfer vinyl (HTV) printer, there are several crucial factors to consider. Additionally, understanding the different HTV printing technologies available can greatly influence your decision. Let’s break down these elements:
Factors to Consider When Selecting a HTV Printer
1. Intended Use and Volume
Determine whether you’ll primarily be using the printer for personal projects or if you’re running a business. This will dictate the level of durability, speed, and size you’ll need.
2. Size and Format
Consider the maximum printing size and format the printer can handle. This is important for accommodating various design dimensions.
3. Cutting Capability
Some HTV printers come with integrated vinyl cutting capabilities, while others may require a separate vinyl cutter. Decide if this feature is necessary for your projects.
4. Quality and Resolution
Look for a printer with high resolution and color accuracy. This ensures that your designs will be printed with sharpness and clarity.
5. Ink Type
Consider the type of ink used by the printer. For HTV printing, eco-solvent or pigment-based inks are typically preferred due to their durability on fabric.
6. Software Compatibility
Ensure that the printer is compatible with the design software you plan to use. This includes both design and printing software.
7. Ease of Use
User-friendly interfaces and intuitive controls can save time and reduce potential errors, especially for beginners.
8. Cost and Budget
Determine your budget range and weigh it against the features and capabilities you require. Remember to factor in additional costs like maintenance and consumables.
9. Brand and Manufacturer Reputation
Research and read reviews about the brand and manufacturer to ensure reliability, customer support, and longevity of the printer.
Comparison of Different HTV Printing Technologies
1. Dye-Sublimation Printing
– Process: This method uses heat to transfer dye onto a special paper, which is then transferred to the fabric. The ink is absorbed into the fibers, resulting in vibrant, long-lasting prints.
– Advantages: Produces high-quality, full-color prints with excellent durability and washability. Ideal for polyester fabrics.
2. Direct-to-Garment (DTG) Printing
– Process: DTG printers use water-based inks to print directly onto the fabric. They can achieve intricate details and vibrant colors.
– Advantages: Great for complex designs and detailed images. Suitable for cotton and cotton-blend fabrics.
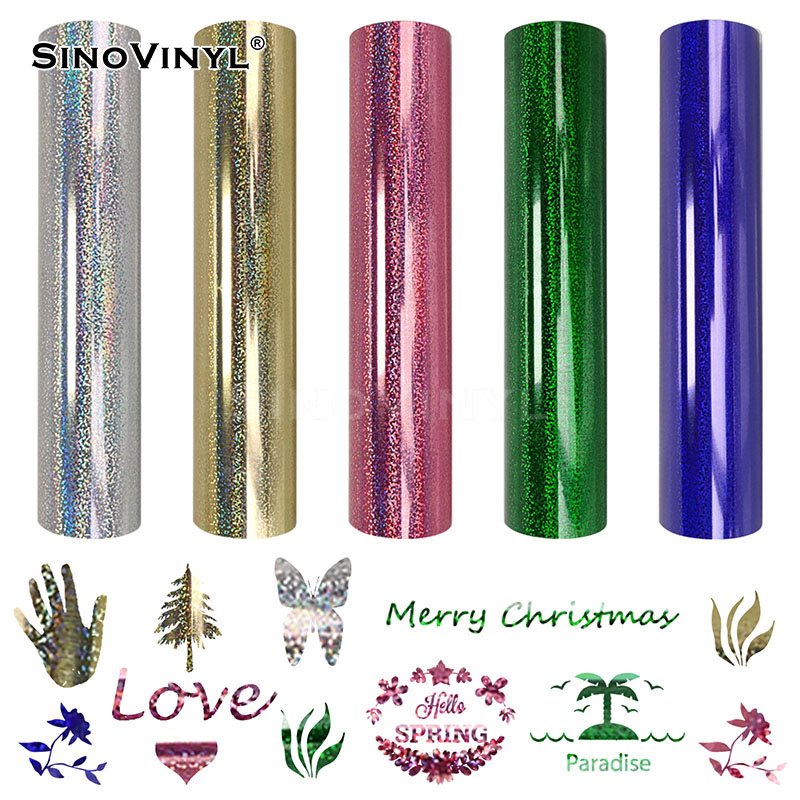
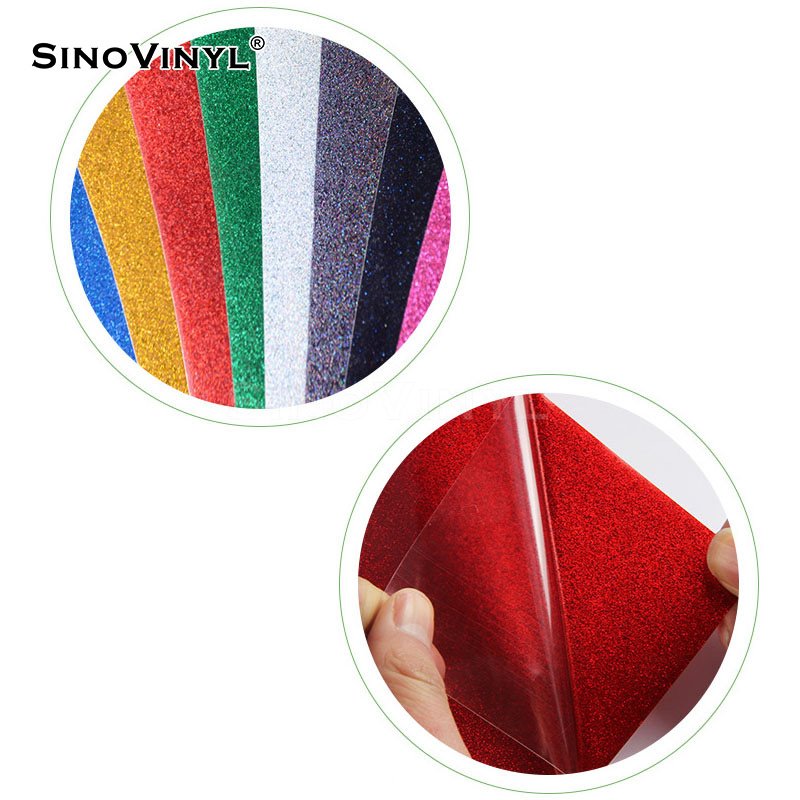
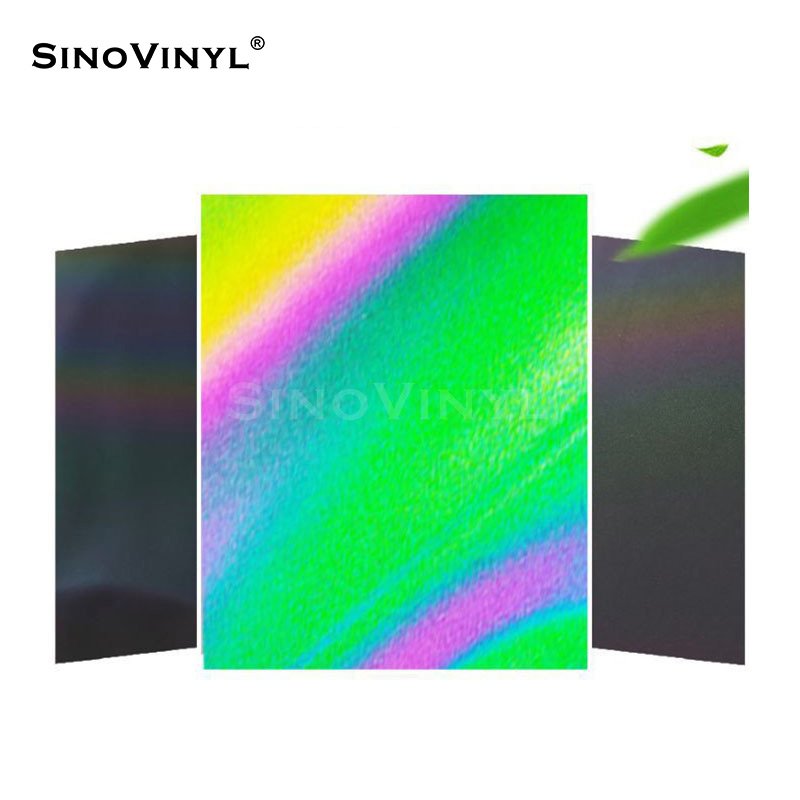
3. Heat Transfer Vinyl (HTV) Printing
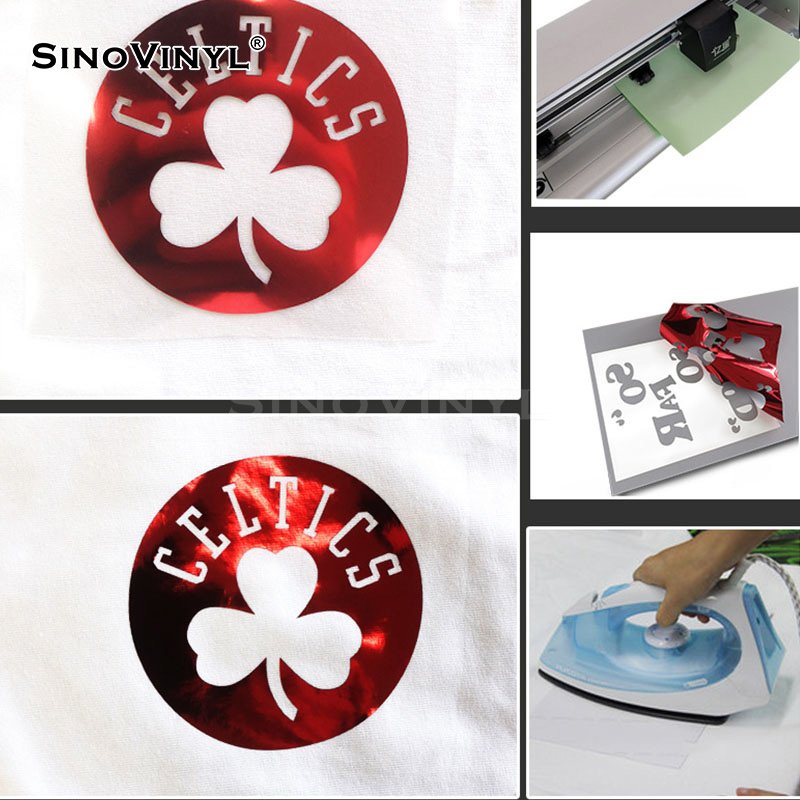
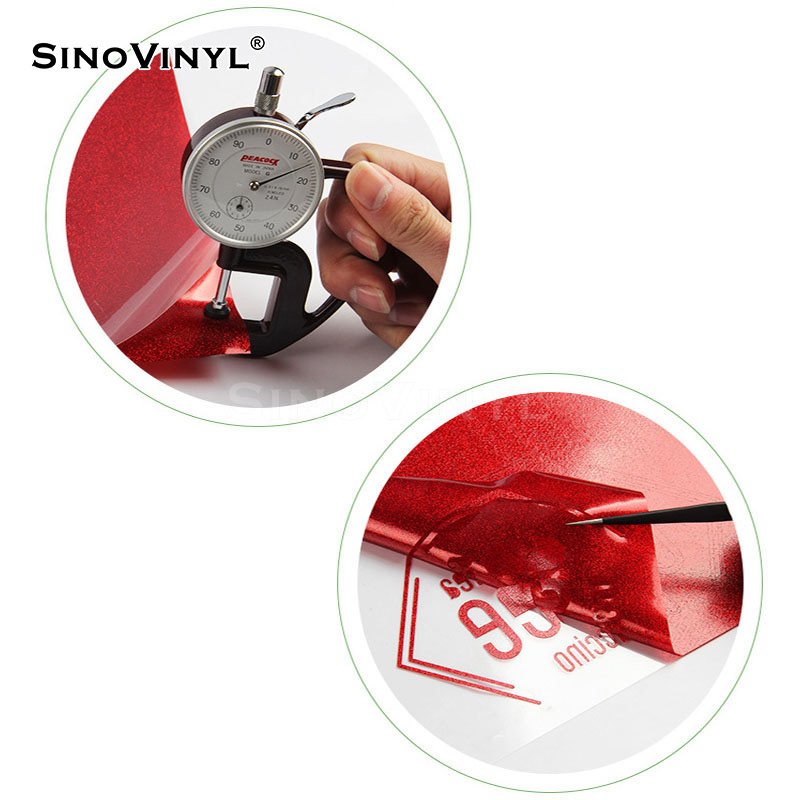
– Process: HTV involves cutting vinyl sheets or rolls, then applying heat and pressure to transfer the design onto the fabric.
– Advantages: Versatile, suitable for a wide range of fabrics, and can be used for both small and large production runs. Offers a wide variety of colors and finishes.
4. Screen Printing
– Process: This traditional method uses a stencil or screen to apply ink directly onto the fabric. It’s commonly used for large-scale production runs.
– Advantages: Economical for large quantities and provides vibrant, long-lasting prints.
Understanding these different technologies will help you make an informed decision based on your specific needs, budget, and the type of designs you plan to create with your HTV printer.

The Heat Transfer Process
The Heat Transfer Process: Step-by-Step Guide
Heat Transfer Vinyl (HTV) is a popular method for customizing fabrics and other materials. Follow this step-by-step guide to ensure a successful heat transfer:
Step 1: Design Preparation
1. Create or Select Your Design: Use design software to create your artwork or choose a pre-made design.
2. Mirror Your Design: Before cutting, flip the design horizontally (mirror it) since you’ll be applying it in reverse.
Step 2: Cutting
3. Load the HTV into the Vinyl Cutter: Place the HTV material onto the cutter’s cutting mat and secure it in place.
4. Set Your Cut Settings: Adjust the settings on the vinyl cutter based on the type and thickness of the HTV material.
5. Start Cutting: Initiate the cutting process. The cutter will follow the design, cutting through the HTV but not the backing.
6. Weeding: Remove the excess vinyl around your design using a weeding tool. This leaves only the design on the backing sheet.
Step 3: Preparing the Material
7. Pre-Press the Fabric: Set your heat press to the recommended temperature for the HTV material and pre-press the fabric for a few seconds. This removes any moisture and wrinkles.
Step 4: Applying the HTV
8. Position the Design: Place the weeded design on the fabric, ensuring it’s centered and aligned correctly.
9. Heat Press Application:
– Time and Temperature: Refer to the HTV manufacturer’s guidelines for the correct time and temperature settings. Different materials may have different requirements.
– Pressure: Apply firm, even pressure on the heat press.
10. Press and Peel:
– Close the heat press and apply pressure for the specified duration.
– After pressing, allow the material to cool slightly before carefully peeling off the backing sheet.
11. Post-Press: For some materials, a post-press (pressing again after removing the backing) may be recommended for improved adhesion.
Common Mistakes and How to Avoid Them:
1. Incorrect Cut Settings: Ensure your vinyl cutter settings are appropriate for the type and thickness of the HTV material.
2. Not Mirroring the Design: Always remember to mirror the design before cutting to ensure it appears correctly on the final product.
3. Insufficient Pressure: Inadequate pressure during pressing can lead to incomplete adhesion. Adjust the heat press settings accordingly.
4. Peeling Too Quickly: Allow the material to cool slightly before peeling the backing sheet. Rushing this step may cause the design to lift.
5. Overheating: Be cautious not to exceed the recommended temperature and time settings, as this can damage both the HTV and the fabric.
6. Lack of Pre-Press: Skipping the pre-press step can lead to uneven application and reduced adhesion.
7. Using the Wrong Fabric: Ensure the fabric you’re working with is suitable for heat transfer. Some materials may not bond well with HTV.
Remember to practice and conduct test runs on scrap fabric to get a feel for the process before working on your final project.
By following this step-by-step guide and avoiding common mistakes, you’ll be able to achieve professional-looking results with your heat transfer vinyl projects. Happy crafting!


