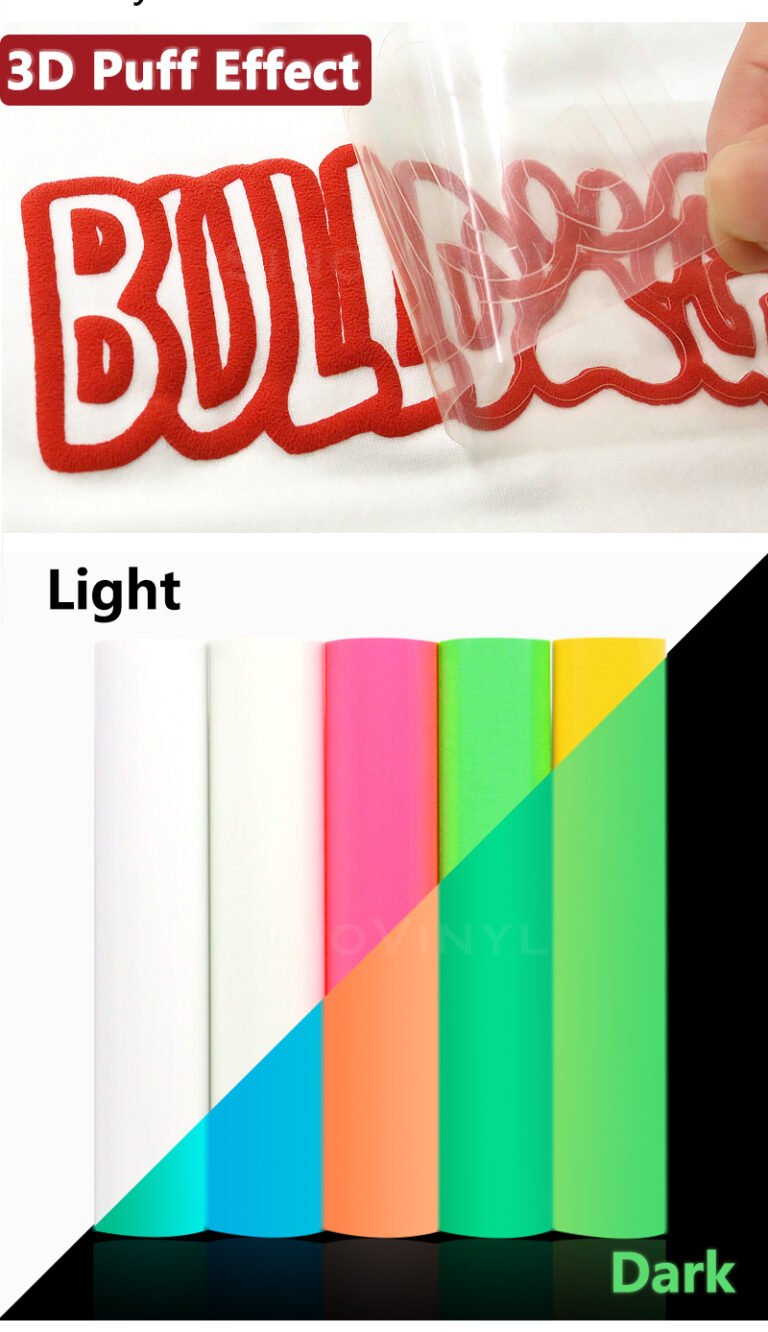
Step-by-step guide on how to apply 3D puff heat transfer vinyl onto various types of fabrics and garments
Here’s a step-by-step guide on how to apply 3D puff heat transfer vinyl onto different types of fabrics and garments:
Materials You’ll Need:
– 3D puff heat transfer vinyl
– Garment or fabric of your choice
– Heat press
– Teflon or parchment paper
– Weeding tool
– Cutting machine (if not pre-cut)
– Heat-resistant tape (optional)
– Scissors
Step-by-Step Guide:
1. Design and Cut:
– Create or select the design you want to apply using design software.
– If using a cutting machine, load the 3D puff heat transfer vinyl onto the cutting mat and cut the design following the machine’s settings. If not pre-cut, manually cut the design using scissors.
2. Weeding:
– Carefully weed (remove) the excess vinyl material around your design using a weeding tool. Take your time to ensure clean edges and smooth lines.
3. Preheat the Heat Press:
– Preheat your heat press to the recommended temperature for the type of fabric you’re using. Check the manufacturer’s guidelines for both the heat transfer vinyl and the fabric.
4. Positioning and Taping:
– Lay the garment or fabric on the heat press. Pre-press the area for a few seconds to remove any moisture and wrinkles.
– Position your weeded design on the fabric, making sure it’s aligned correctly.
– If desired, use heat-resistant tape to secure the design in place, ensuring it doesn’t shift during pressing.
5. Heat Press Application:
– Place a Teflon or parchment paper sheet over the design to protect both the vinyl and the heat press platen.
– Close the heat press, applying the recommended pressure. The pressure might vary depending on the fabric type and heat press model.
– Set the timer based on the manufacturer’s instructions. It’s generally recommended to start with a shorter time and gradually increase if needed.
6. Cooling and Peeling:
– Once the timer is up, carefully lift the heat press to release the pressure. Allow the design to cool down for a few seconds.
– Gently peel the carrier sheet (the transparent plastic layer) from the vinyl while it’s still warm. Start at one corner and peel at a 45-degree angle.
7. Puff Effect Activation:
– You might notice that the vinyl doesn’t have a 3D puff effect immediately after peeling. To activate the puff effect, place the garment back on the heat press without the carrier sheet.
– Use a Teflon or parchment paper sheet to cover the design, and apply light pressure and heat for a few more seconds. The heat will cause the vinyl to puff up and create the desired effect.
8. Cooling and Final Inspection:
– Once again, allow the garment to cool down before handling.
– Check the design to ensure that it adhered properly and has the desired 3D puff effect. If any areas didn’t puff up as expected, you can repeat the heat activation step.
9. Washing and Care:
– Wait at least 24 hours before washing the garment to allow the adhesive to fully set.
– Follow the washing and care instructions provided by the vinyl manufacturer to ensure the longevity of the design.
Remember that the specific temperature, pressure, and time settings might vary based on the heat transfer vinyl brand, fabric type, and heat press model you’re using. Always refer to the manufacturer’s guidelines for the best results.


Tips and tricks for achieving the best results, including temperature settings, pressure, and time
Achieving the best results with 3D puff heat transfer vinyl requires careful attention to temperature, pressure, and time settings. Here are some tips and tricks to help you get the desired outcome:
1. Temperature Settings:
– Always refer to the manufacturer’s guidelines for recommended temperature settings. These settings can vary depending on the brand and type of 3D puff vinyl you’re using.
– Typically, the temperature for applying 3D puff vinyl ranges between 320°F to 340°F (160°C to 170°C).
– Use a reliable infrared thermometer to accurately measure the temperature of your heat press’s platen.
2. Pressure:
– Proper pressure is crucial for ensuring that the 3D puff vinyl adheres securely to the fabric.
– Adjust the pressure according to the thickness of the puff vinyl. Generally, a medium to heavy pressure setting is recommended.
– Ensure that the pressure is evenly distributed across the entire design to prevent any parts from lifting during application.
3. Time Settings:
– The recommended time settings can vary depending on the specific brand and type of 3D puff vinyl. Refer to the manufacturer’s instructions.
– In general, the application time can range from 10 to 15 seconds.
– Test a small piece of the vinyl on a scrap fabric before applying it to the final garment to find the optimal time.
4. Pre-Pressing:
– Pre-pressing the fabric for a few seconds helps remove any moisture and wrinkles, ensuring a smooth surface for vinyl application.
– It also helps to eliminate any residual chemicals or sizing that might interfere with adhesion.
5. Positioning and Alignment:
– Use alignment guides, markings, or a laser alignment tool to position the 3D puff vinyl accurately on the fabric.
– Secure the vinyl in place with heat-resistant tape to prevent it from shifting during the application process.
6. Cold Peel vs. Hot Peel:
– Some 3D puff vinyl requires a cold peel, which means you need to wait until the design cools down before peeling off the carrier sheet. Others require a hot peel, where you peel off the carrier sheet immediately after pressing.
– Follow the manufacturer’s instructions regarding peeling instructions for the specific vinyl you’re using.
7. Cover Sheet:
– Always use a cover sheet or parchment paper between the heat press platen and the carrier sheet of the 3D puff vinyl to prevent any adhesive residue from sticking to the platen.
8. Testing and Experimentation:
– Before applying the 3D puff vinyl to the final garment, conduct tests on scrap fabric or sample pieces to fine-tune your settings and techniques.
– Experiment with different combinations of temperature, pressure, and time to find the best results for your specific materials.
9. Cooling and Finishing:
– Allow the garment to cool down after application before handling or wearing it.
– Once cooled, check the adhesion and puff effect. If necessary, you can apply additional heat and pressure to areas that might need extra adhesion.
Remember that achieving consistent and high-quality results with 3D puff heat transfer vinyl might require some practice and adjustments. Take the time to familiarize yourself with the specific vinyl you’re using and be patient while fine-tuning your technique for the best outcomes.